 CRAIG WEATHERLEY takes us through building a grass-based airfield diorama for display.
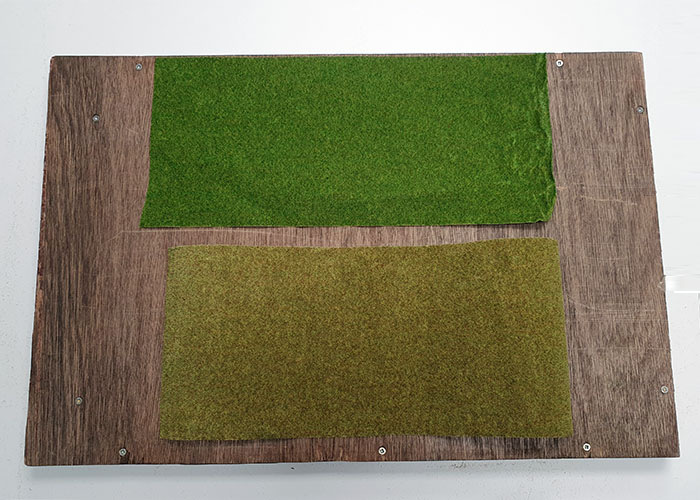
To start creating your very own grass runway you need to select which two colours of grass you like the look of. One will represent the runway, the other the surrounding grassland. For mine I’ve used GM22 Autumn Grass Mat for the Strip and GM20 Spring Grass Mat for the surrounding area. GM21 Summer Grass Mat is also available.
Once you have selected the two grass colours, its time to get building.
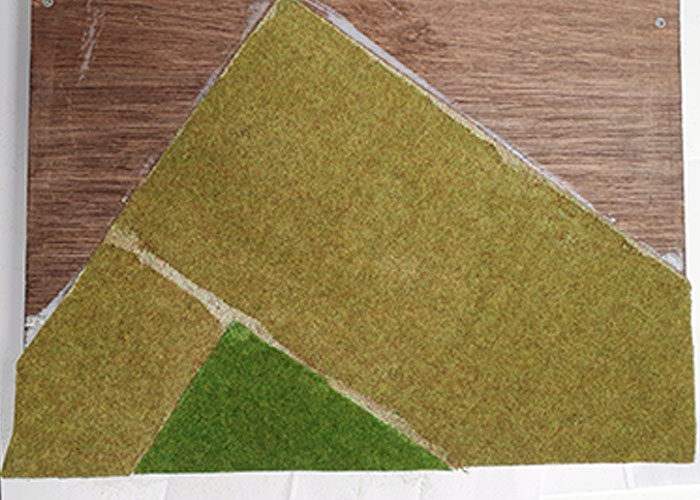
The strips of grass are cut to shape.
Firstly, choose what size of runway you would like. If you are planning on displaying the result, don't forget to measure the cabinet too. Maybe you want a scale runway or maybe you just want to make something for your new aircraft to sit on so consider this when deciding on what size works for you.
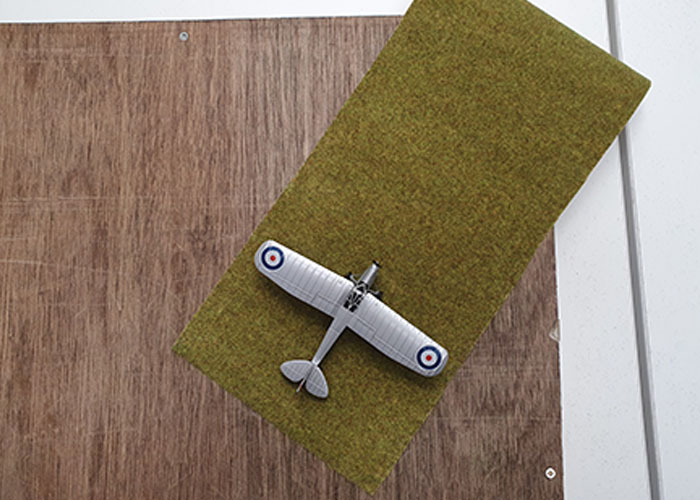
Using the model you wish to display can help in getting the correct width of runway required.
The grass mats can be stuck down using Speedbond or even double-sided tape. Here, I used a second piece of the grass mat to create a small taxiway off to the side for added realism.
The sheets are glued down using Speedbond.
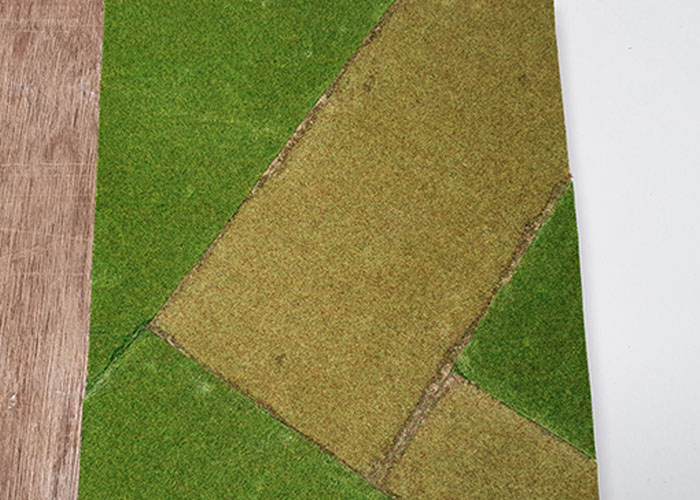
If any gaps appear, loose static grass can be applied.
Now we’ve laid the grass, it's now time for detailing.
First off, I added was the runway markings. Here I used white acrylic paint and a very fine paintbrush.
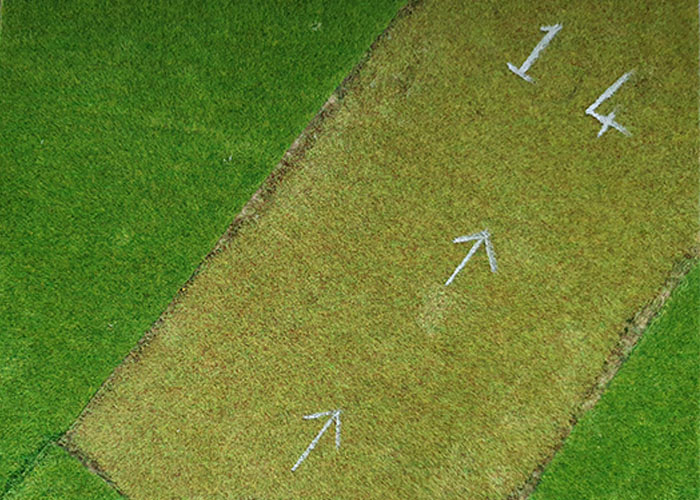
These markings were applied freehand for that 'on-grass' look.
Give the outer perimeter of your grass runway a border. You can use anything from fences, bushes, hedges, and wild grass to give the scene some depth and contrast. This will also take the eye away from the edge of the board. These were glued in place using more Speedbond. Here I used:
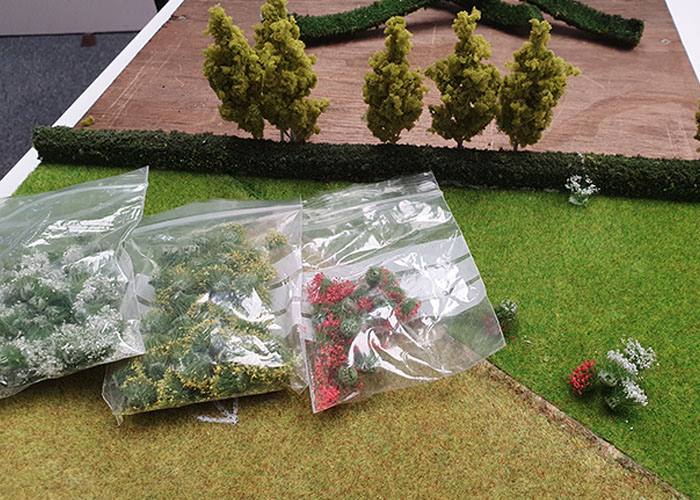
A selection of the tufts used on the model.
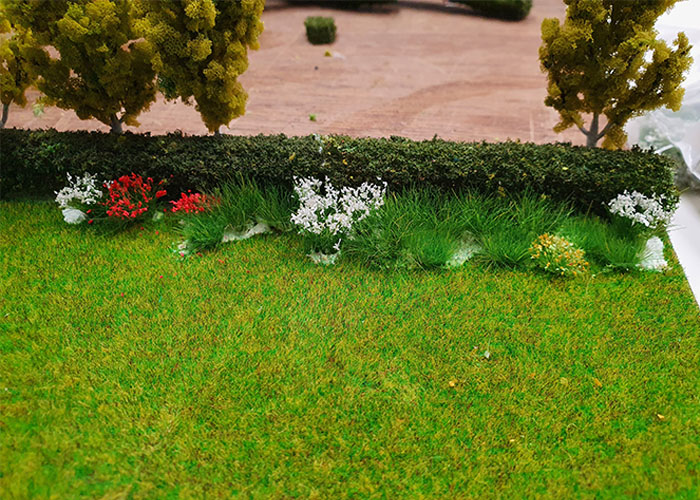
The tufts are glued last once the larger items are set in place.
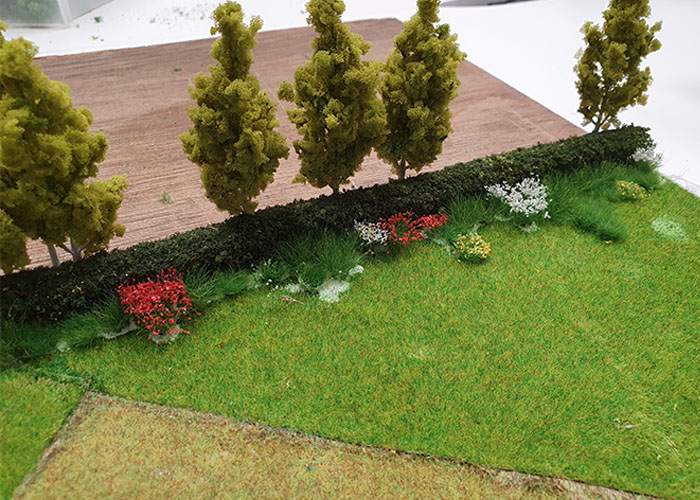
Varying the positions and quantity breaks up the line for a more natural look.
Once you are happy with your scene, you can finally add your favourite aircraft to your runway, and see the magic come alive.

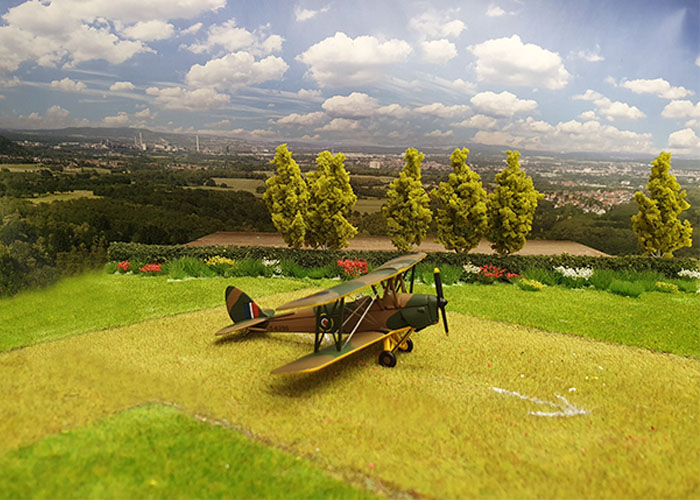
A view of the scene from an onlookers level. A section of FA180518 Faller Backscene was used to complete the scene.
The completed display.
For more modelling hints and tips, check out our Railway and General modelling archive of articles here.