

 JAMES HICKMAN looks at how to add a bit of Autumn colour to your model railway.
It's that time of year again. The clocks have gone back, the nights are drawing in, and the weather is getting worse. Yes, it's autumn. Out of all the seasons, I think autumn is overlooked in terms of modelling. In spring you have the rebirth of the world. Blossom is forming on the trees, plants are coming back into life after their winter dormancy, and young animals such as lambs being born. All very nice things to see in the world around us. Summer brings its own joy to the world with longer days, trips to the beach, holidays in the sun. The winter has its magic to with snowy hills, warm fires, and of course Christmas.
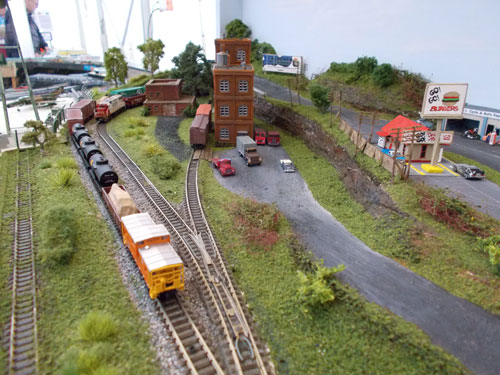
Lincoln (a Z Scale layout displayed at our Open Weekend) is a good example of a summery green layout.
Autumn, I guess, is the black sheep of the seasons. It seems to be the shortest season (at least in Britain), and as it is the end of the summer and prequel to the winter I guess that is one of the reasons its gets over looked. The days get shorter and autumn seems to just pass us by. It could be that I'm drawn to the Gothic romanticism of that time of year or simply because I like the pretty colours of the trees, but autumn is the one season I believe whole-heartedly is under modelled.
Below is a step by step guide on how to create an autumn scene.
The first stage is to paint the area that you wish to autumnise with a dark colour. When doing grassy areas or hillsides a green is usually a good choice for a basecoat, but for an autumnal scene I would recommend brown or even a dirty black.
Although there are a lot of products on the market for scenery, in my opinion there isn't one that really simulates a muddy/woody floor like I imagine it. One day when thinking how to create a realistic effect while making myself a mug of tea, after finding I had ran out of coffee. Being my clumsy self I had split the teabag as I took it out of the mug, and it fell onto the work surface and looked exactly like the effect I was after. You can probably see by now where this going....
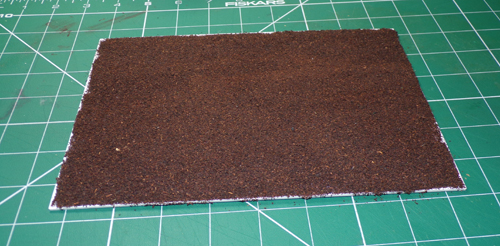
In the picture above you can see the ground work after being given a coat of loose tea scattered on top of Deluxe Materials Speed Bond. I have found that tea from a used teabag is actually darker than that of an unused bag so here I have opted for used tea leaves.
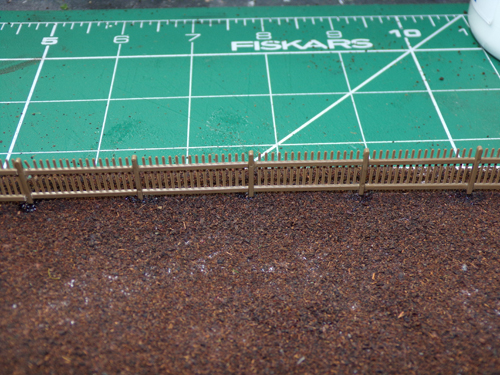
Now I installed the man-made objects, such as this fence. I prefer to do this at this stage regardless of the season I am modelling, as you will find that as soon as something is put outside in the real world nature starts to take its effect upon it. Plonking the fence down after all the foliage was added just wouldn't look right!
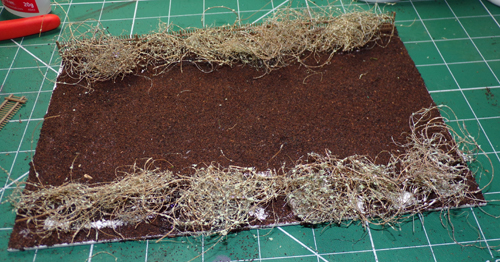
Here I added some rubberised horsehair, which can be found in craft shops. You don't have to use this, instead you can use lichen which works as well. I prefer the horsehair as it gives a slightly wilder look to the final model.
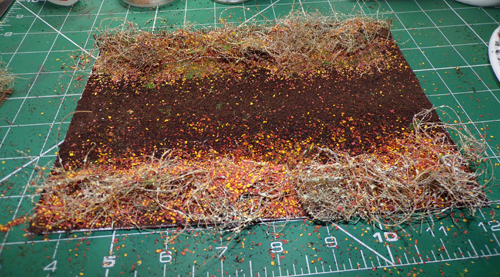
Next I added a covering of Deluxe Materials Roket Blaster Spray Glue to the bush, and then covered it with scatter. Here I used Noch N07168, which is an Autumn Foliage Set, in varying amounts - as well as a sprinkle of GM172 Moorland Flock to give that slight bit of greenery clutching on to summer. Beware not to overdo the scatter. Remember that the wind will drag leaves to less open spaces, so anywhere that would be open, add only a few leaves.
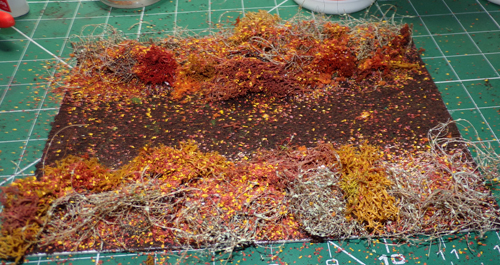
Next, I added some lichen in strategic places. Basically anywhere the horse hair had left a larger hole. This adds to the breath of autumnal colour and makes the scenery more varied. In all circumstances real-life foliage is never one uniform colour, so any variety adds to the realism. Again this was given a coating of spray glue and autumn leaves. This was all then given a coat of Humbrol AXD6998 Acrylic Varnish to lock in any leaves not held by the spray glue.
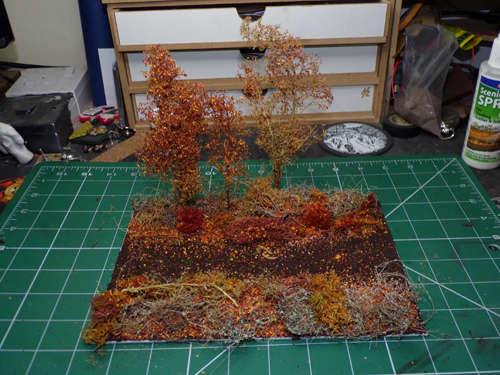
Parts of GM195 Seafoam Trees were then added to give some height to the scene. They were given varying light coatings of the leaves as well. Remember the more leaves you have on the ground, the less there are on the trees! Within my box of trees I had a couple of broken ones; these were added to the undergrowth to give it that little added texture.
Then its time to finish off and add the details to the scene.
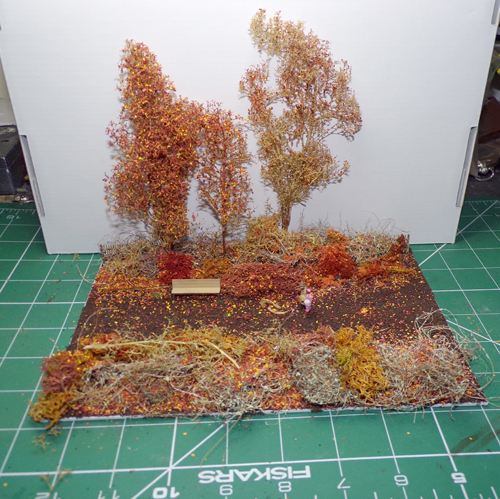
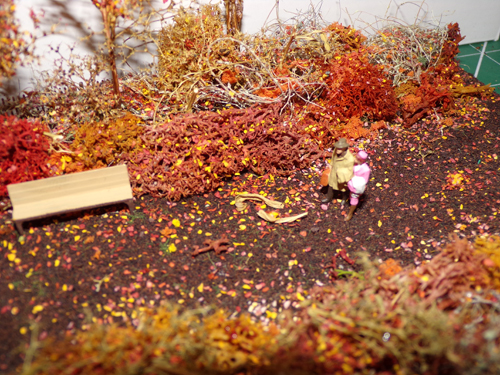
Here I have added a simple bench and a strolling couple.
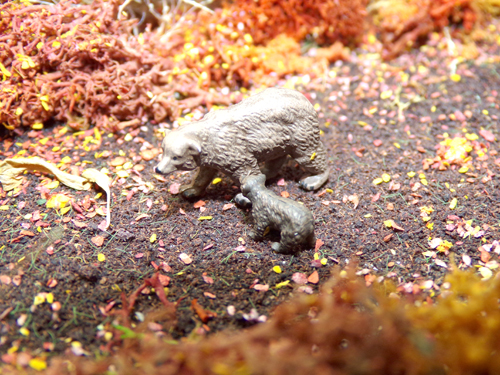
A Mother and cub take a stroll before settling down for hibernation.
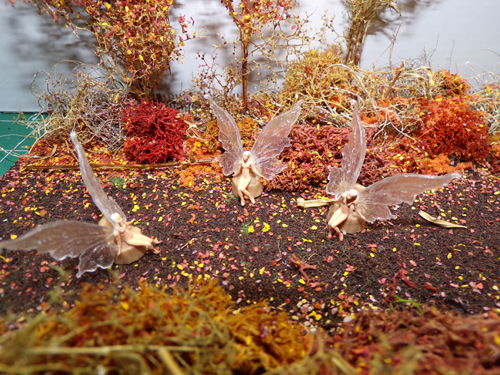
And a group of fairies gather in the autumn sun.
I hope this article has made you rethink the time of year you set your layouts. If, like me you see the beauty in autumn, then why not have a go at creating your next project with autumn in mind?
Ed's note - You can add an additional autumn feel to your layout with DLAC-21 Living Steam from Deluxe Materials. This smoke oil gives off a realistic scent, which can also be used to simulate the smell of bonfires!