
 JAMES HICKMAN looks at an important parrt of a layout; the baseboard.
I my previous article regarding layout planning and design, I slightly more than hinted at my next project, Strapton Halt. The keen-eyed amongst you will have noticed that although the article referenced it ad such, the images simply referred to the layout as Strapton. The name was never meant to be the final name as it was generated by an online name generator, and the layout idea was never meant to feature in Right Lines at all, so why is it, and why am I telling you this? Well over the next few issues of Right Lines, my regular articles will be documenting the progress of the layout and taking you through its development step by step.
This will allow anyone starting out to get to grips with the whole process of starting a layout and seeing it through to satisfaction with all the stages in between. The articles will be structured loosely so as to progress the build but each one will contain its own subject matter, so if there is a particular subject you want to read about, you don’t have to have read the previous ones to make sense of it, although I am sure they will all be worth a read, and they will be helpful to both those new to the hobby as well as seasoned modellers too. So, without further ado, let me take you through the baseboard basics of the Snares Valley station; Leadworth. 5 points to the house that can tell me where that name comes from!
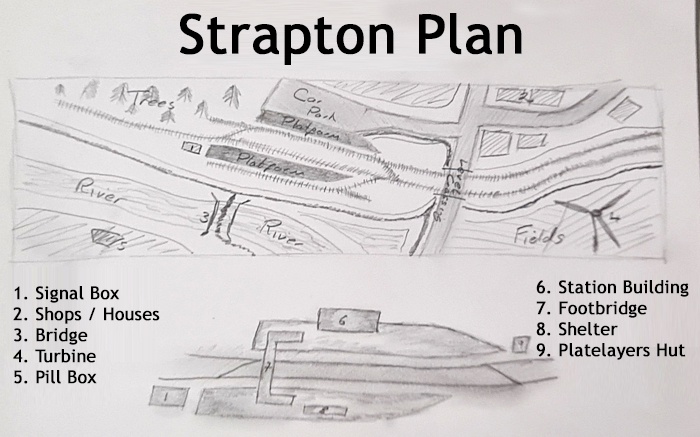
The original plan for ‘Strapton’ as seen in the previous article.
Regardless of the scale, gauge, period or outline, one thing that every model railway needs is a baseboard. This is one of the most critical parts of a layout and incorrect construction can be a layout's quite literal downfall. One thing I have learnt with the boards I have constructed is that precision is key. That can all sound scary to the beginner, but if you are methodical and considered, anyone with a few basic tools can create a baseboard.
I won’t go into how to actually build your baseboard here as construction is quite simple, and there are many wood working videos online of how to and what to use, that I could write a whole dossier on the subject, and of course Peco produce a nice little ‘Shows You How’ booklet on the subject too. Instead, here I am going to look more at the styles of baseboards, and the benefits of each.
Many layouts are made up of two components; the baseboard and the supports. When selecting the required materials for these, there are a few thing to consider. The first is the supports. This could be the framework for the baseboard or for legs, trestles or general supports. I have always found that a softwood also knows as timber is best for this as it is strong and easy to work with, and you will find it is usually sanded smooth too.

A general length of softwood can be picked up in a lot of big hardware stores. They are usually supplied individually or in packs of eight.
The material for the top or the base on which the track sits is a widely debated subject. Some people prefer the likes of MDF or Chipboard, whereas others prefer a softer foam board or fibre board. Each material has its benefits and its downsides, so do have a read around to find out what is best for you. For example, although MDF is strong, it can be heavy and hard to push track pins into. Foamboard however is lighter but does require a bit more bracing, and although track pins could be pushed in by hand, the material doesn’t always hold them tight.
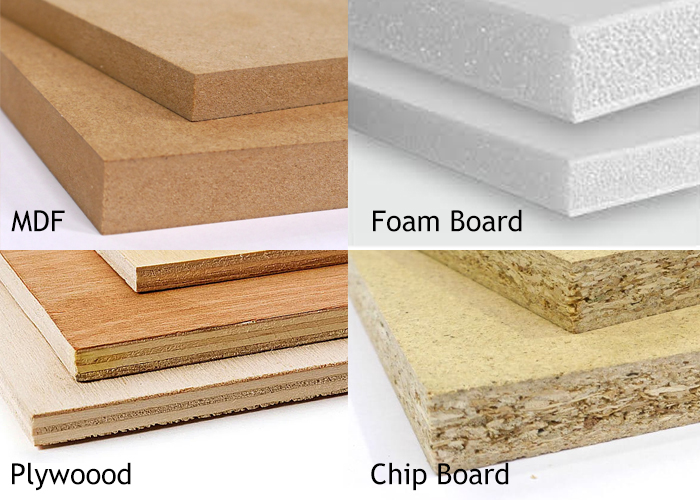
Just some of the materials that can be used for layout board surfaces.
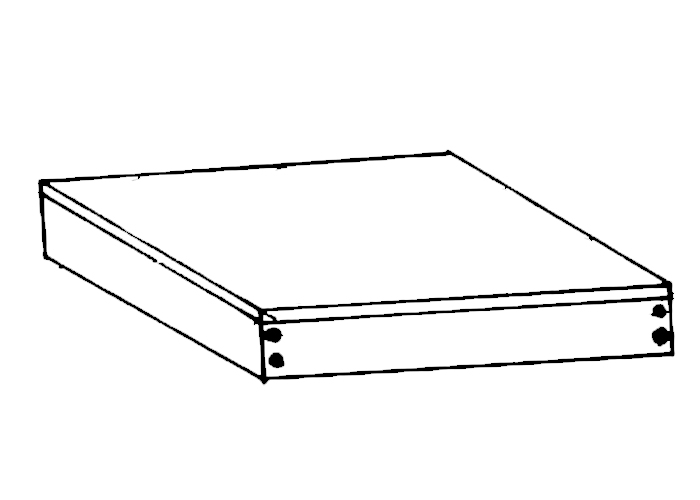
The first style of board we will look at is the flat board construction. This board is the typical starting point as it is flat, and easy, a simple support from 2 by 1 is easily constructed to add rigidity and to stop the board from warping.
This type of board is a good starting point for those working with a starter set, as many are designed to fit on standard sizes of board. A Hornby Track Mat is designed for a 6x4ft board, with a little wiggle room for example. This construction is solid and reliable, however depending on the choice of top wood, this can be quite heavy, especially when the scenery is built up.
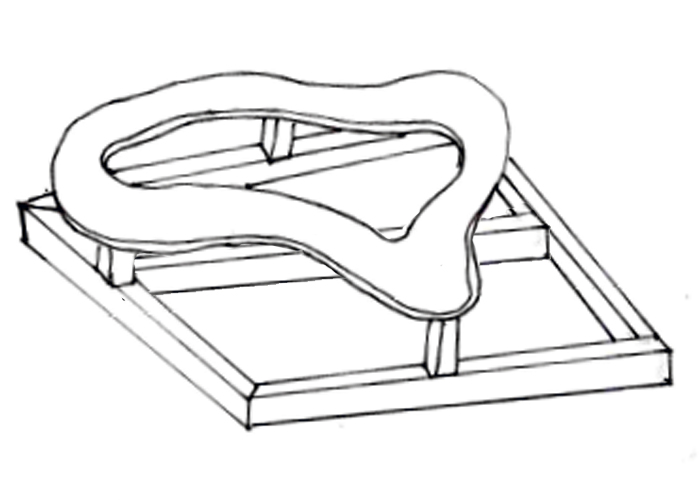
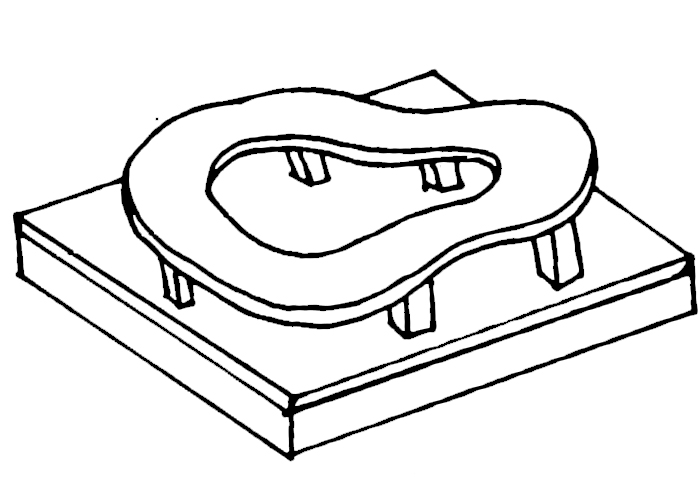
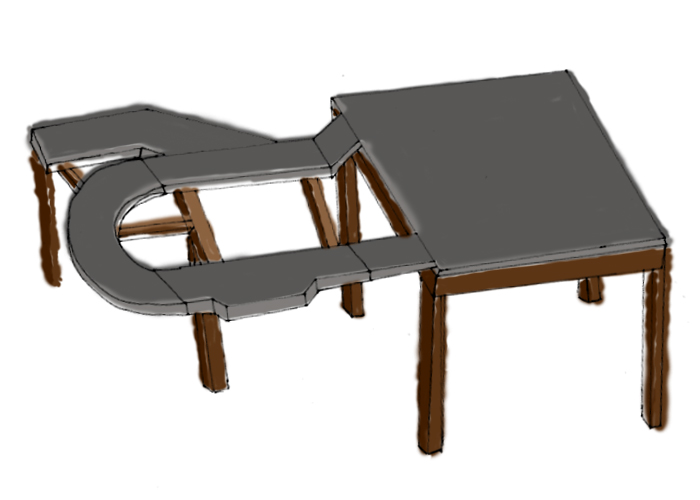
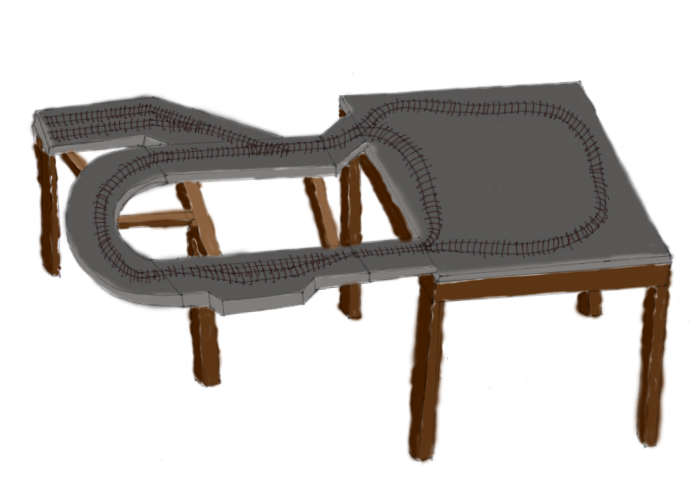
This construction is one that isn’t as common as many articles make out. The majority of people plan and change their layout and working on the flat board allows for this. The open construction is more unforgiving to change however, being custom designed more specifically to the trackwork.
The benefit however is that this is a lighter construction. When using a foam board or plywood top, this can weigh very little compared to the flat board type. This also makes gradients easier to install as effectively all the board under the tracks is floating on supports, but this construction does require a lot more planning, and more woodworking skills.
In my experience, a mixture of the two described above is actually the most useful. This is because it allows you to switch between the methods as and when you require. This makes modelling and transportation easier if you are going to be exhibiting the layout and keeps costs of materials down a bit too.
You will see from the above diagram too that although the area that the track will be laid on is flat, it is also raised. This means that you can lay your track onto a flat surface avoiding pesky inclines, and still build your track into the landscape, allowing it to be build up and pulled down around the track.

This image gives you an idea how the scenery could be built round a raised, flat track base.
Although one of our shop layouts does use inclines too, the principle here is applied to the bottom layer of the layout.
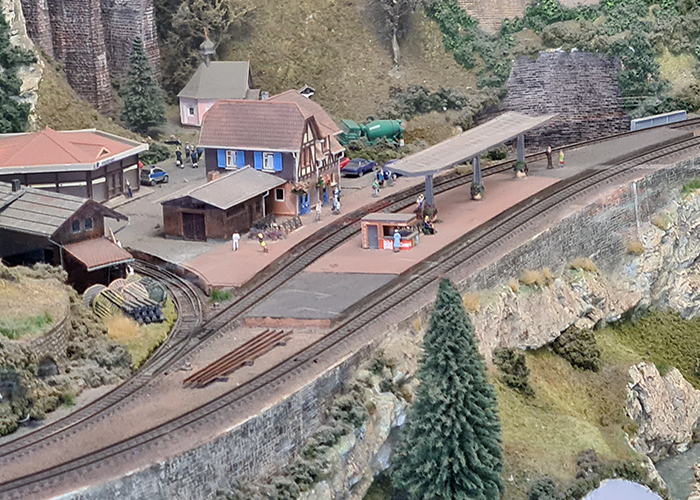
You can see here how the landscape has been moulded around the base.
Inclines or gradients are always something that catch people out. Although the principle is simple enough, the execution can be tricky. To begin with, you need to work out the gradient you need. Generally, the steepest gradient that you would be looking at in OO scale is between 1 in 50 and 1 in 100. In the case of the 1 in 50, this means you need 50cm of track on the incline to raise the end up to 1 cm in height.
Our shop layout showcases inclines in the extreme.
Although you can have trains running on steeper inclines (The steepest real incline in the UK is approx. 1 in 37) you will find that some locomotives will not make it up these, and even less so when ladened. You will also find that as traction tyres wear, and locomotives tire, they won’t be able to navigate gradients they could perhaps when new. The best thing to do, is to keep them as shallow as possible.
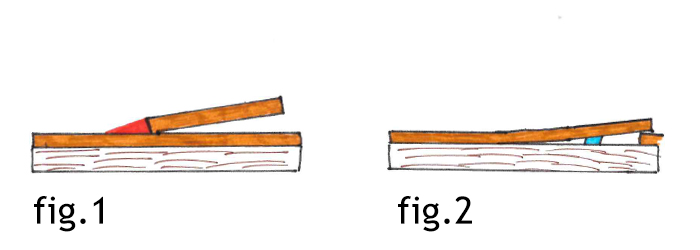
When building your base for these too, it is important you don’t start off steep. You do not want a kink in your track as it enters the incline, so a run up may also be needed. The best way is to keep the bottom of the incline part of the board the track is coming from as one piece and cut it out. A new piece can be slotted under from there to keep the original height. You will see from fig.1 above that if you used a new piece of wood for the incline you would also need to infill the gap shown in red. This can be tricky without causing a bump in the area and is easily avoided by using the other method. Fig.2 shows this, and also shows that with a little bit of packing, highlighted in blue, a seamless start to your incline can be achieved.
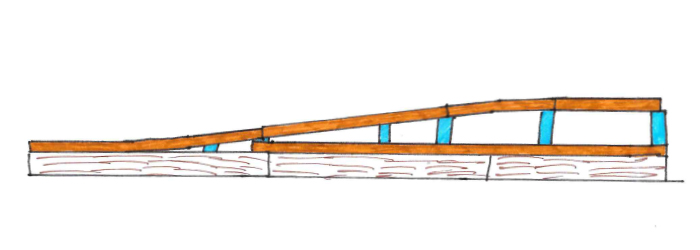
The above sketch shows us how a completed incline would look. As in the previous image, the board is cut from the beginning board to allow a smooth transition. The transition at the top is done in a similar way, with the one piece of wood acting as the transition. Do also remember that if you are planning an incline, you need the space to go up as well as back down in the same gradients, as you never know when you will want to drive up the other side.
Overall the main things to think about are what style of baseboard you require, and what your skill set is. If you still don’t fancy building your own baseboard, you could always ask a friend, a carpenter, or even purchase a pre-made bast too.
Keep an eye out for the next instalment, where I begin to lay the track on Leadworth.