 TERRY SMITH builds the Fordhampton Car Showroom to show off your diecast collection.
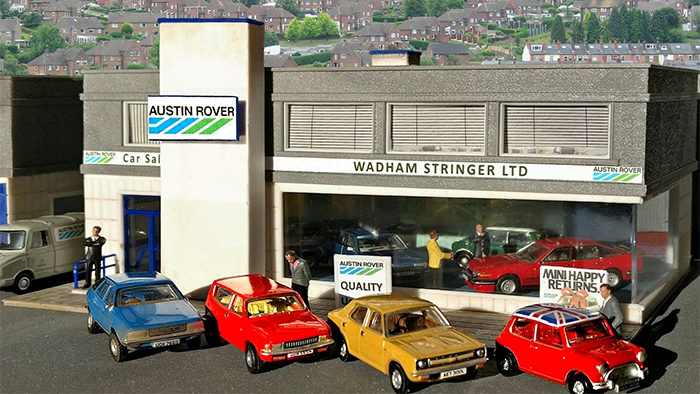
The GM435 Fordhampton Car Showroom Kit is an ideal way to show off some your miniature 1:76 Scale diecast cars. The built-up model can hold four cars inside, with plenty of space for others outside. Generally, in a real showroom the cars on display inside would be new, while those outside would be the second-hand offerings. With appropriate decoration, the kit is ideal to be used on dioramas from late 1950s onwards, or can be built into existing models.
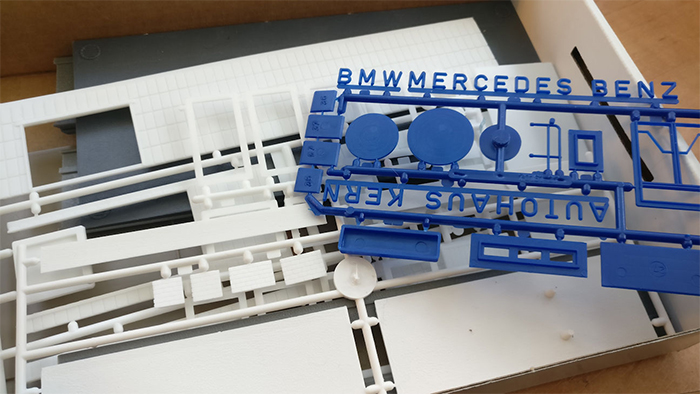
The kit comprises 45 single parts moulded in five colours, plus clear glazing. Included is a printed interior that can be added to depict the sales office plus a sheet containing images of various garage names and Austin Rover posters from the 1980s. You can, of course, download your own copies of car brands and posters to decorate the building to your own requirements. The kit makes a great focal point for a collection of your favourite cars or light commercials, and I will now take you through the build and how to make the resulting model even more realistic.
It might have been a while since you built a plastic kit, so it is best to first familiarise yourself with the components and check that everything is present - and always read through the instructions fully before you start!
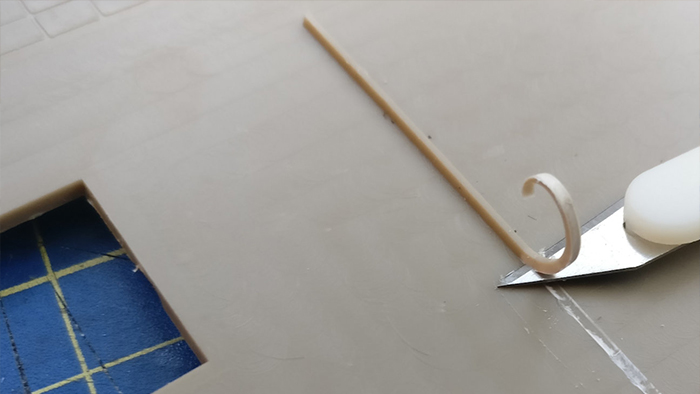
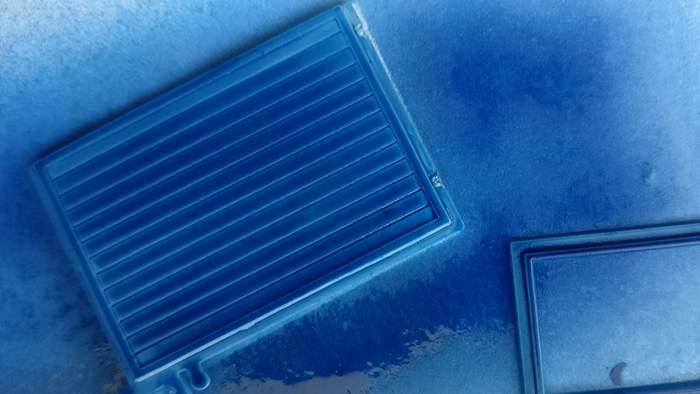
Originally the kit was designed to have a partition wall, but as I want as much floor space as possible I have left this out. To even up the wall I have trimmed the moulded ridge from the floor and the back wall with a sharp blade (GM613 Trim Away Knife) as shown here.
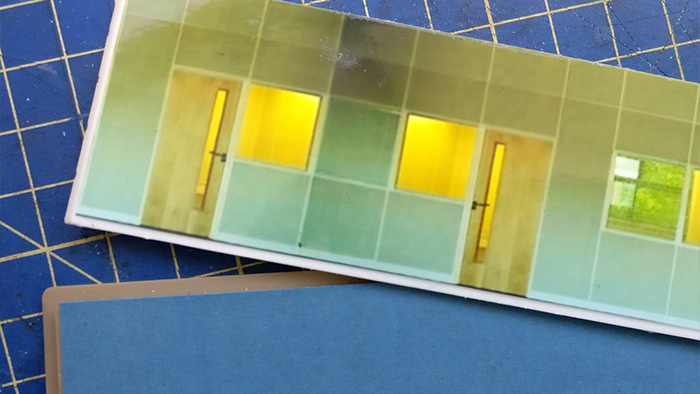
With the ridges removed, the card inserts for the back wall and floor covering will lay perfectly flat.
The rear door is included on a white sprue, and this was painted blue to give it a bit of definition and match the other parts moulded in the same colour. It's always a good idea to keep the colour scheme for the building across all parts as this again makes for a more realistic finish
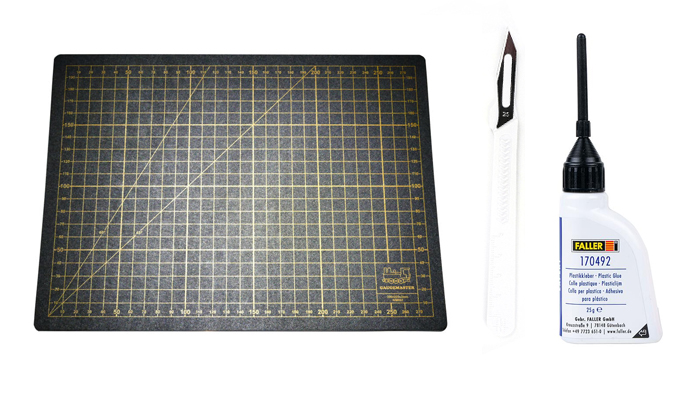
This is not a difficult kit to put together, just start from the bottom up. Use a cutting mat like the GM602 A4 Cutting Mat to give a flat surface to work on, as well as having a grid printed onto the surface to help alignment. Always use a sharp blade to cut the components cleanly away from the sprues. My personal choice of glue is the FA170492 Faller Expert Glue which has a fine metal tube applicator for precise aplication.
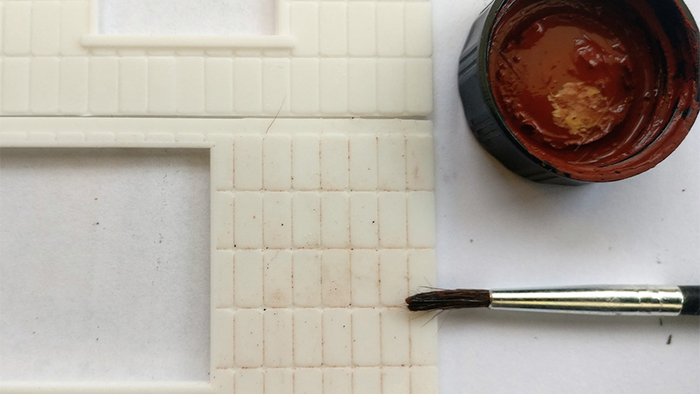
Weathering adds a 'lived-in' feel to the building and makes it appear to have been in its location for a while, or a long time if heavy weathering is applied. It is common to see Railway and Military modellers weathering their projects, so there no reason why you can't have a go! I applied a light brown wash to the lower part of the building consisting of a 10:90 ratio of paint to enamel thinners. If you prefer using acrylic paints, there is no difference other than using acrylic thinners to thin the paint in the same ratio. For heavier weathering, you can also find pre-mixed enamel washes in the Humbrol range.
When applied, the wash finds the pointing gaps perfectly.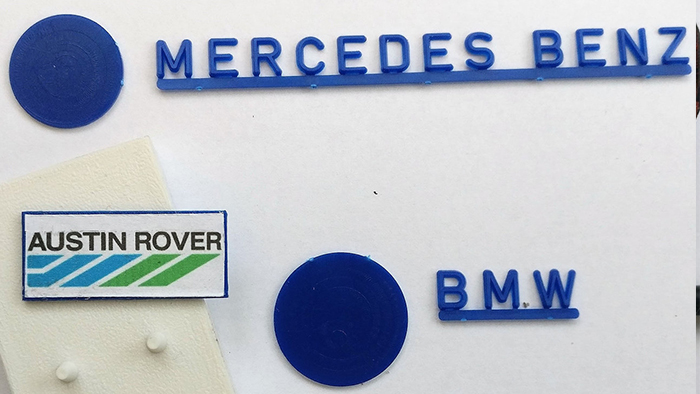
While the kit comes with decoration depicting a 1980s Austin Rover franchise, also included are these mouldings of two famous German car companies. Just download the logos to fit the supplied discs and mount on the white totem shown. Other makes could be represented, just use your imagination.
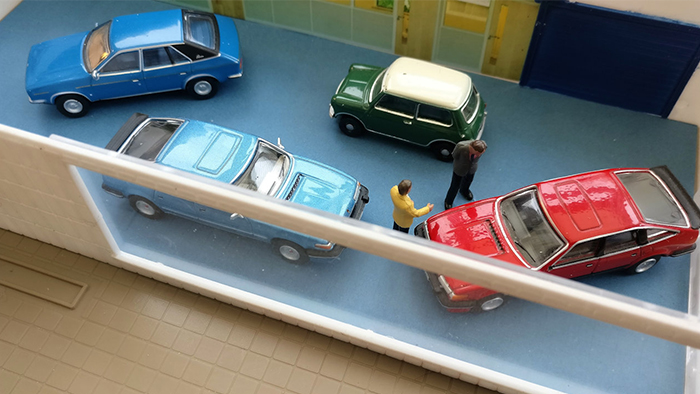
The interior can take four 1:76 Scale diecast vehicles, but the area can be enhanced even further by including figures and possibly some furniture. A little tip: glue the top floor on but leave the roof loose so you can access the inside to change the diecasts when desired without trapping your models inside forever.
Figures bring the scene alive; I used the Bachmann B36-040 set of OO Businessmen. A trip down memory lane? This is exactly how a Austin Rover dealership looked 35 years ago. I know, I briefly worked at one!
There we have it, a completed showroom to show off your diecast collection. There are many other kits available to enhance your scenes and show off your collections, from Bus Garages to show off your favourite fleet, to Fire Stations for your Fire Engines. My colleague Mark recently built the Fordhampton Police Station which would make the perfect backdrop for your Police vehicles. Read about the build here.