

 PAT PETTETT talks us through building this Faller plastic kit.
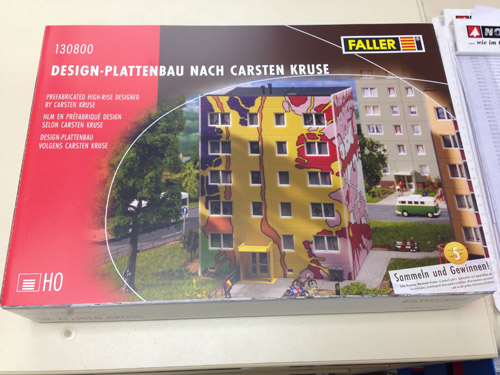
My next article was intended to cover the construction of one of the buildings for the station area. However, I have had the Faller Carsten Kruse High Rise Building Kit VI on order since the start of the year. So, when it arrived I couldn’t resist! This is a limited edition of the block of flats, with sides painted by artist Carsten Kruse. He is known on the continent for his rather eye-catching buildings amongst other things, this one certainly fits the description! For those looking for something more conservative, there is the Faller Germanic High Rise Building Kit IV.
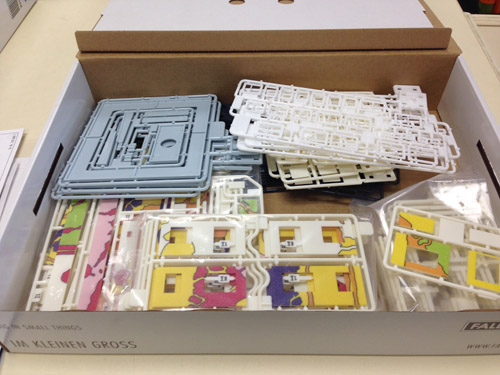
Opening the box, we find the window inserts – these stop light from bleeding out from any gaps if you intend to fit them. Underneath, we find the familiar selection of sprues:
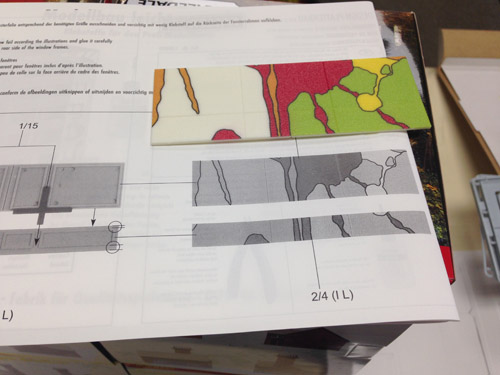
We start off with the walls – on this particular kit, it is naturally very important to make sure the outer facing wall sections match up – the instructions make this clear for each step:
The plain wall sections are glued together with cross shaped pieces:
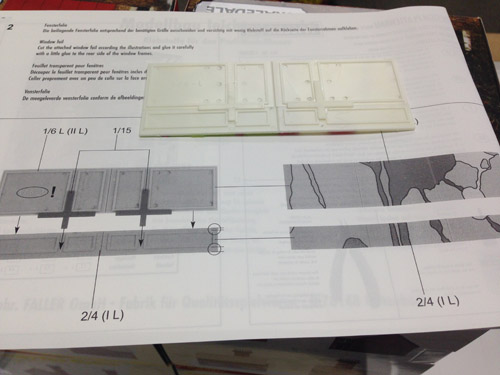
All of the painted pieces are further noted with roman numerals, to help match the parts up – this also applies to the sections with windows:
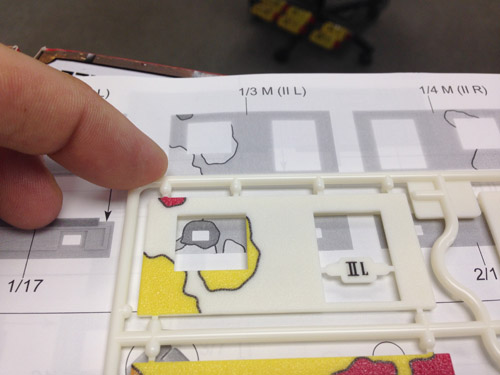
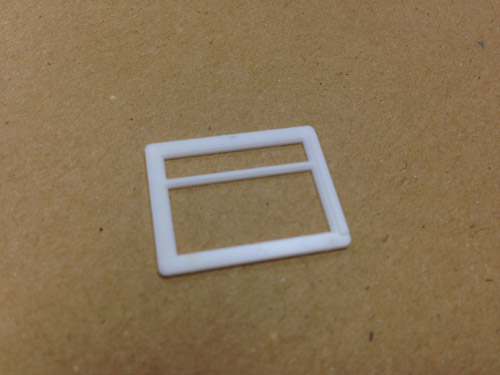
When fitting the windows, mind that you get them the right way round – there is a slight chamfer on the outside:
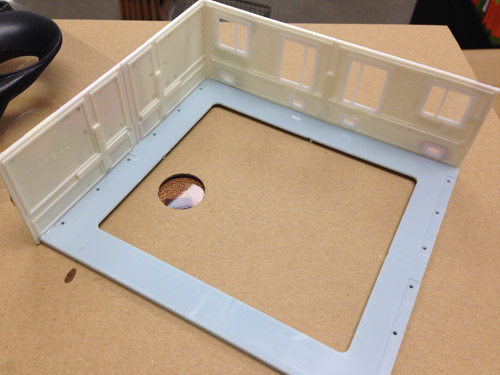
With the first 2 wall sections done, we can make the first assembly:
The next wall section has the building door located halfway across – as always, make sure the sections match up before you glue:
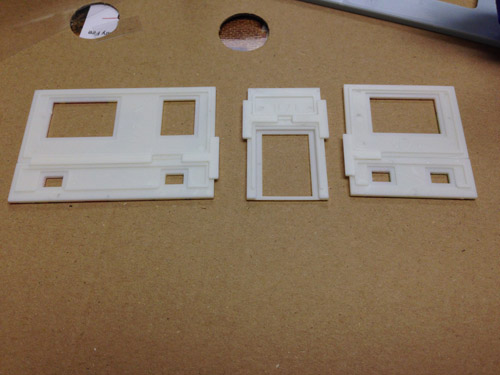
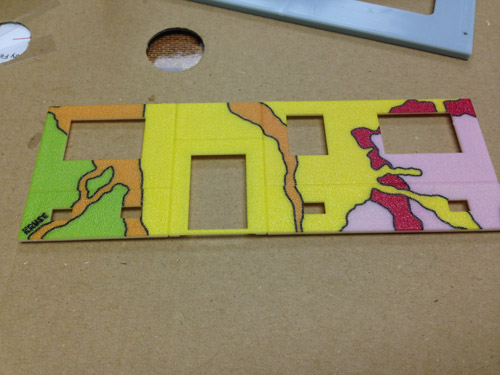
With the first 4 walls done, we have our ground level:
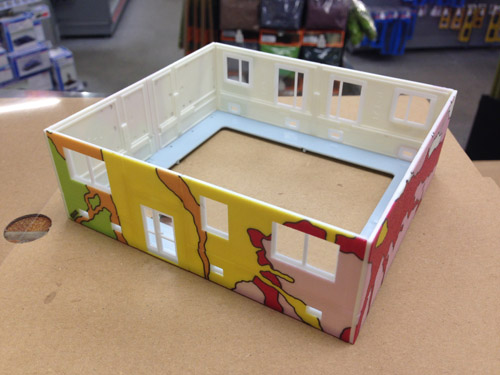
Next, we fold up the first black mask, then slide it into place:
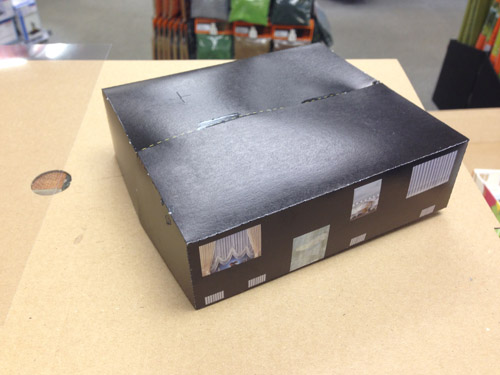
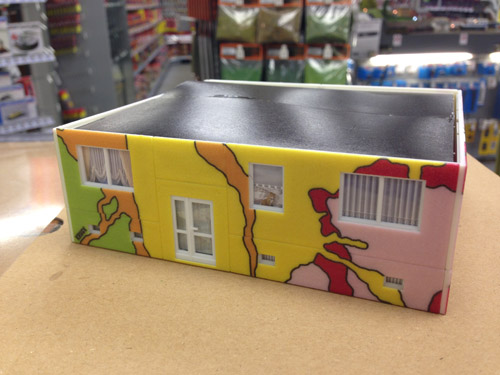
We continue with the next wall sections, and once these are done they are added to the next floor section, taking care that they are arranged correctly to avoid gaps. With these done, we are starting to get a building – as yet I have not glued the different floors together, so I can add interior lights later:
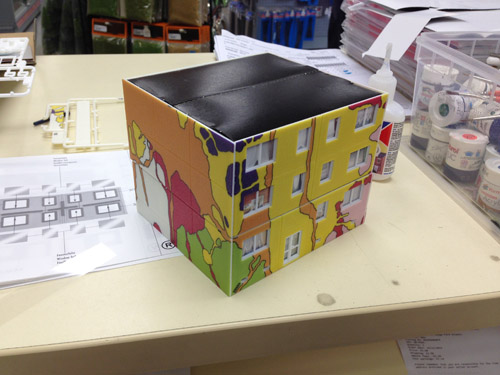
Continue with the next set of wall sections, and as before, add the black mask to the completed shell:
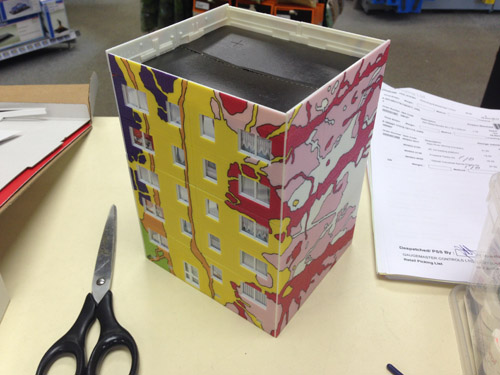
Now we just need the finishing pieces, namely the balconies and doorway and of course the roof! The balconies are assembled floor by floor:
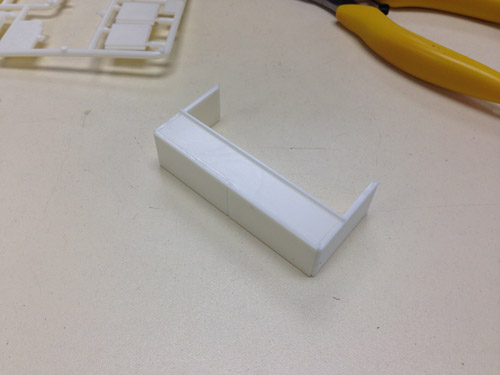
The roof is slightly pitched inwards for drainage – first of all the support is glued together:
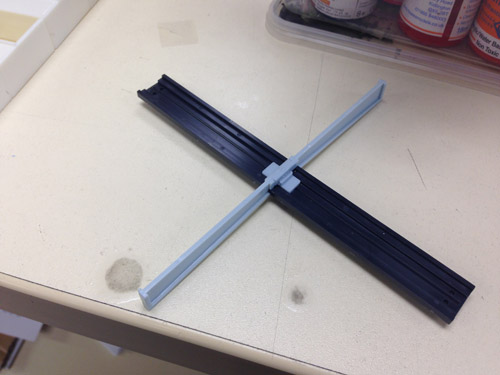
This stops the pitched roof from sinking inside of the walls:
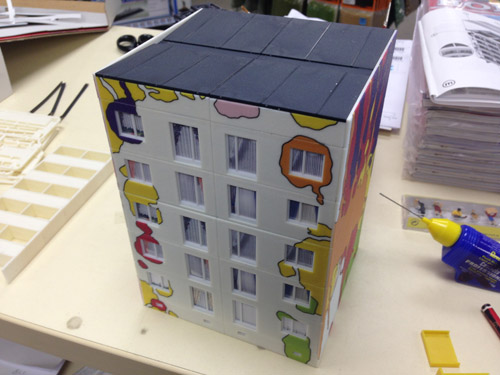
Next we assemble to balcony sections, and glue together:
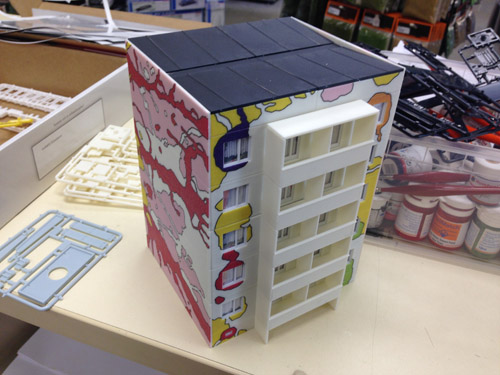
With this step, we are done! There is plenty more we can do if needed – the printing process leaves the very edges of the building free of paint, and this does stick out quite a bit. It will be pretty simple to match the paint colours and fill in these seams. Overall it’s a very eye-catching building – very easy to build, taking a couple of hours at most. Well recommended!