

 TERRY SMITH shows how to build the new Fordhampton Nursery Kit.

The GM413 Fordhampton Nursery is the third of our recently introduced new additions to the Gaugemaster Structures range and looks to be a popular choice for OO Scale modellers.
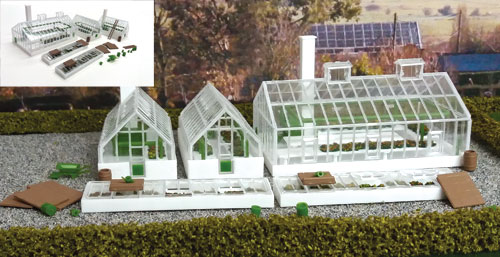
These commercial structures have been around certainly as long as the most popular eras of our hobby, and in this form can still be seen today. These buildings are certainly a common feature when looking out of a carriage window along many of the mainlines in the south of England, although some are now defunct and in a state of disrepair, possibly a project for the modern image modeller? Of course, today these structures form part of many garden centres that you see all over the country, I will explore this in the next issue of Right Lines.
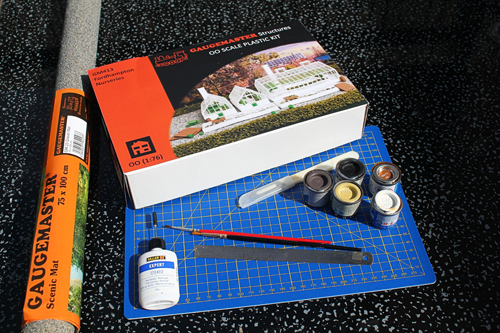
Again, with the previous suitable tools and materials to help you put the kit together is a wise idea and what I consider to be useful is listed below.
When opening the box, you possibly have not seen a kit with so many clear parts to it. Also as you can see there are some bags of foliage, and one of the sprues has delightful little accessories on it such as watering cans, pots and a wheelbarrow.
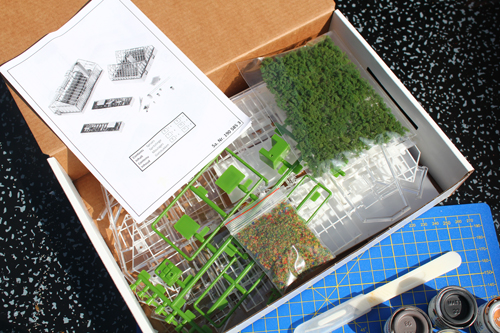
The most important decision you have to make when constructing this kit is how you are going to treat the window frames. If left as is, the model still looks like a good representation of the real thing.
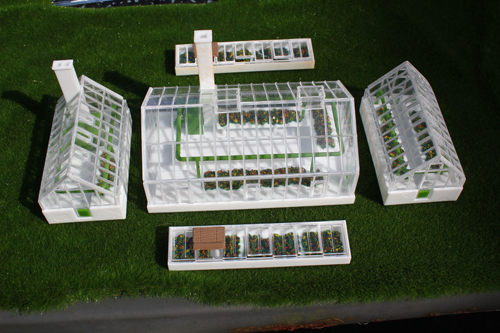
The main parts assembled as from the box.
However one must also consider the use of white paint to enhance the framework. This is as you can imagine a time-consuming task not to be undertaken by an unsteady hand. Baring this in mind, there is a good trick to improve the look of these parts without painting. Lay a piece of P120 grit paper on a very flat surface, your cutting mat will do, and simply rub the glass parts frame side down on the abrasive surface.

This effect whitens the clear plastic on the raised frames, and gives a more realistic look than just leaving them as moulded.
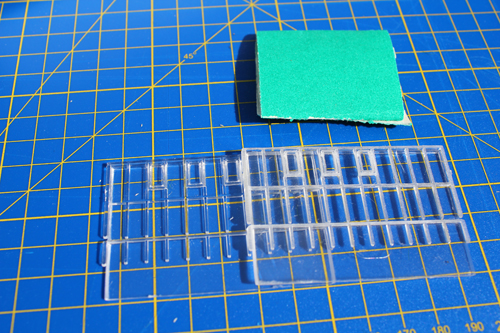
Before and after the grit paper treatment
At Gaugemaster, we don’t do anything easy and decided to go for the painted look! A couple of tips for those of you brave enough to head down this route is to purchase a new pot of matt enamel white paint and a couple of new brushes. The technique used, after making sure that the paint is fully mixed, is to drag the slightly loaded brush almost horizontally across the raised frame, but what if one gets paint on the panes themselves?
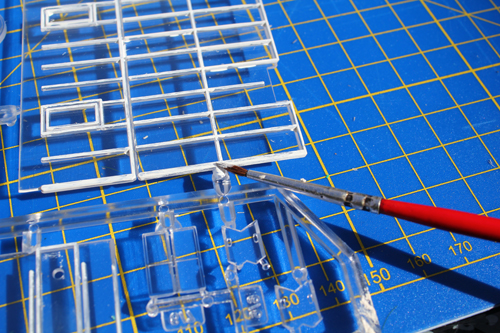
This is not the end of the world, as in real life I am sure the maintenance guys of these buildings would not have been too bothered about getting a little bit of paint on the panes of glass. If you do need to remove paint, it can either scraped off later when dry or alternatively, have a separate brush and a little clean white spirit handy to wash the offending paint carefully off. With the glass put to one side, I will move onto the base of the Greenhouses.
While the floors of these buildings could easily be painted, I decided to give them a more realistic look by using the Gravel Mat. This initially proved to be a bit of a problem as the legs of the tables are moulded on to the floors and would have required many little pieces of the mat to be cut to fit, which just would not have looked right. An easy fix for this is to roughly cut the mat slightly larger than the base it is going on and then dab a little bit of paint on the top of every leg and then place the mat, backing side down, on to the legs while the paint is still wet. When you flip the mat over you now have little marks where the legs are positioned and using your GM613 cutting knife simply pierce the mat through every mark.
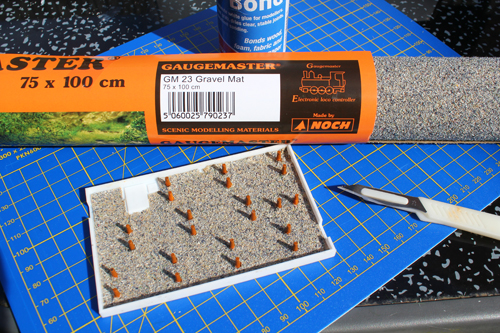
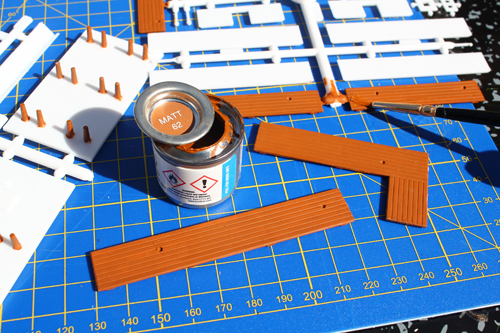
After applying some Speedbond Glue to the floor, gently push the mat down, making sure the legs protrude through the holes. The table tops themselves can be painted in the colour of your choice, I used here Humbrol AXA0672 (62) Leather, which has a nice orangey brown colour, which will contrast nicely with the foliage.
As already mentioned the kit comes with a bag of green and multi-coloured foliage, and although a reasonable representation of plants and flora can be replicated, I decided to use some of our GM Scenics modelling materials range. I used various Flowerbeds and cut the lengths to fit the various tables and applied using Speed Bond.
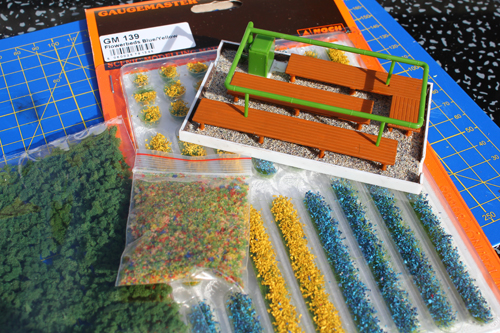
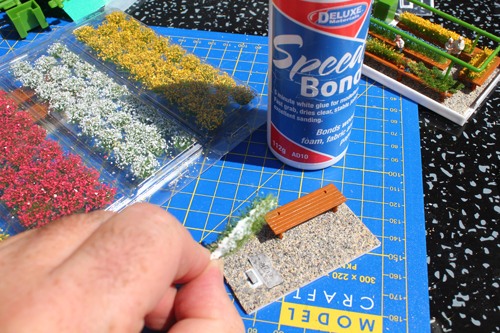
After assembling the green moulded boiler and watering pipe-work and adding a couple of figures.
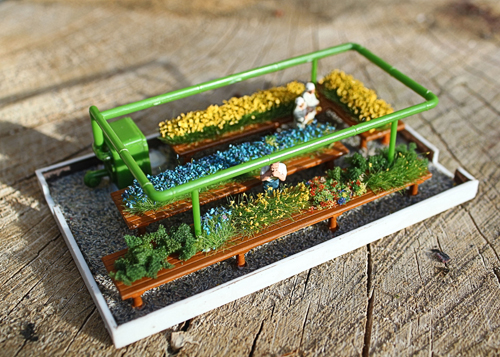
Now the base of the model is complete I could move on to the final assembly but before that I decided to paint the chimneys, again this is down to personal choice. I used Humbrol AXA1081 (98) Matt Chocolate and AXA0360 (33) Matt Black for the coping at the top.
After carefully trimming away the clear parts from their sprues, you can finish the edges off by rubbing them on the P120 grit paper to give a good edge for joining the panels. Putting the glass moulded parts together is fairly simple but one must be careful when folding the joint between the sides and the roof panels, as if it is pushed too far over they will snap off. The best thing to do is to pre-bend these parts and do a dry fit before applying the plastic glue. Once the glue is dry you can then run the white matt paint along the fold lines and where the panels join and your building is finished. In the next article I will show you how you can incorporate the kit using many other Gaugemaster products to create your own garden centre.
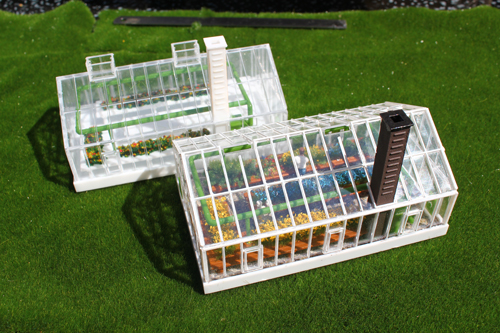
My detailed version of the main building compared to the out of the box version behind it.