

 TERRY SMITH builds the Surgery and shows you some tips along the way.

The GM410 Fordhampton Surgery could if you wanted be built as a domestic bungalow but its larger size indicates that it could be employed for more practical uses. The building actually is similar to many surgeries, be it medical or dental, up and down the country and if we are honest very rarely modelled.
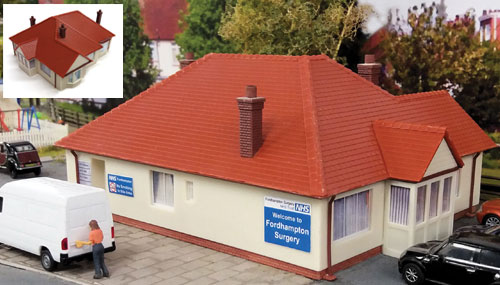
This kit comes in three pre-moulded colours and could quite easily be built as is and enhance any layout, but as I go through the build-up I will also show you with a little paint and patience how we can improve on its looks
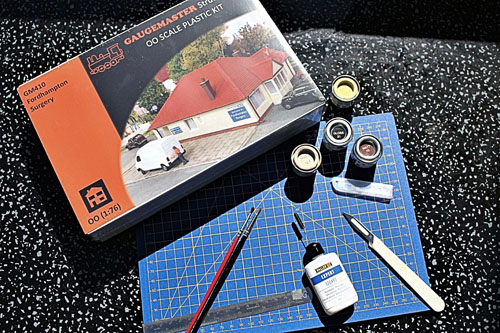
Alongside the kit there are a few, but not so expensive things you will need to help you during the kits construction, some of which will be of use for many years to come. Shown in the picture above is a A4 Cutting Mat, a single knife out of the Triple Pack Trimaway Knife Set and a Flexible Steel Rule. Also shown are various Humbrol paints a small to medium paint brush and my own personal choice of adhesive the Faller FA170492 Expert Glue. You of course may have your own favourite brand but I like the control you get from the small steel applicator tube on this glue.
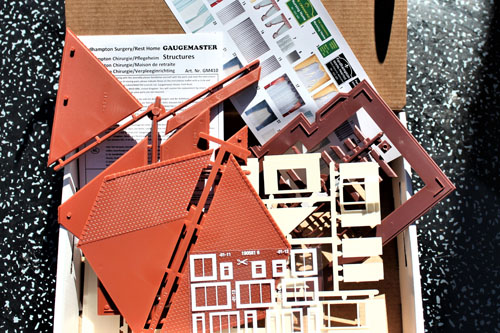
You realise on opening the box just how big this kit is, and it really shows up how small and under scale most of the resin ready-built model buildings have been over the last few years. The walls are moulded in a magnolia colour but the sprues carrying these could be painted to any colour you wish. I would recommend that you spray painted larger pieces like these. The roof comes supplied in a colour that replicates clay tiling while the panel that joins the roof to the walls is moulded in maroon. This sprue also includes the downpipes and chimneys.
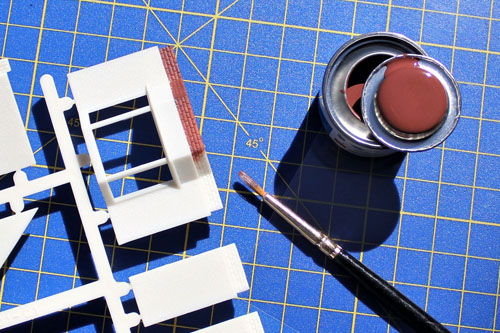
If you look at the wall sections you will spot that they have a four-row brick course moulded at the bottom. These look great if picked out in the appropriate brick colour, we used Humbrol AXA0775 which is a matt enamel called, unsurprisingly, Red Brick. The great thing is you can't really mess this up as the brick course is set back, it's difficult to get paint on the rest of the walling. If ever you do, wait till it dries then lightly scrape off the offending paint with the trimaway knife. The Humbrol brick colour looks very realistic and one could also paint the brick chimneys this colour but we left ours as moulded.
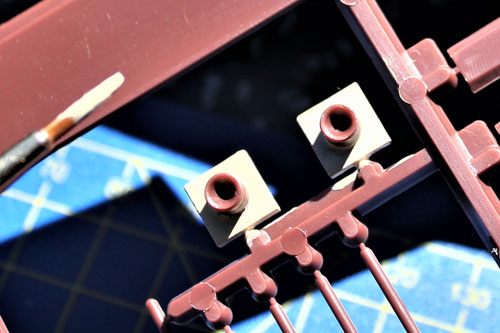
Another of the mouldings that can be improved with a lick of paint is the pointing around the chimney pots. It might only be a small bit of paint but changes the realisms drastically. Again, Humbrol came to the rescue and after using their AXA1331 Pale Stone we were set to start putting things together. Before we do that the inside of the chimney pots themselves could benefit from some Matt Black paint to represent years of soot. As you can see we like to paint what we can on the sprue before assembly, it just makes life easier.
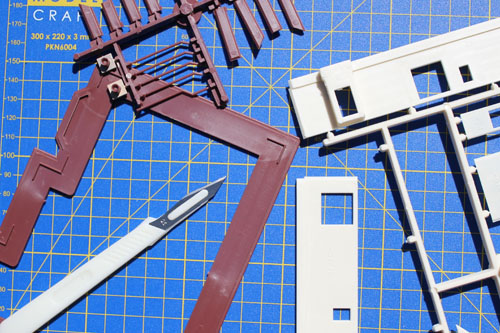
Using your cutting mat and blade carefully cut away the pieces from the sprue, the rule can be helpful here to get a extra clean cut. If need be rub the edge with sandpaper, I like to do this anyway to make sure that you get a nice edge for the glue to bond, to especially on mitre joins on this kits corners.
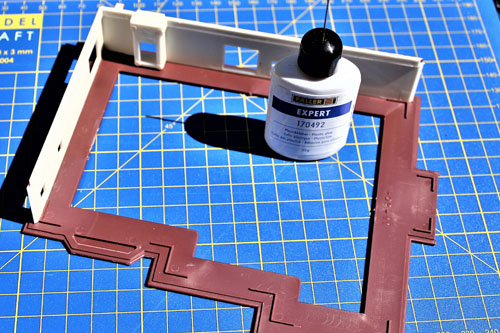
To begin assembly, place the large maroon moulding upside down as in the picture, and run glue along the edges where each wall will sit. One by one start sticking the wall sections together. Watch out for the two small wall mouldings though, its easy to put them round the wrong way. I usually run extra glue along the inside of each corner joint after they have all been stuck in place. Once the glue has set its time to move onto the roof.
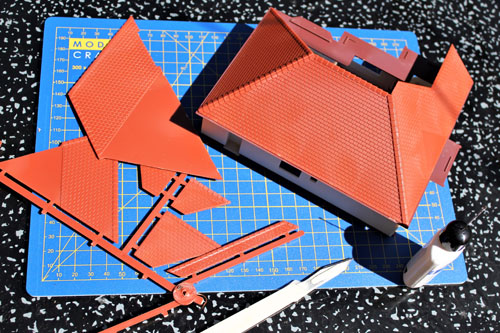
Okay, this can get a bit fiddly! All the parts fit together well, but it's just that they start moving about while you try to attach the next piece! It is a good idea to try a complete putting the whole of the main roof section together at the same time and make sure that you can manipulate it so that it is all square before the glue sets. The picture shows two pieces glued together and I would as per the instructions start here, and quickly move round attaching the other sections. It does come out all right in the end!
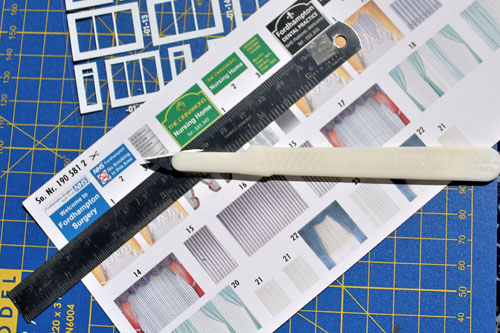
Supplied with the kit are acetate windows, which need to be cut out and stuck to the inside of the buildings. The sheet containing blinds and curtain are optional. As we were finishing our model as a Doctors Surgery we decided to use all the blinds, as they tend to use these for patients privacy. As you can see we supply the NHS Trust Doctors signs along with that of a Dentist and Rest Home, of course one could always take a picture of a real sign near them and print it off in 4mm scale to add a personal touch.
NEXT TIME - Terry builds the GM411 Fordhampton Farmhouse.