
 MARTIN LOVELL adds an interior to the Teignmouth Signal Box kit from the Gaugemaster Structures range.
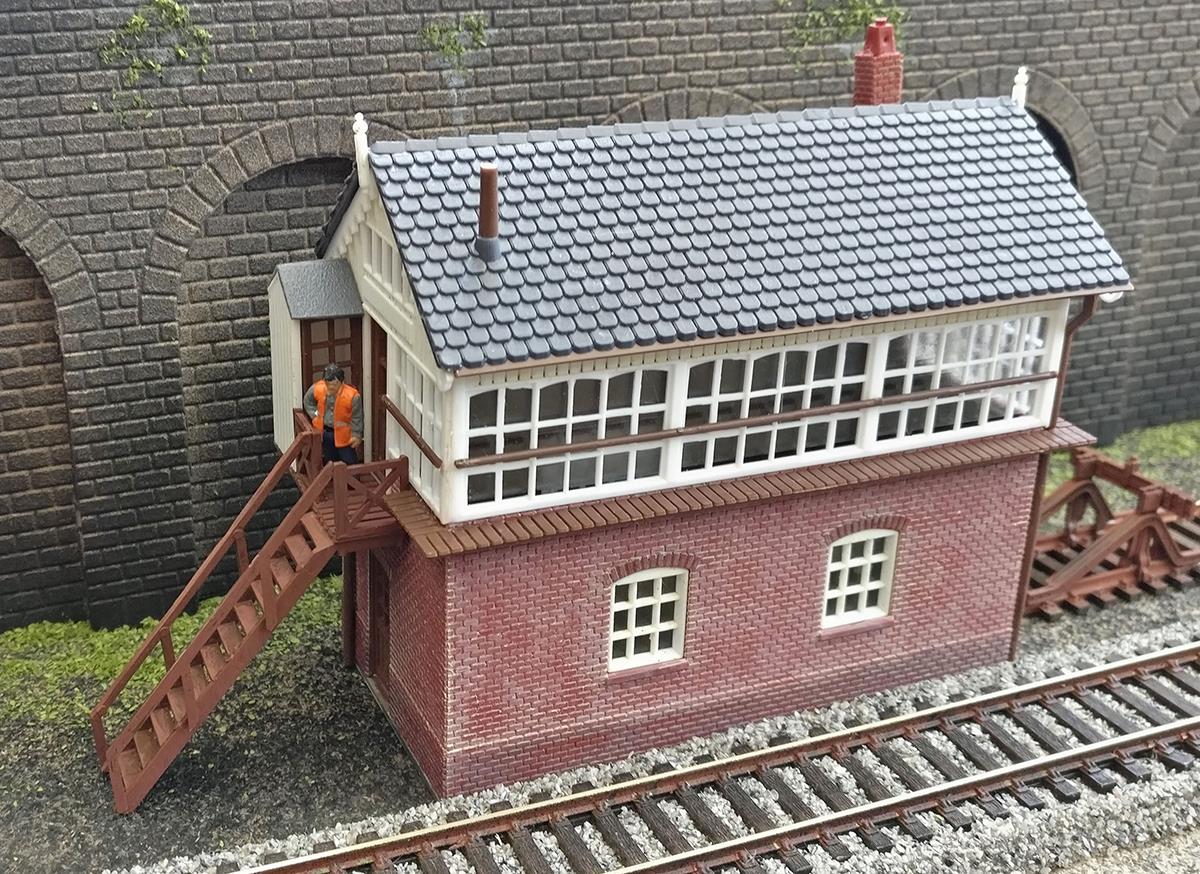
In my last article, I built the new GM481 Teignmouth Signal Box Kit in the Gaugemaster Structures range. Rather than having just an empty plastic box, I thought that I would add an interior. For this, I chose the RO553 Signal Box Interior Kit, produced by Ratio. This kit contains a frame with levers, desk, chair, and other bits and pieces.
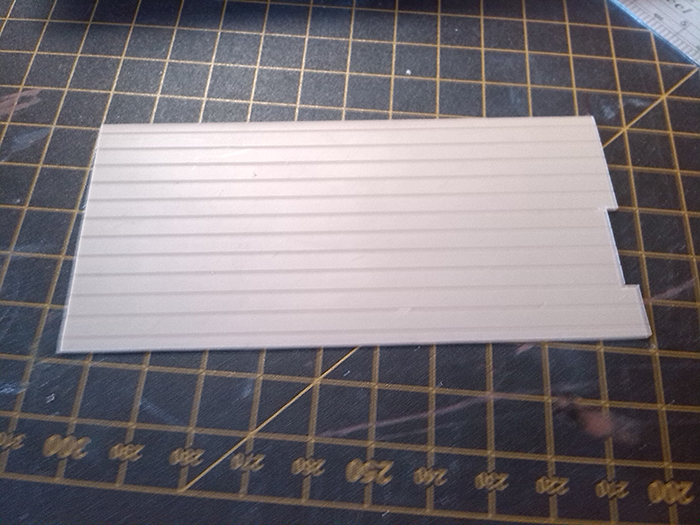
I started by adding a planked floor using Slaters SL0434 Embossed Plastikard Planking which, after cutting to size and weathering, was fitted.
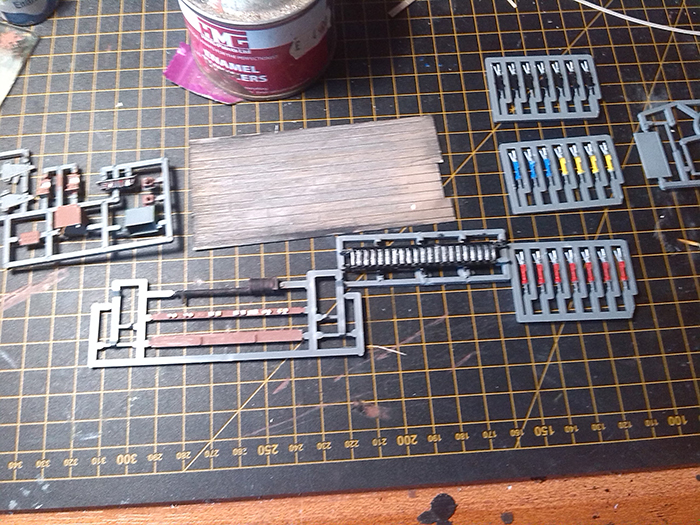
The various detailed bits were first painted, as it is easier to paint these before placing them in the Signal Box and, once dry, were assembled and placed in position.
For non technically minded modellers, the colour of the various levers is detailed below.
There are other types, such as chevrons pointing up or down. These indicate detonator placers on the up- or down-line.
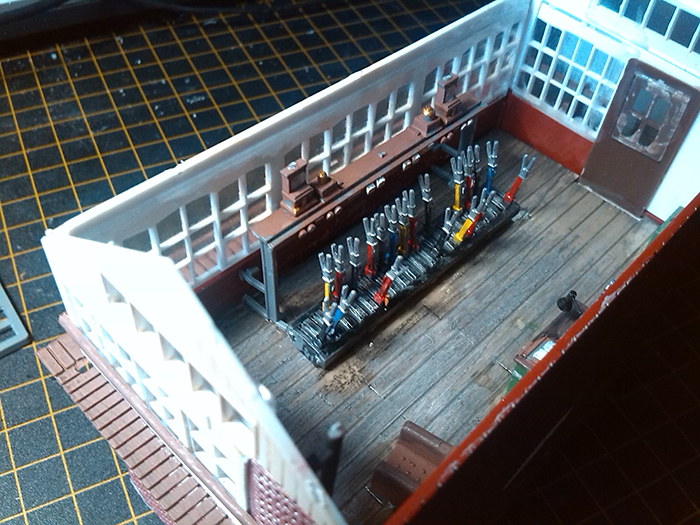
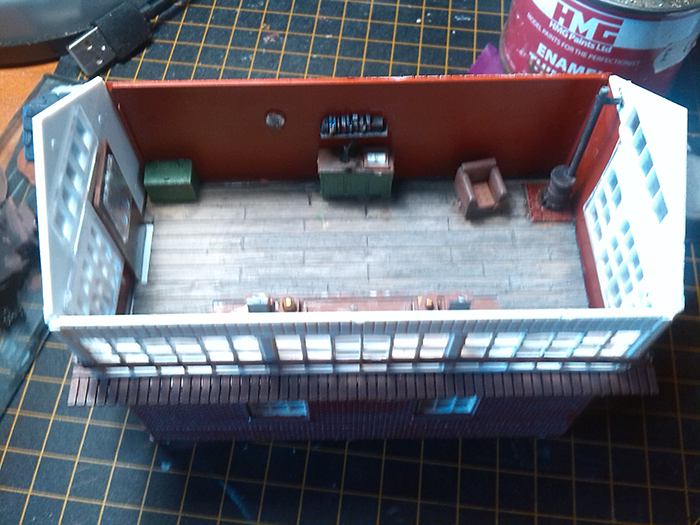
With the interior in place, the roof of the box can now be added. Installing a light is a good idea here, and final weathering can take place.
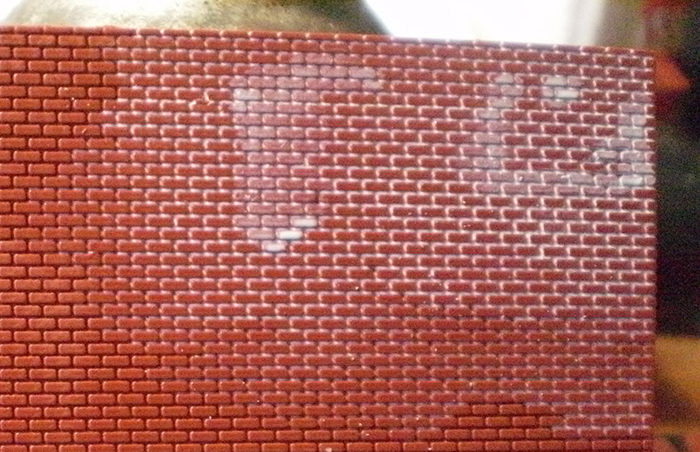
A white wash, or very thinned white paint is used for the mortar lines. Just touch a loaded brush onto the brickwork, and capillary action will do the rest. Keep the wall flat until the paint is dry, otherwise all the wash will run to the bottom of the wall, spoiling the effect!
Certain grimes can be drybrushed, or airbrushed to dull down the pristine nature of the kit, as built.
So, just the signalman (and possibly a cat) to add, and the model is complete.
I hope this model finds a place on your layout.
Happy modelling!
Martin