

 PAT PETTETT explains how to build this HO Scale Faller Bridge Kit.
I’ve been making Faller kits since I was tiny – My first was the coaling stage they made for Hornby way back in the 1980s. After a long break from modelling, I picked up the habit again when I started working at Gaugemaster in 2001. The Faller range covers pretty much every subject you could wish for, and my current layout project is the result of daydreaming through the catalogue – quite often a single picture can inspire you to create something. Having grown up in an urban environment, I’m naturally fond of townscapes in model form – and Faller make some super models that closely resemble the area I grew up in. My local station sits atop an embankment, and the layout I am slowly building is the result of seeing a single kit in the catalogue. Eventually the layout will be a raised station, with townscape surrounding it, and hills at each end.
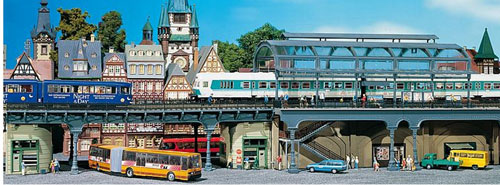
However, what are they like to build? Join me as we take a look at putting together one of the Faller bridges - FA120487 Steel Bridge Kit II – this will be one end of my station area on the finished layout. In future articles we will cover some of the more complex kits as we move along the station area and start to build the town.
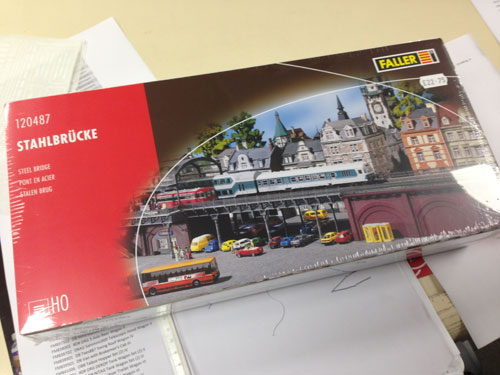
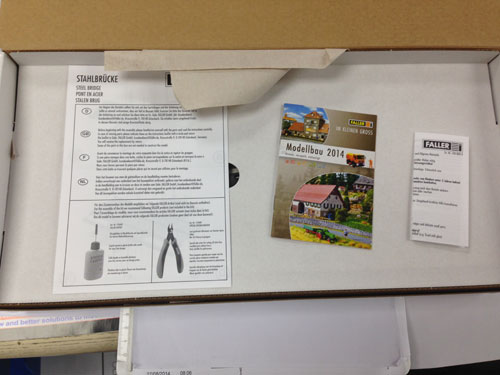
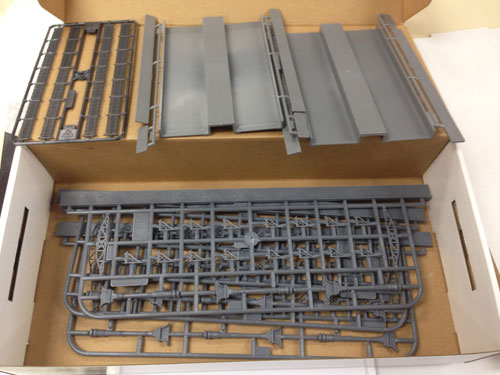
The first thing we see is the instructions – READ THEM! Do this before you start putting anything together. Reading them forwards can sometimes be confusing, you can always start at the back and read them in reverse – this will show you what the final assembly is, and how those final sections are made from the smaller parts. Underneath the cardboard lid we find two track bed sections, a sprue of fencing for the bridge sides, and three sprues that will make up the sides along with all the details.
Surprisingly little – all I ever use for kit building is a bottle of Roket Plastic Glue, Sprue Cutters , and a Soft Grip Craft Knife – the sprue cutters commonly leave a small burr, and I use the craft knife to remove this – you can always use a small file or Flexible Modelling Sander to clean the parts up if you prefer.
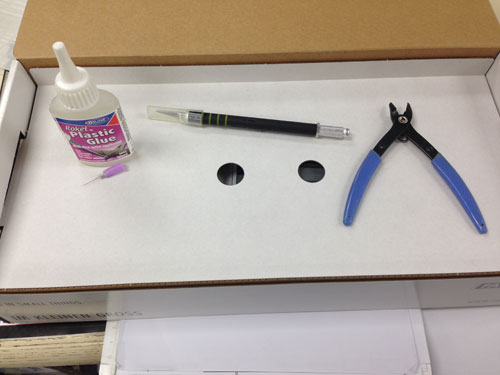
Some people like to paint all the parts before assembly – I sometimes do this with aircraft kits etc, but I find this is a fruitless exercise for buildings as glue will often seep onto painted areas, and then you have to repaint those anyway.
The other factor with painting is consistency – as the kits I am building will all be part of a scene, they will look like they are part of the same area if I do any painting and weathering once they are all built – it is much easier to weather with a single mix or wash of paint, instead of trying to match that colour later on! Faller kits are pre-coloured plastic, and most are weathered to some extent from the factory, so all we need to do is blend them together later.
First off, lay the two deck sections on a flat surface, and glue the two tabs on the recesses underneath.
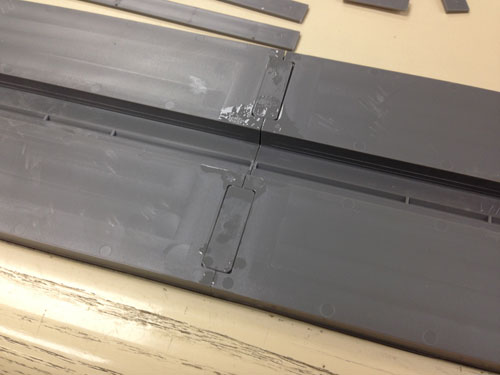
Set this aside to dry whilst you find the next parts, the walkways for the bridge sides. These have little tabs to locate them correctly:
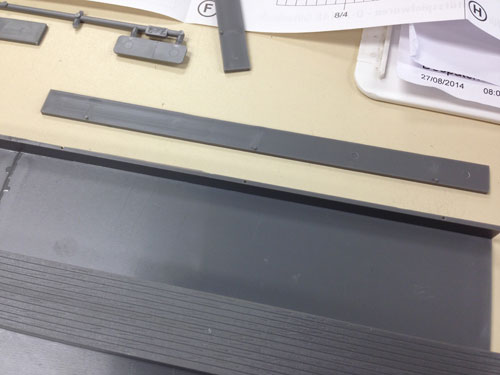
With these drying, cut the steel side beams from the sprue, and use a knife or file to clean any flash away that might stop the parts fitting. Glue these on with the cross of the T section to the bottom of the bridge deck:
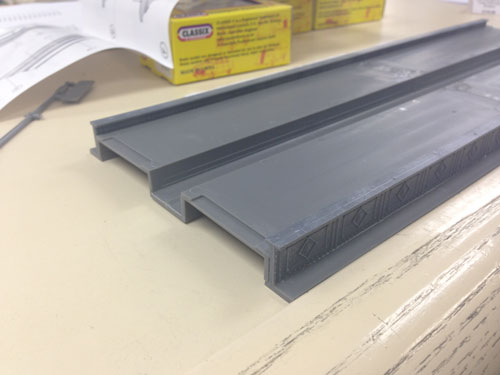
Before we can add the centre support beam we need to add some of the decorative braces to the underside – these will help support the centre beam in position. Glue the braces along one side, lining them up with the centre markers on the deck section:
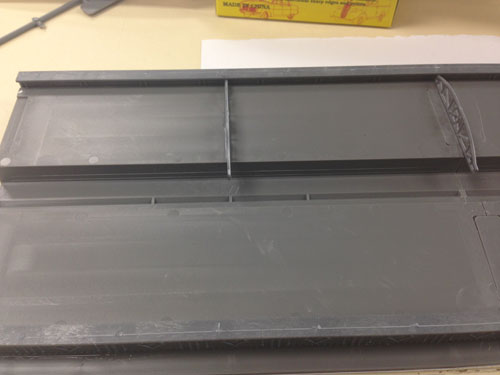
The centre beam is now added, and the remaining braces are added on the second side – whilst this lot is gluing, I’ve added weights to stop anything moving about:
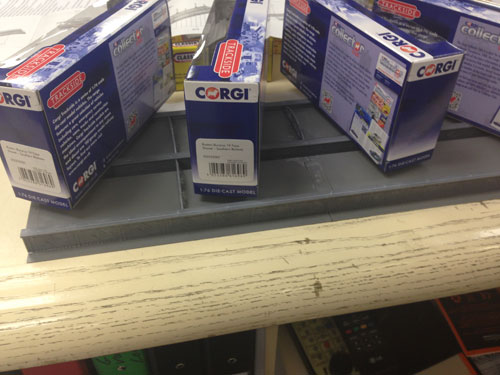
Once the glued braces are all dry, the support pillars are cut from the sprue and glued on the underneath in line with the braces. Once again the Corgi boxes come in handy, this time to keep the pillars straight whilst the glue sets:
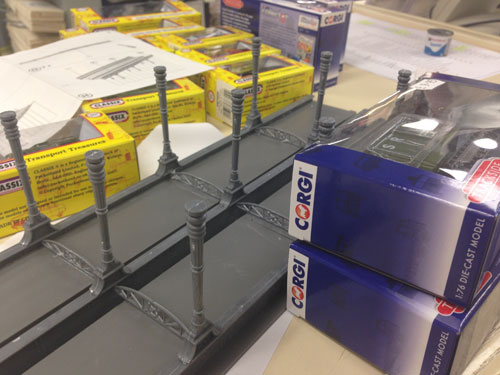
We are now nearly there – the support struts for the side beams are now cut from the sprue, and glued along the side beams:
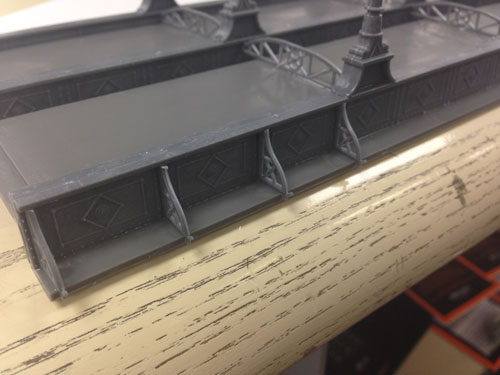
The only part to fit now is the top fencing; this time the knife is being used to hold them upright whilst things set:
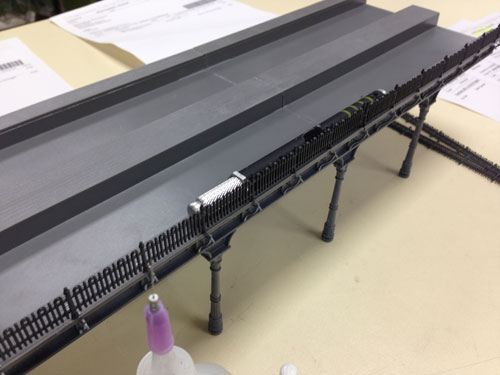
And that’s it! We now have a superb urban bridge, which has taken me around an hour at most. The wooden decking on the top will benefit from a wash of a grotty wood colour, but as mentioned at the start this will be done as the bridge is taking its place with the rest of the scenery.
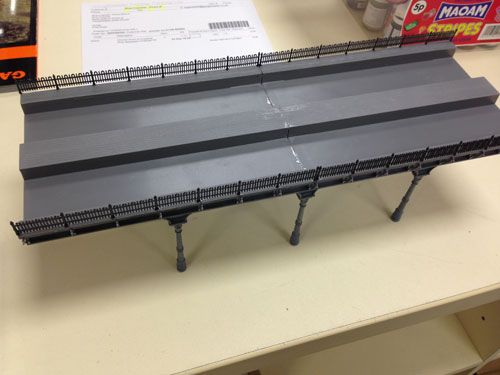
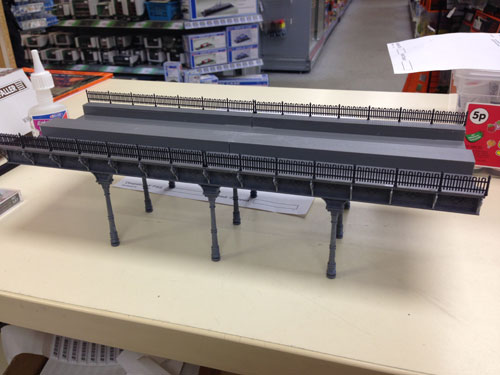
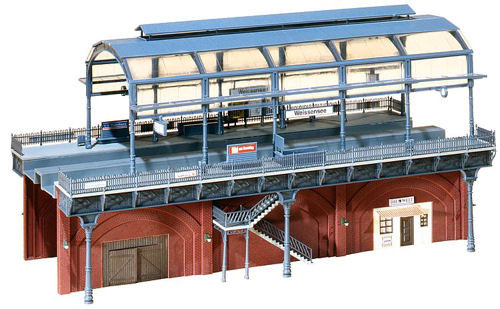
Next time around, we will move onto the first of the station sections – eventually there will be two of these, long enough to accommodate a small suburban multiple unit in the platforms.
Pat is our Assistant Shop Manager and, although working on HO at the moment, what he doesn’t know about G Scale can be written on the back of a postage stamp in a marker pen.