

 MARK HOLLAND shows us how he made this diorama using a Train Tech Smart Light.
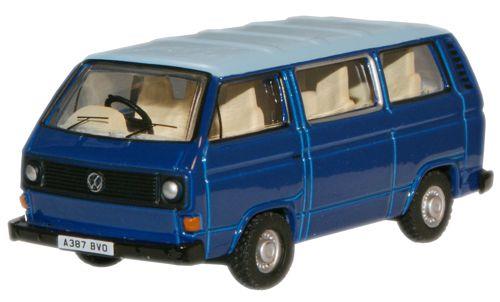
Along with many railway modellers, I enjoy adding a bit of interest and fun to my layouts. With this in mind, I decided to do something a little different for our shop layout using an Oxford Diecast Volkswagen T25 Minibus and a TTSL40 Train Tech Smart Light Real Fire Effect unit.
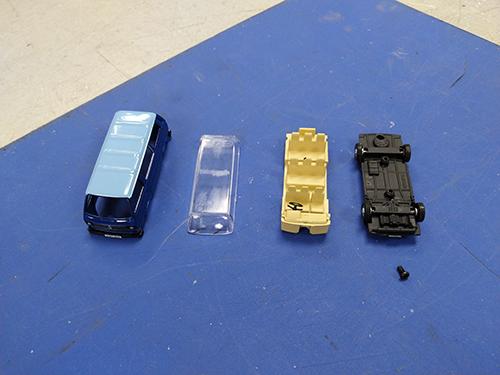
Most Oxford Diecast vehicles are easy to get apart, normally only held together with one or two screws up through the bottom. Once removed from the box base it is just a matter of locating the screw and the model breaks down into its constitute parts.
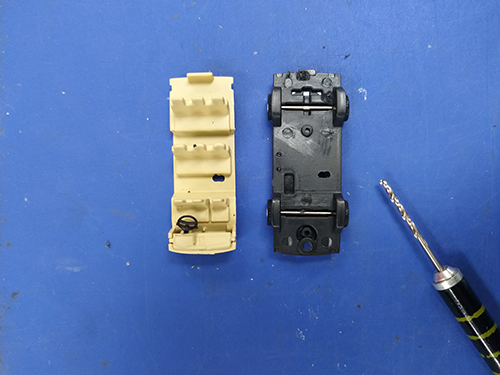
Once taken apart, the decision where to place the Smart Light needs to be made. You also need to drill a hole to allow its power wires to leave the base of the minibus.
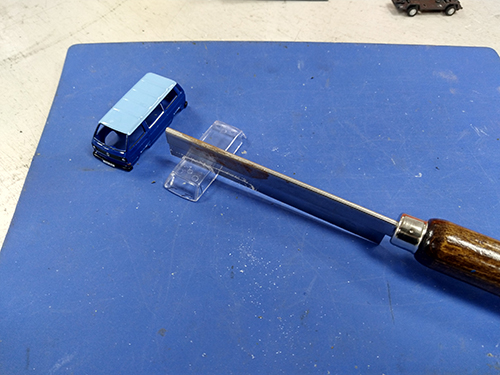
In preparation for a later step, the glazing needs to be cut so as to allow the rear windows to be open but keeping the windscreen and front side windows intact.
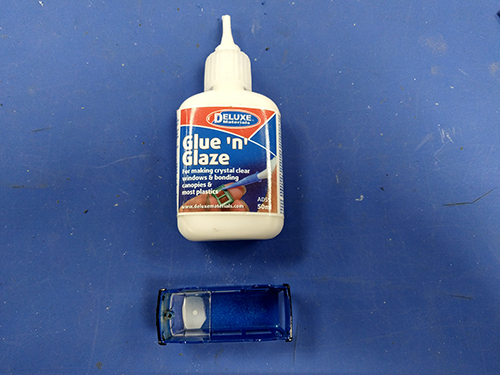
As the glazing will no longer stay in place after modification, a small amount of glue is required to affix it to the body. I used DLAD-55 Glue N Glaze.
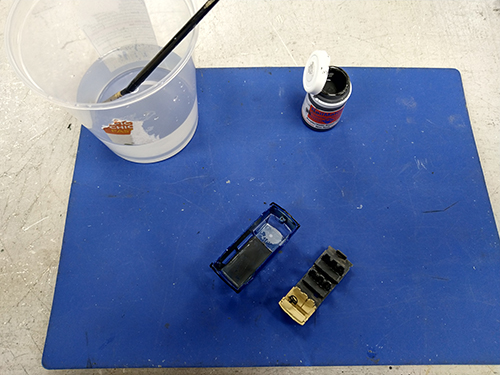
To dull down the interior a dark colour paint was used, such as this RM2428 Railmatch Worn Tarmac. This was just something we already had open as its not to important exactly what colour is used - any grey/dark grey/black will do.
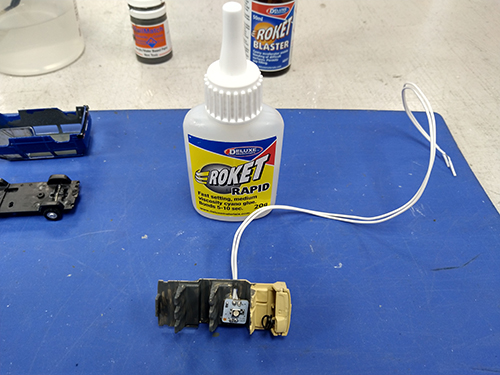
Once the paint is dry, a small spot of cyano glue (DLAD-44 Roket Rapid) can be used on the base of the Smart Light to set it on place quickly and accurately.
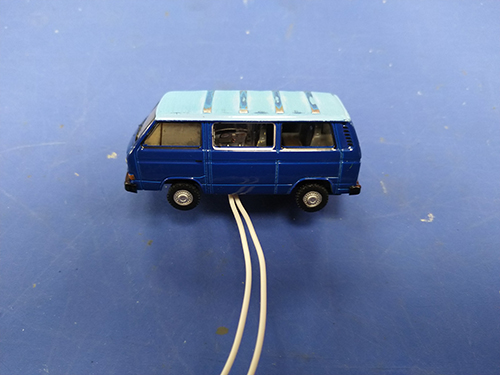
I've reassembled the minibus here to check the position and fit of the Smart Light. It is also easier to show its location in the minibus now rather than later.
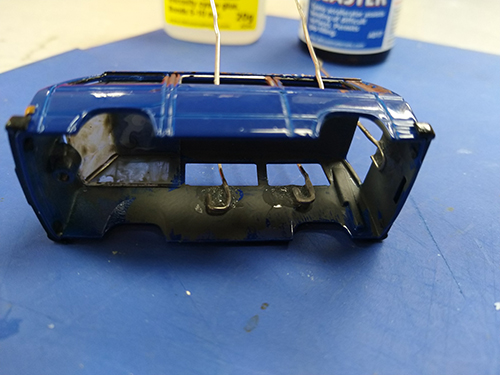
As this minibus is supposed to be well alight, smoke needs to be pouring from the open windows. To help support the material used for the smoke, wires need to be fashioned and attached inside the body. These were just unravelled paperclips.
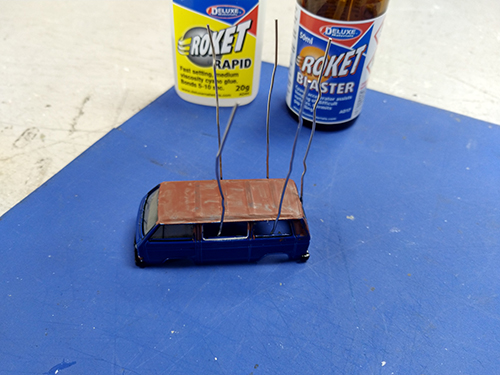
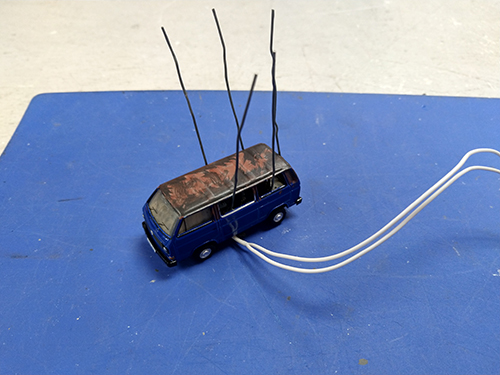
After all the support wires are attached a quick paint of the roof in a rust colour then a bit of dark grey/black around it and on the wires themselves, then resemble the minibus.
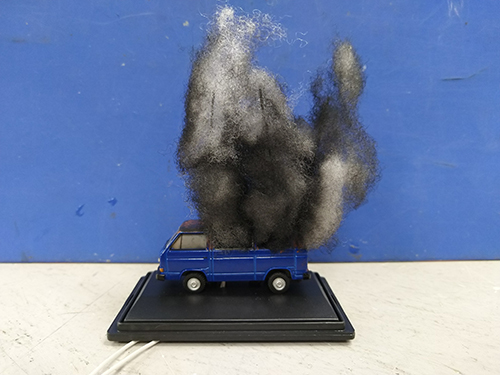
To make the copious amounts of smoke that come from any Volkswagen, I used pillow/soft toy stuffing. When teased out and sprayed with black and grey paint this gives the desired effect. I tease the stuffing out flat and give it a light spray on both sides, then once dry gather it back up so there is a good variation in colour between its natural white and the painted on colours.
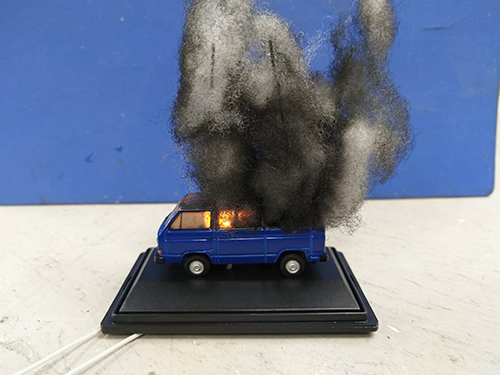
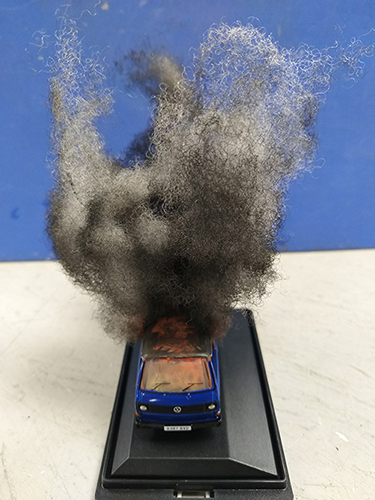
Slide the painted stuffing on to the wires in each window and gently arrange until you get the desired effect, power up the Smart Light and there you have it, a burning Volkswagen minibus! See below to see a short video showing off the fire effect.