

 MARTIN LOVELL shows us how to detail the vehicles on your layout.
Quite often we wish to add cars, lorries etc. to our layouts, but just plonking a car on the road can spoil the effect of carefully made townscapes. The usual "out of the box" car is normally very glossy and devoid of driver and passengers, and while this may look normal in a car showroom, out on the road is a different matter.
As every car owner knows, without frequent valeting and cleaning, a car can quickly lose the brand new look. In this article, I hope to show some relatively simple methods to improve the look of vehicles on your layout.
If you are building a themed layout set in a particular era, the 1970s for example, make sure that the cars date from or prior to that era, as a 1980s car would look out of place. With most of the Oxford Diecast range, the number plate is correct for the year of the car, or a search on the Internet will state the years of manufacture of the particular model.
So to begin.
A lot of the Oxford Diecast range have one or two screws holding the body to the chassis. These are the easiest to work on, as some models are riveted which would require drilling out and refixing afterwards, so for now I will just stick to the former.
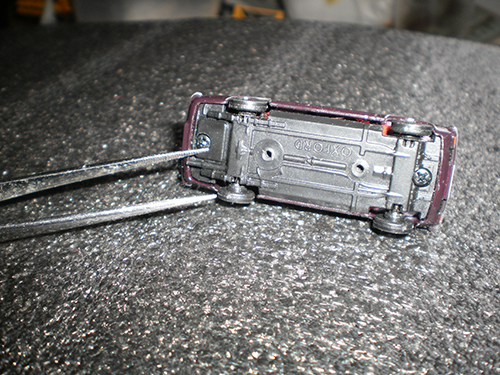
Having removed the screws, carefully lift the body, windows and interior away. We can now start detailing. I usually start by giving the body a coat of a satin varnish, such as Humbrol AXD6135, as this tones down the glossy finish while still retaining a slight shine. Putting this aside to dry, I can now start on the interior.
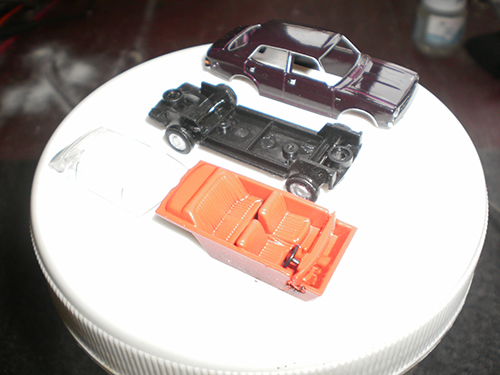
First of all I tend to pick out the interior details such as seats, handbrake and the like with matt colours for the upholstery, and silver for instruments (if moulded into the interior) and door handles, handbrake etc. When these are dry, I select a driver and any passengers I require, and fit these in position, I usually end up cutting the legs of the unfortunate victims in order to fit these in, as it is not noticeable when the vehicle is reassembled, I suppose it could be said that all my drivers are legless in charge of their cars!
The figures I choose are usually HO scale figures, seated in approximately the right position, indeed Noch and Preiser both do packs of drivers and passengers without legs such as:
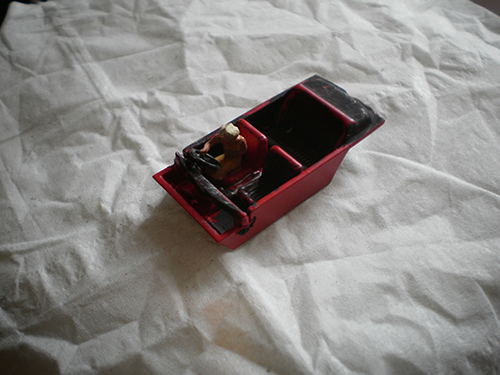
Having selected them, I do a trial fitting to make sure that the glass fits properly, and then a spot of DLAD-44 Roket Rapid holds them firmly in place.
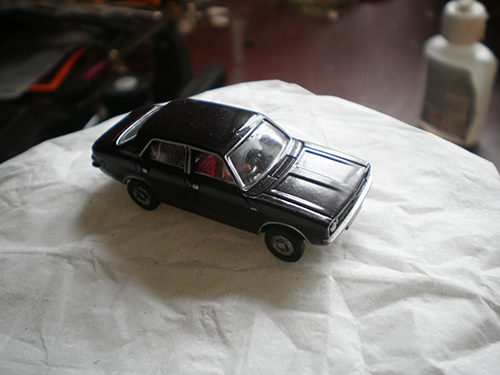
Once dry, the vehicle can be reassembled and final detailing can take place. For cars, a little dirt here and there gives the effect of normal use.
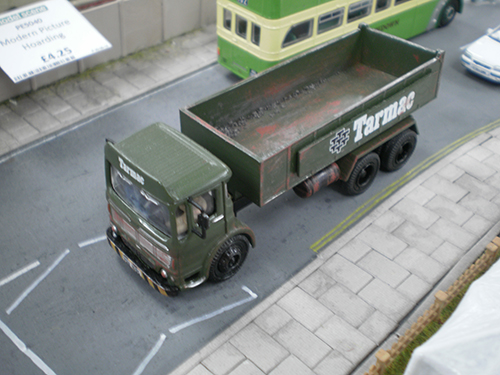
Have a look at real cars to see where dirt builds up, such as on the windscreen where the wipers don’t wipe, a matt finish on tyres etc. and with lorries, more dramatic measures can be taken with scrapes, rust spots and remains of the last delivery perhaps in the back of an open backed truck.
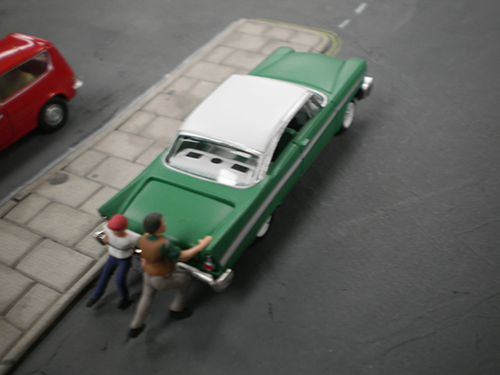
Other things you might wish to consider is the setting up of small dioramas, the broken down car being pushed, the mechanic working on a car, or even Basil Fawlty giving his Austin a "damn good thrashing"!
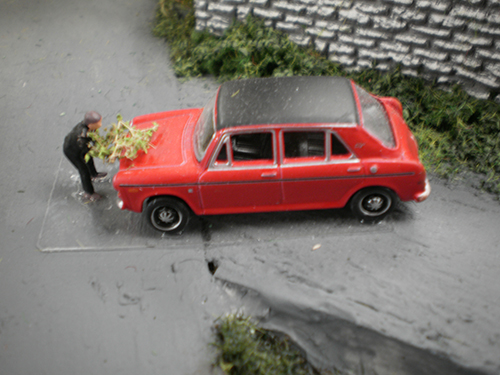
I hope this may inspire you to have a go, and I'm sure you will notice the difference that a bit of time can make.
Happy Modelling,
Martin.