
Some of you may have read my previous article about building the new Fordhampton Police Station OO Scale Plastic Kit. As every Police station needs at least one police car (maybe even a few Police officers too!) I thought adding a flashing light to one of the police cars from our layout would look rather good.
As luck would have it, Faller do a range of self-flashing LEDs. These only need to have wires soldered on to them and a 3-4 volt DC power supply (or battery) attached and they will happily flash away on the own, nothing else needed.
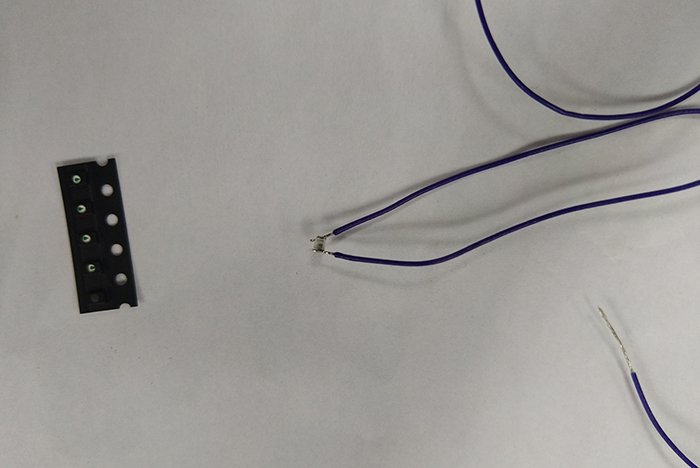

There is a blue LED supplied in a pack of five (FA163742), they are best described as 'micro' and a steady hand will be needed to attach the wires onto either side of the LED. Thank you to my colleague Martin for undertaking this for me, as his hands are steadier than mine!
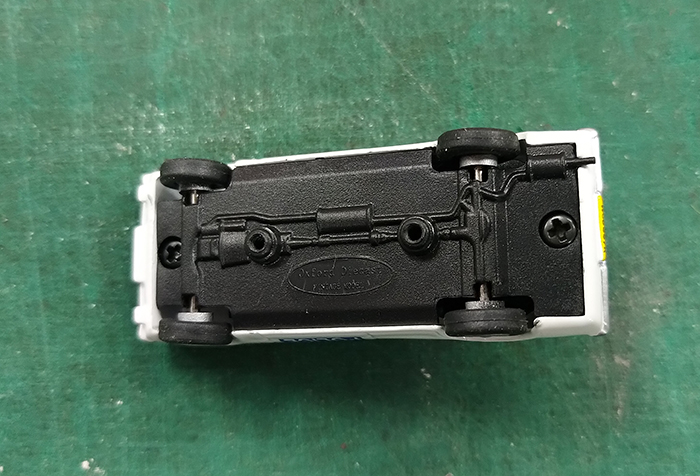
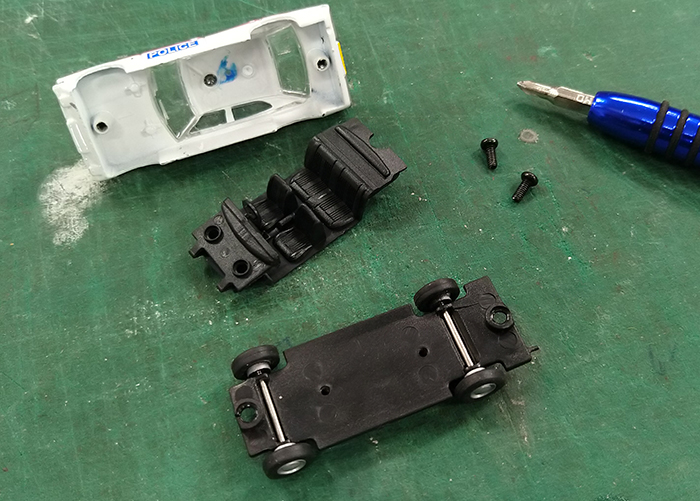
The car that I have chosen for this is a Ford Cortina Mk3. Oxford Diecast cars are very simple to take apart, a couple of screws through the bottom of the car are undone and the vehicle breaks down into its constituent parts.
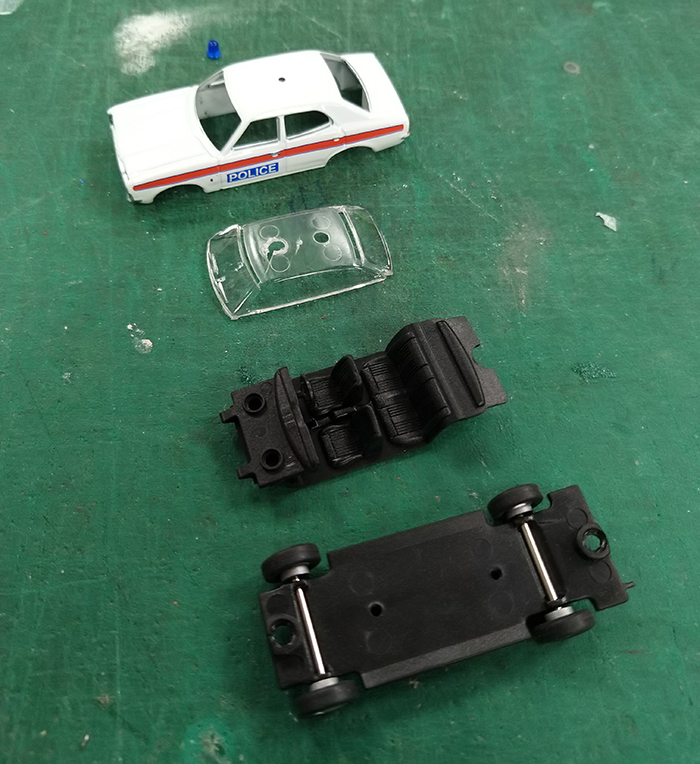
The car laid out in parts. The glazing insert was held into the roof so was given a gentle push on the windscreens until it popped out. The single roof light was pulled out of the locating hole in the roof at the same time.
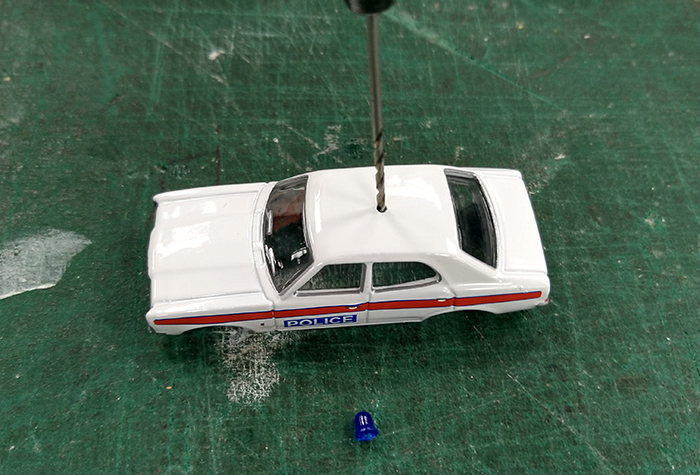
The LED was a bit larger than the hole left in the roof after removing the dummy light, so this was drilled out to make it a bit larger to accept the LED.
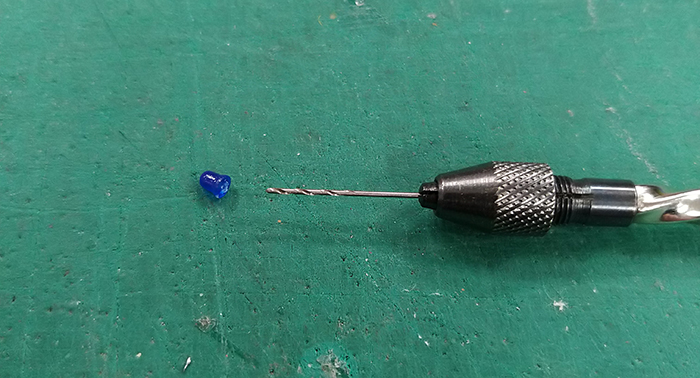
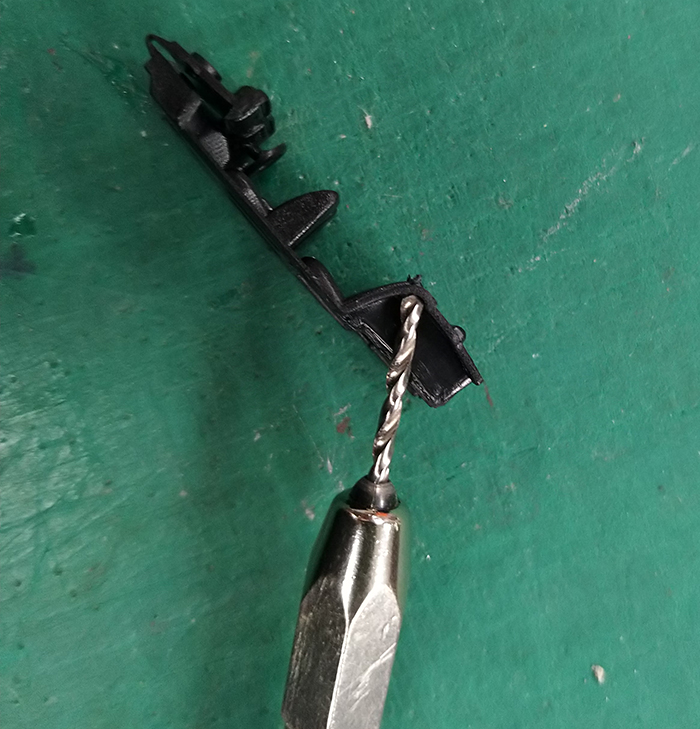
I also wanted the flashing from the LED to reflect up inside the blue plastic of the roof light. To this end, I drilled a hole up into the roof light to allow this to happen.
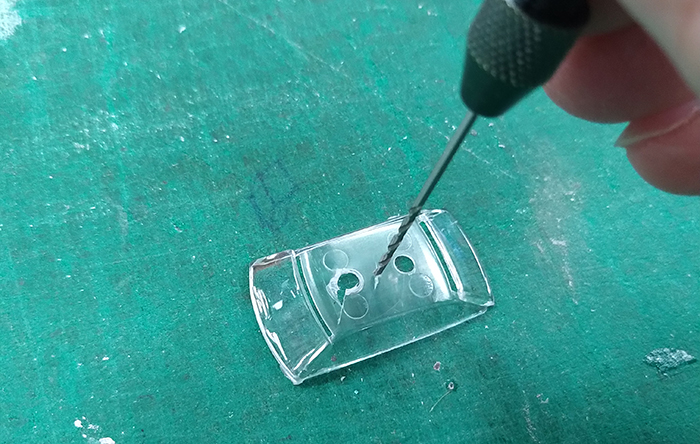
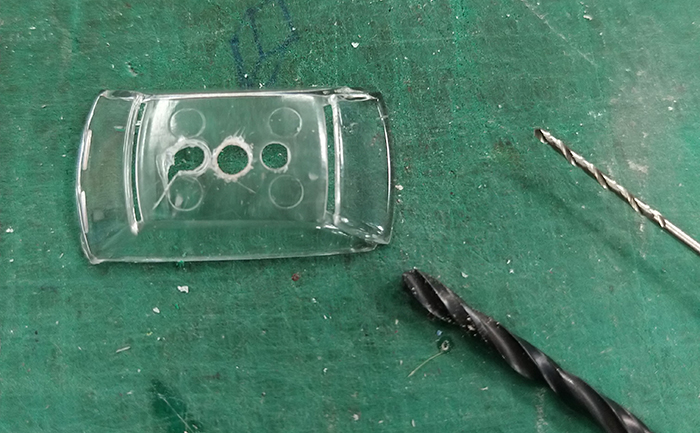
The glazing also needs a hole made in it, inline with the roof light hole. This is to allow the glazing insert to fit back correctly once the LED is in place.

After adding some white paint to the hole in the roof (I found this necessary to stop the sides of the LED shorting out on the exposed metal on the edge of the hole), the LED was angled so the wires would trail down the side of the rear windscreen, and then it was glued in place.
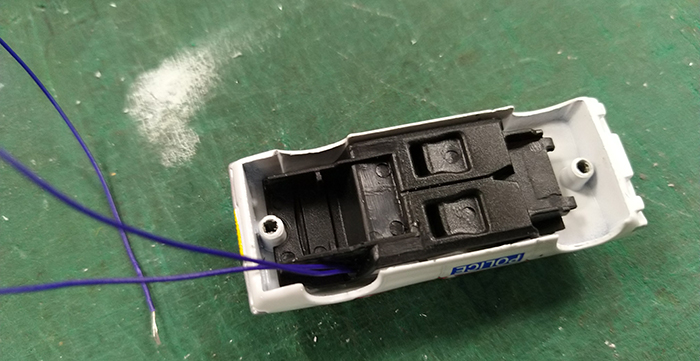
Routing of the wires was done in such a way as to lead out through the rear wheel arch. A small hole was drilled in the correct place and then after placing the glazing back in position the seat insert was put back in.
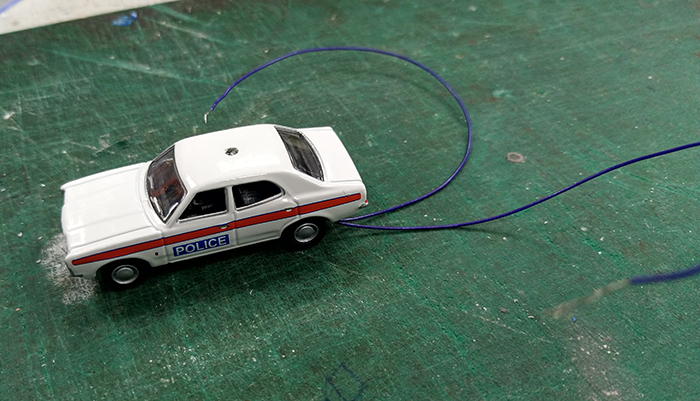
Once the car is screwed back together you can see the wires come out in a nice unobtrusive way. All that is left is to glue the blue light in position on the roof, this is done with a small dot of super glue.
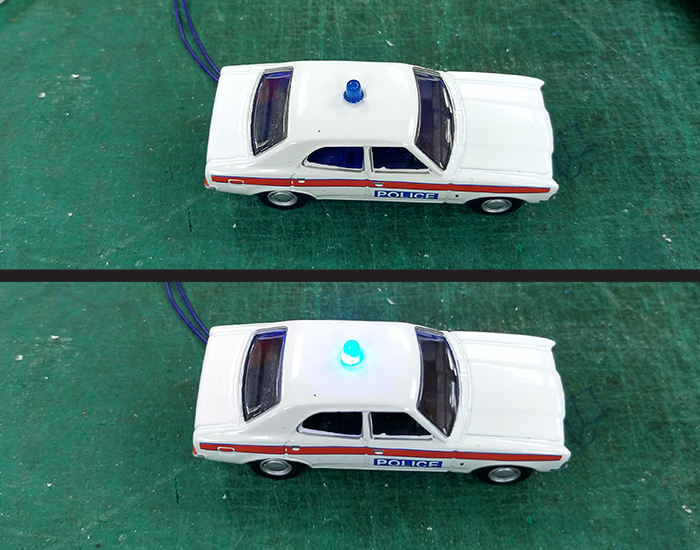
There we have it, a flashing roof light. Almost! I forgot that the LEDs are handed. This means the positive and negative wires need to be the correct way round for it to work. If it will not flash just swap the wires round and hey presto.
This is a nice simple way to get lighting into a vehicle, all be it needing a steady hand for the soldering as they are tiny LEDs. There are other colours available in the range, (red, orange etc.) so you can make your layouts come to life with a few emergency or breakdown vehicles.
