

 MARK HOLLAND shows us how to add a realistic load to your ballast wagon.
Now, before any of you get worried, this isn’t a fish recipe from a Rick Stein cookbook! In this article I will be showing you how to add removable ballast inserts into the new Turbot Ballast Wagon from Dapol. I’ve done this on the O Scale version, but the principles are the same regardless of the size or type of wagon.
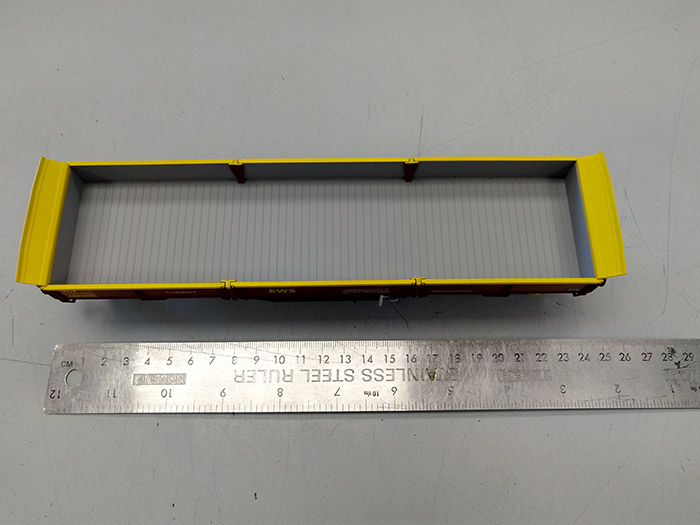
The first thing to do is measure the wagon interior both length and width; don’t worry as this doesn’t have to be exactly perfect.
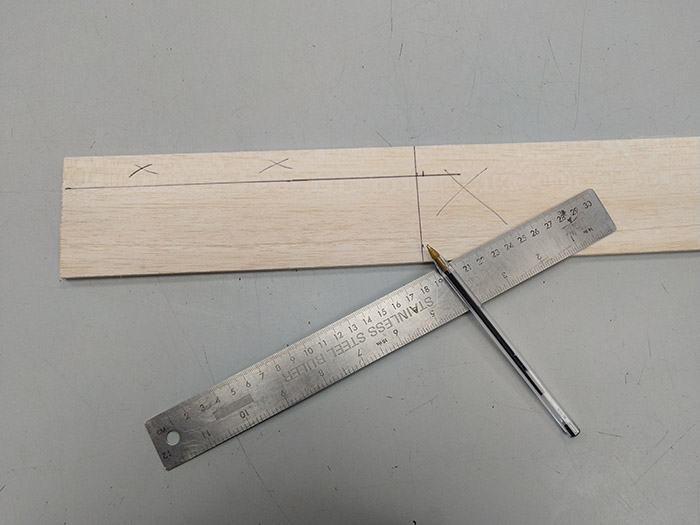
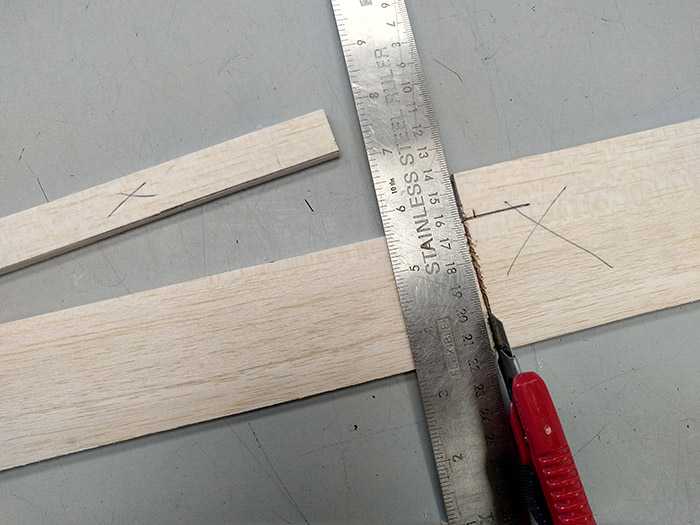
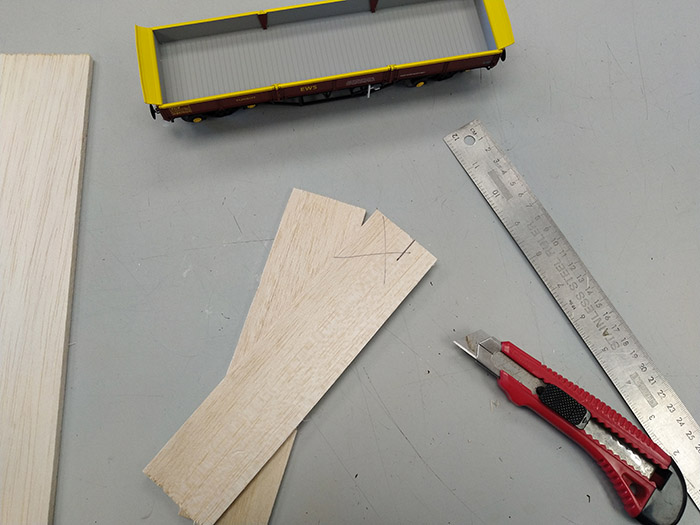
Now so that you don’t have to fill the entire depth of the wagon with ballast, cut out a rectangle of a suitable material to act as packing and as a firm base for the ballast. I’ve used balsa wood for this, you can use thick card or plastic sheet - whichever you have or prefer working with. Approximately 5mm (or 3/8th inch) thick seemed to give the best hight for the O Scale version, but this is best done by eye so that you fill about half the depth of the wagon with the packing material.
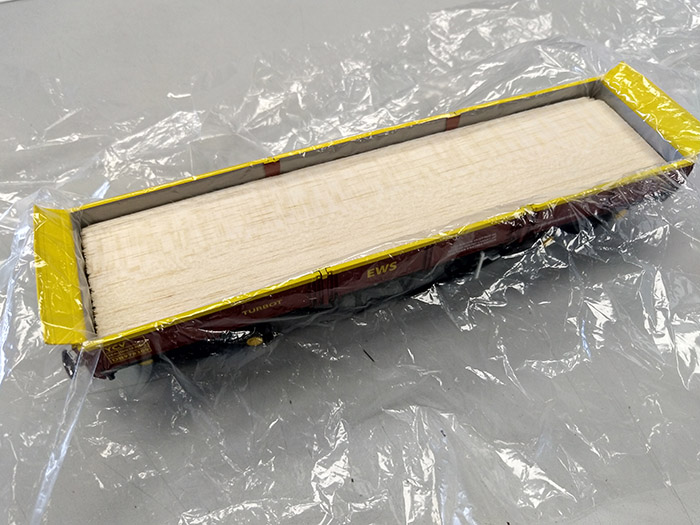
Once the packing piece is cut to size and fits nicely in the wagon you can move onto adding the ballast. Before doing so though you will need to find a piece of thin plastic bag or clingfilm to place between the wagon and the insert. Place the plastic over the wagon and push the packing into it. This means that the insert wont glue itself to the wagon when you fix the ballast in place, making the insert removable.
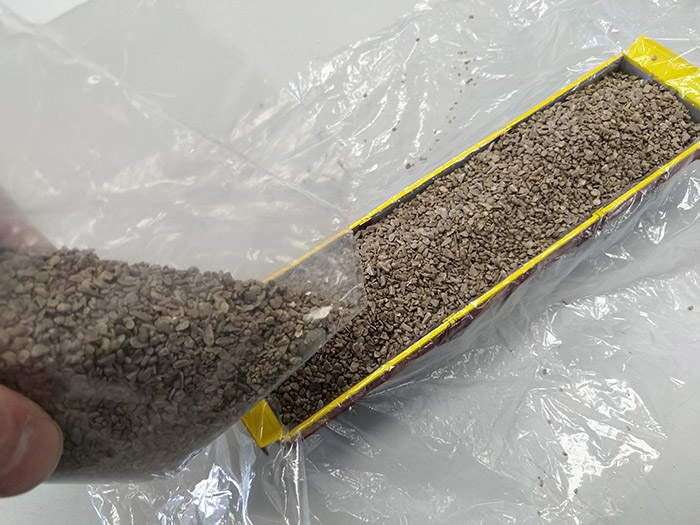
You can now pour in your chosen ballast, I’ve used Gaugemaster GM104 Grey Granite O Scale Ballast as this seemed appropriate for an O Scale wagon! You don’t have to stick to fresh/clean ballast, mix some up with different colours or even bits of rail and the odd sleeper if you want to represent ballast that has been removed from the track.
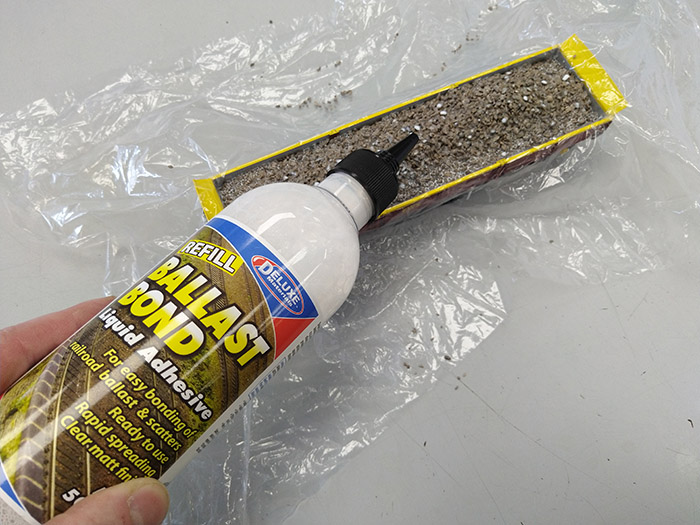
When you are happy with the amount and positioning of the ballast filling (make sure you get right into the corners and along the edges), add your chosen adhesive. Treat this in much the same way as ballasting on a layout, my preferred glue is Ballast Bond from Deluxe Materials.
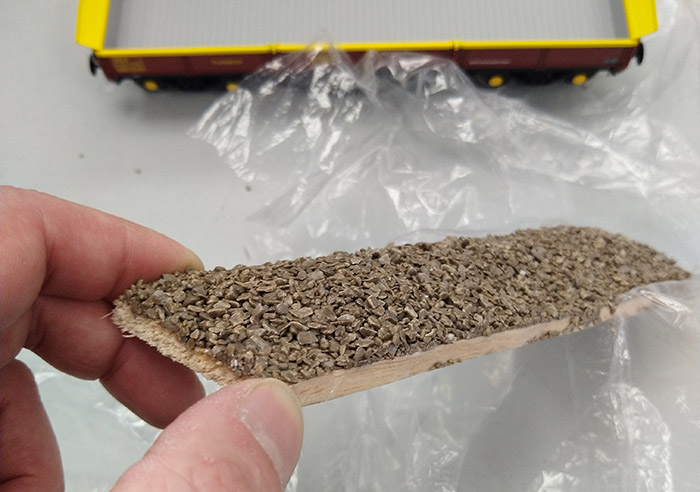
Leave the ballast in the wagon to dry completely, preferably overnight, then lift the insert out of the wagon and remove the plastic sheet. You may need to cut the sheet off the insert if the glue you have used stops you from simply peeling the plastic off.
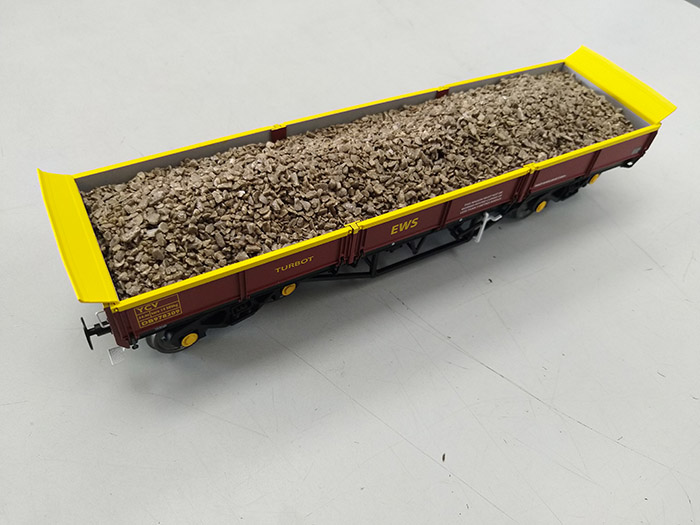
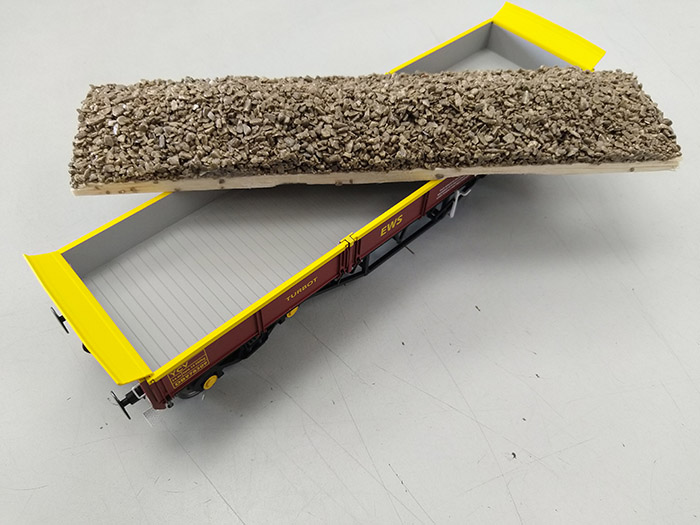
All finished and ready to be put on the layout. My insert is a snug fit and required a little bit of teasing round the edges to remove from the wagon, if you want a loose fit now you can trim of any excess to allow the insert to be simply tipped out.
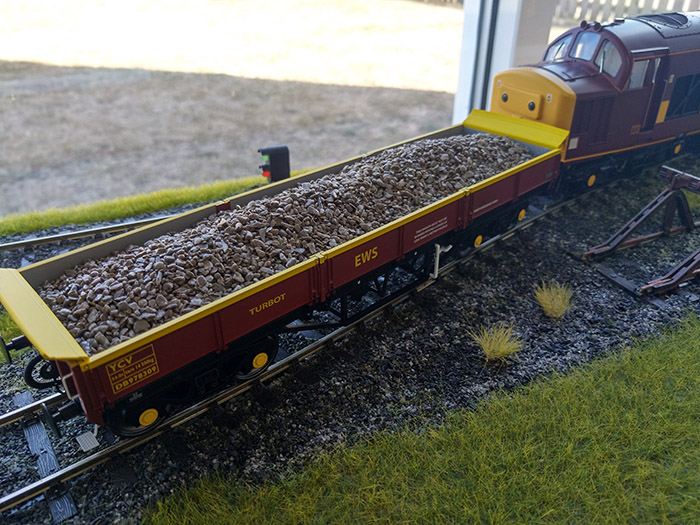
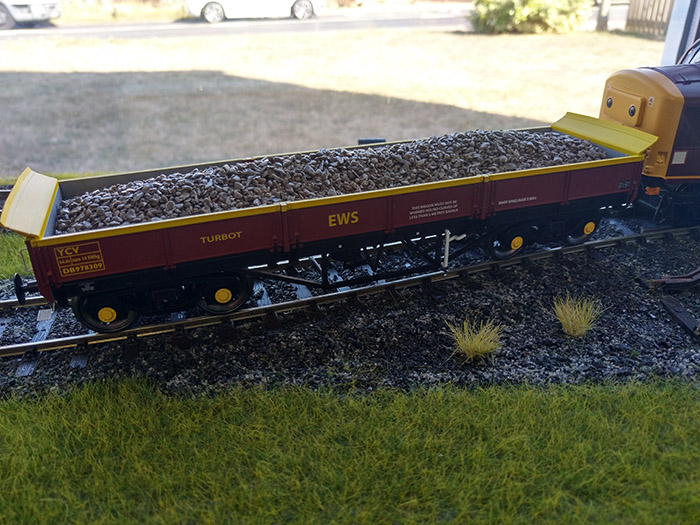
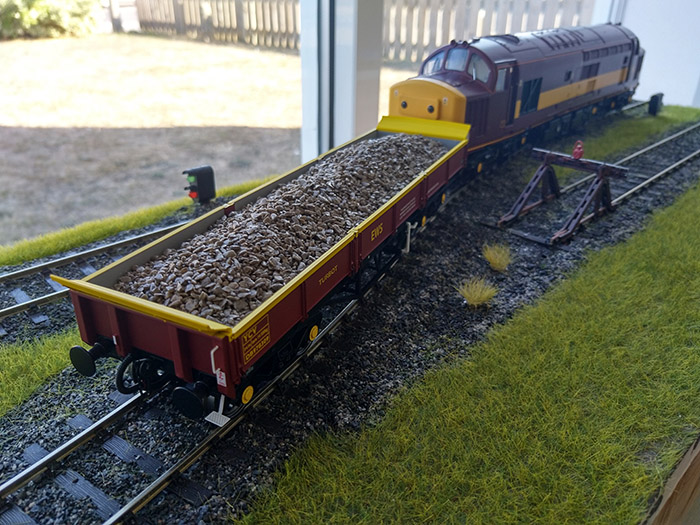
A few pictures to show the wagon in position behind a Heljan Class 37. It does look a nice wagon when full or empty; I think I’m going to need to find an excuse for a few more of them!
A few thoughts that came up after the job was done, as is always the case! If you want to make the insert use even less ballast then you could add a strip of packing material down the centre so as to make a ridge of ballast without using the ballast itself to achieve it. Also, if you are planning to put in and remove the insert a lot, if you hide magnetic material under the ballast you can be pick it up with a magnet.
A nice simple job that adds interest to an empty wagon, you can do this on any wagon you want to fill, be it the new Dapol Turbot Bogie Ballast Wagon or a 20 year old Hornby coal wagon. I’ll just have to find that excuses for some more of them now and then get filling!