
 WARREN KERFOOT explains how to get started with Flexi track.
And so, we move onto the joy of flexible track as an option to create our perfect model railway. As always, I’m going to base my ramblings on OO Scale, but the principles apply to all scales that you may be wanting to use.
Flexi track is often seen as a brilliant option to save money over the price of sectional track, which, to be fair it can be a great saving, but this needs to be balanced against the extra time and effort you’re going to need installing what you want. And of course, all those annoying mitigations you need to make for clearance and spacing will all still apply. You’ll still need to clear your lineside objects like platforms and tunnel mouths and there’ll still need to be a gap between passing rails. Remember the 6-foot way gauge I mentioned in the previous article!
There’s one word of warning though; so many of us fall into this trap at the outset – you’ve bought some radius 1 sectional track and it doesn’t fit on our board, so you think, ‘hmmm… I’ll get some flexi, that will fit’. And you’d be right, it will.
The trouble is, the chances of any model ever going round something so tight in its curve will probably instantly derail or simply won’t move at all, leading to complete frustration. In the real world, curves on the line take hundreds of yards and if you go to any station and listen to even the most modern DMU or EMU that run, the minute there’s curvature in the line you can hear the wheels squealing in agony as they clash against the rail sides as they deeply resent going around anything remotely bent!
If you’re going to do your layout in flexi, or a combination of flexi and sectional track, which is perfectly fine to do, just remember which ‘code’ of rail you’re working in. Hornby and Peco Setrack OO is code 100, Peco N Setrack is Code 80. ’Code’ sounds technical, but it’s simply the height of the rail. code 100 for instance is 100 thousandths of an inch high, so your flexi needs to be the same to match.
Please only think about flexible track to make your layout more elegant and realistic in its appearance as it will potentially taking up more room than sectional curves would have. It will also give you the ability to make some configurations that would be nigh on impossible with sectional pieces.
Before we start...
You’re also going to need tools. This is my go-to essential list for your toolbox if flexible track is going to be used.
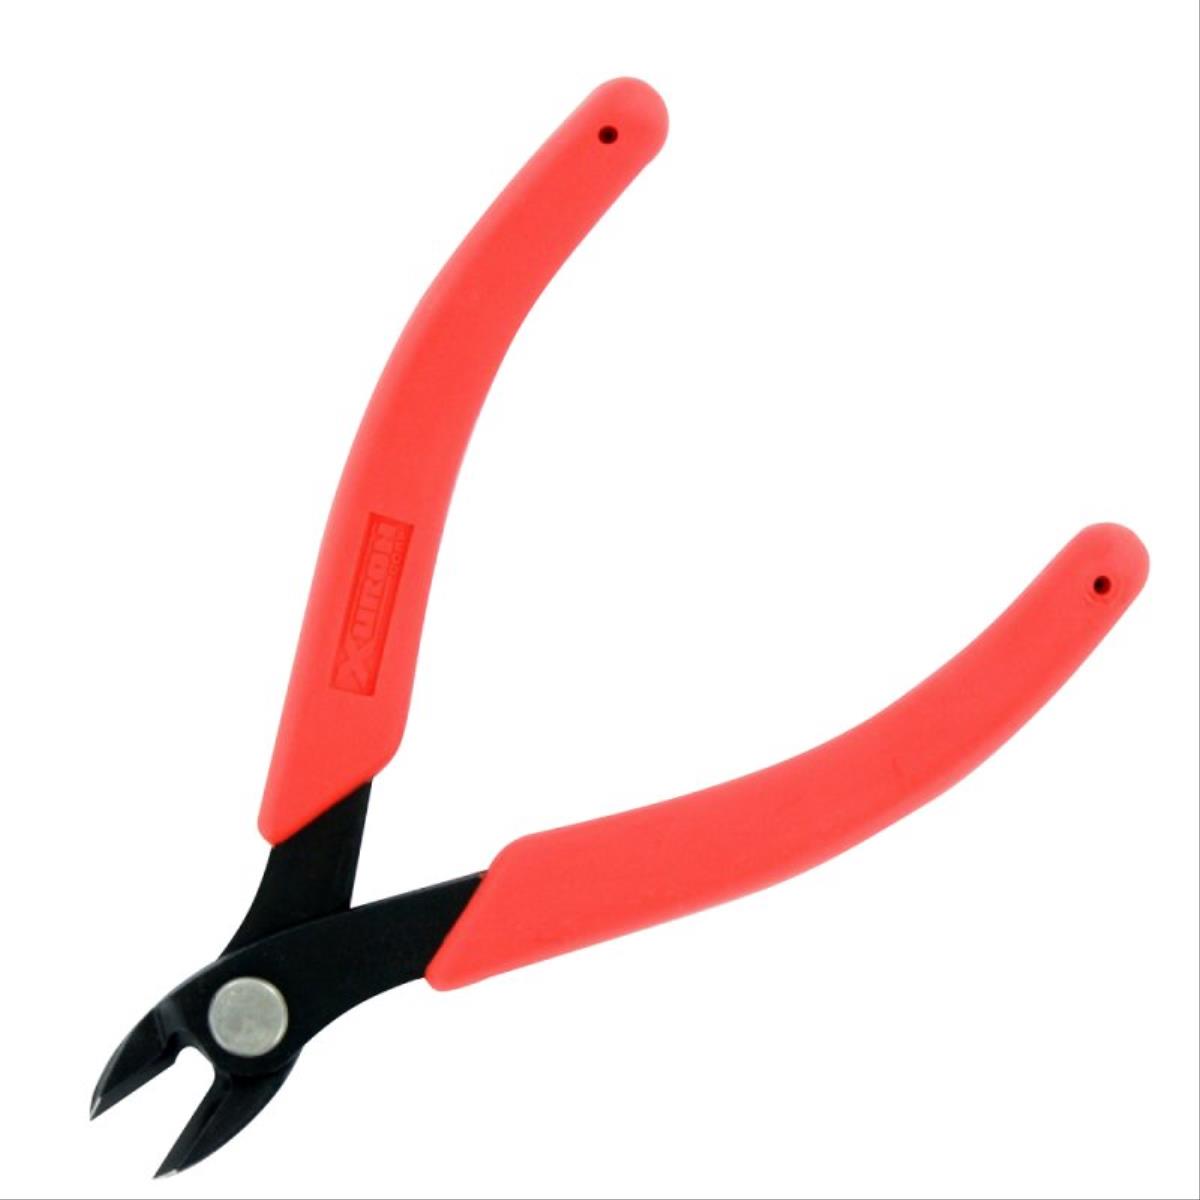
This the best thing you’ll ever buy. It cuts super clean every time (vertically on OO and horizontally if you’re using N Scale), no burrs to remove and pin sharp accurate cuts to your markings for the cut you wanted every time. There are cheaper options, like a block with two grooves in at your rail spacing, to keep the rails secure while using a razor saw to cut through your rail, but invariably the rail moves a little, your saw bounces or skids, and you’ll need to de-burr the bottom of the rail with a file. There are two variants of the Xuron track cutter; the ‘B’ version is designed for OO and N installation, so basically where you’re able to lift the rail from the board to cut it. If you need to cut rail which is pinned down, you will need the ‘M’ version. Using the 2175’B’ on pinned down rail will almost certainly wreck the jaws.
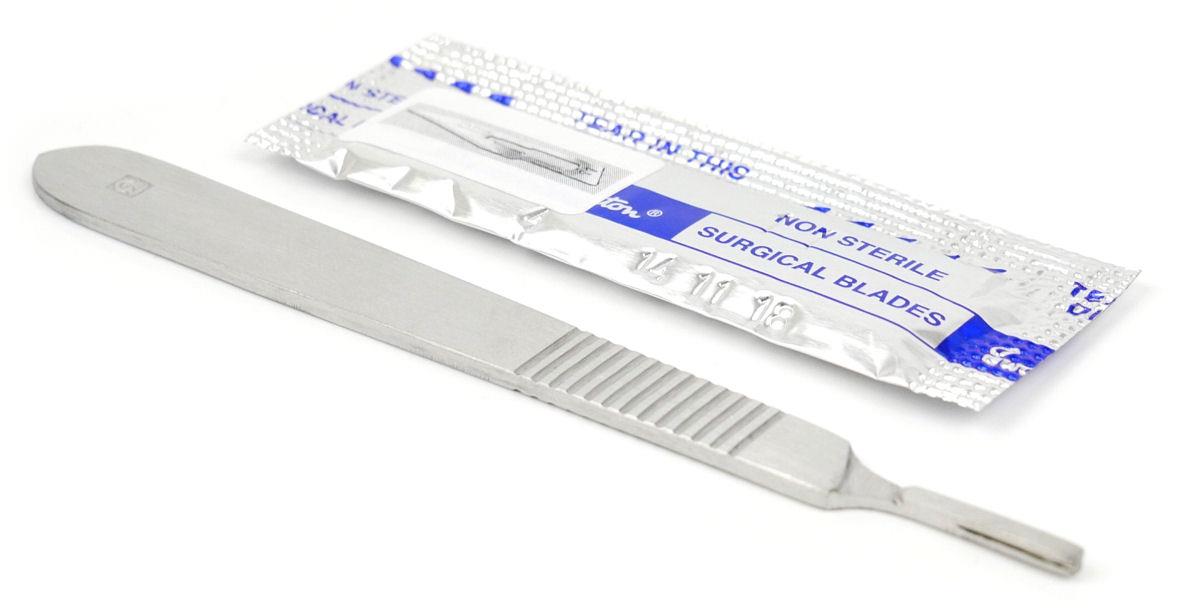
GM614 Stainless Steel Scalpel & Blades
This is probably already in your arsenal, but this is to trim away plastic chairs (the part that holds the rail to the sleeper) and create a hollow space to allow your rail joiners (aka ‘fishplates’) to pass underneath the metal rails without lifting the rail. Giving your lines all the running qualities of rolling a marble down a dinosaur’s back! The same knife can be used if you prefer to use the method I do, and simply cut the plastic webs where you join your sections by one sleeper ideally, but two sleepers each side is alright, depending on the track and joiners you’re using. then, keep these removed pieces to one side while you lay your track. The rail joiners will keep the lines level in the short term and then you can trim away the chairs, easily sliding the sleeper pieces back underneath the joint to make it look right and re-introduce the support for the metal.
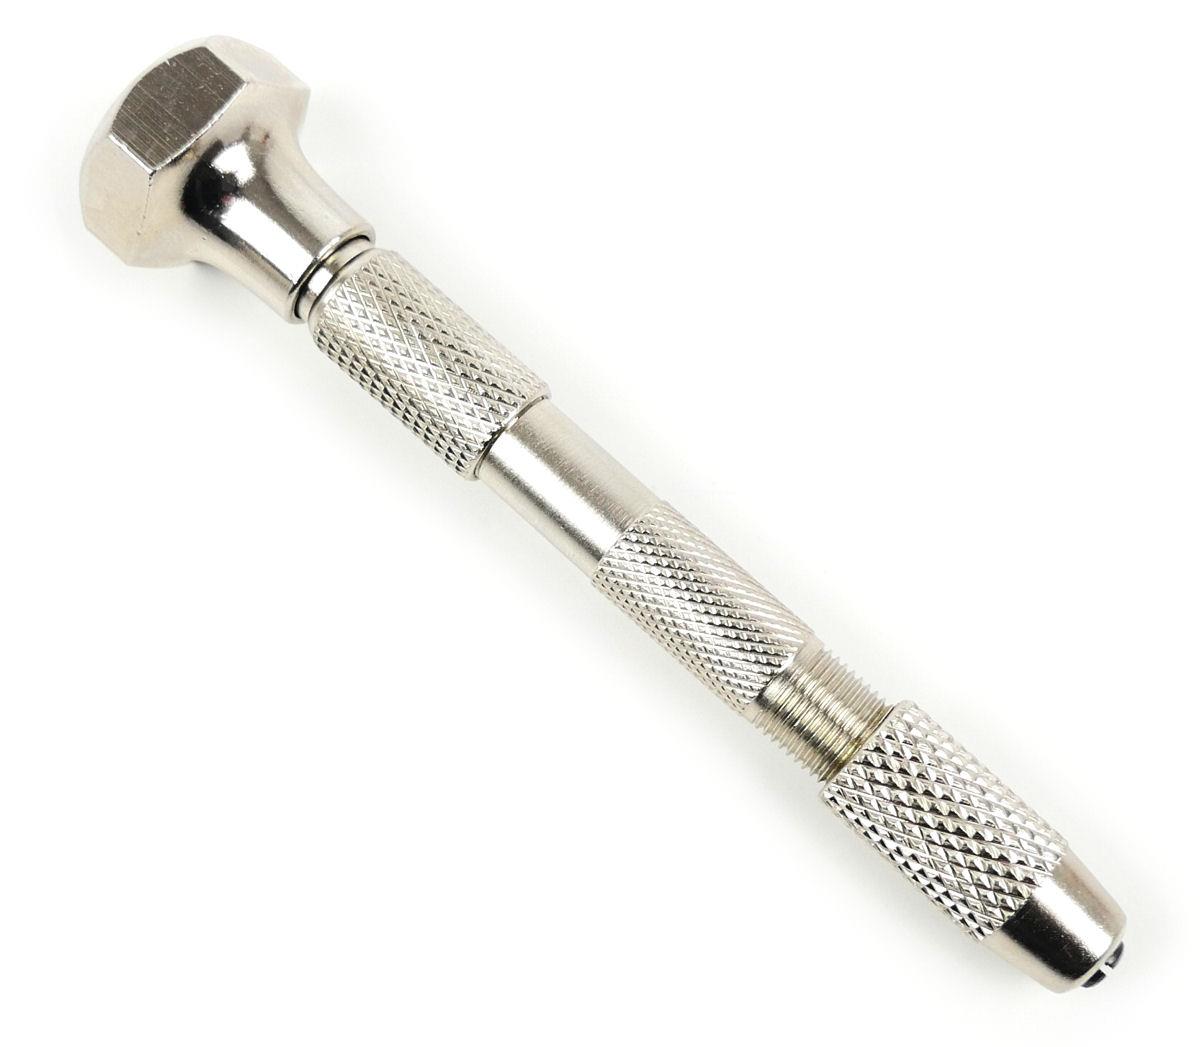
This is for drilling your sleepers for your track pins. This is more essential than you may think. You may read elsewhere that you can just pound your pins through the plastic, which is possible, but invariably if you use pins like Hornby or Setrack ones, or even our own GM66 and GM67, the plastic will split. If you use the finer pins from Peco (which are superb in my opinion as they virtually disappear when installed) they will bend, so a fine hole in the sleeper to allow the pin to pass is essential. The other benefit: if you’ve made a mistake in the positioning, it’s far easier to remove the pin than if it was facing full friction having been driven through. Of course, what I’m suggesting here is you drilling a lot of small holes by hand and if you’re laying a lot of track, it gets tedious using a pin chuck manually so investment in an electric drill like GM693 or GM694 could be well worth it.
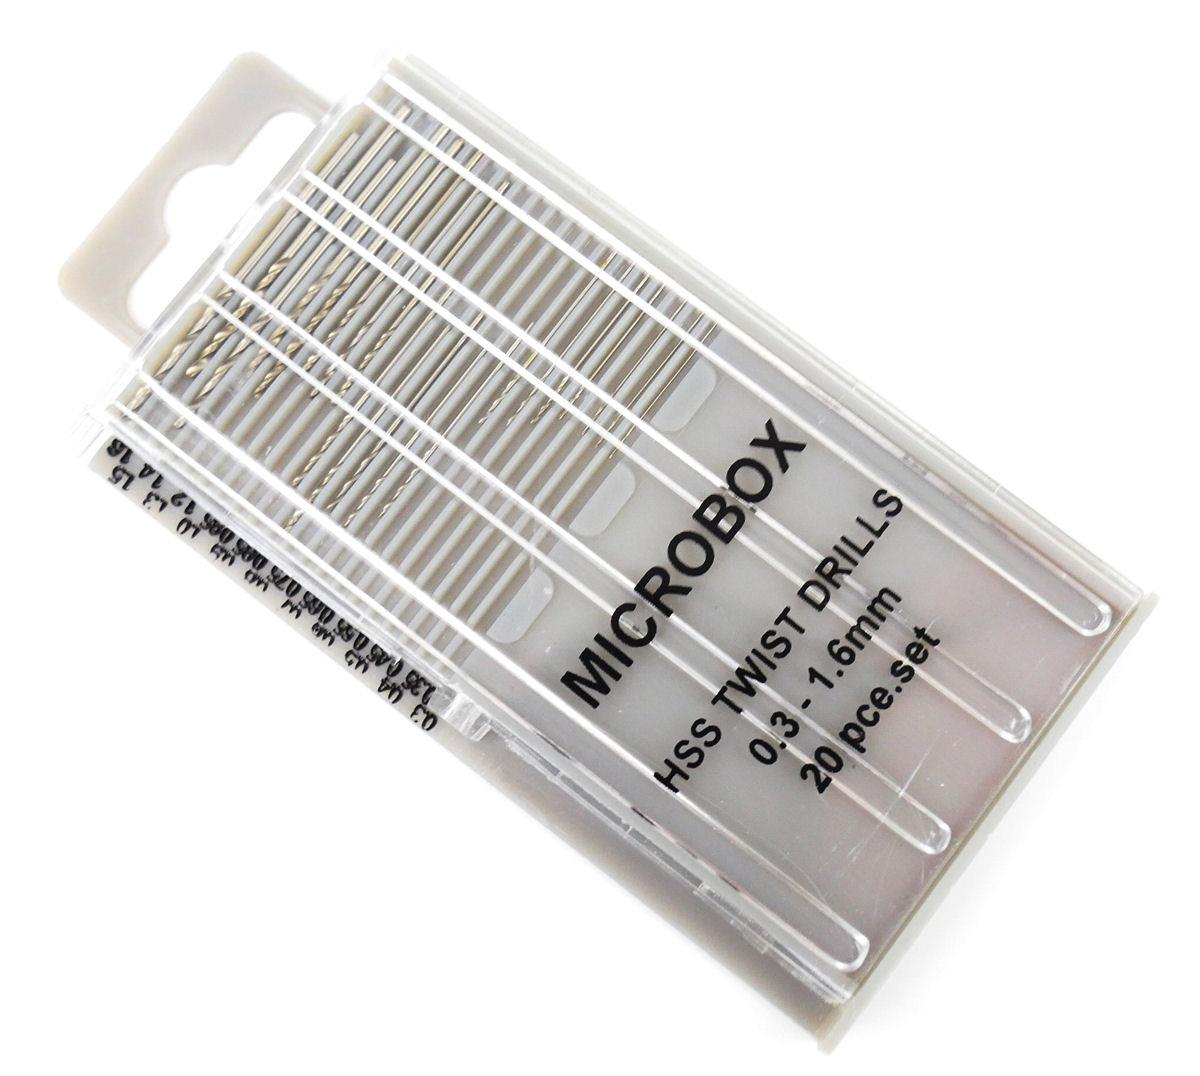
GM649 Microbox Wire Gauge HSS Twist Drill Bits 61-80
These are simply to put in your pin vice (or micro drill if you’ve picked that route) to actually do the drilling. I’ve picked a set for you which gives you more scope to find what works best for you personally, but remember these bits are fine (small, rather than average! -Ed) - too much pressure and they snap. Another thing to consider when you drill if you’re going into plywood; drilling into the top skin of the wood helps tremendously because you only need the very lightest pressure to secure the rail down. Which leads me on to the final aspect of the pin. Don’t be tempted to drive your pins home immediately. Leave them proud by a couple of millimetres so you can check alignment as you go. If something is wrong, and it invariably can be, you can simply lift the pin with some thin pliers.
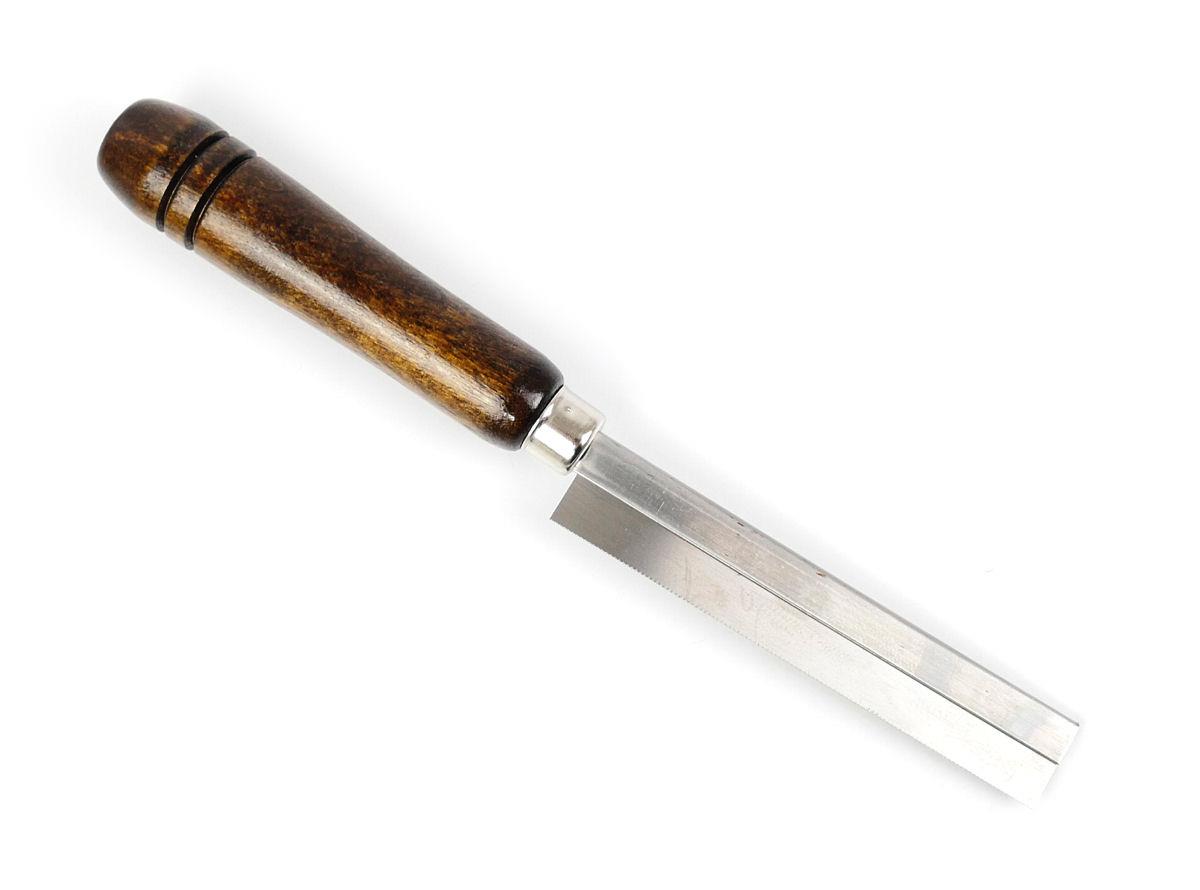
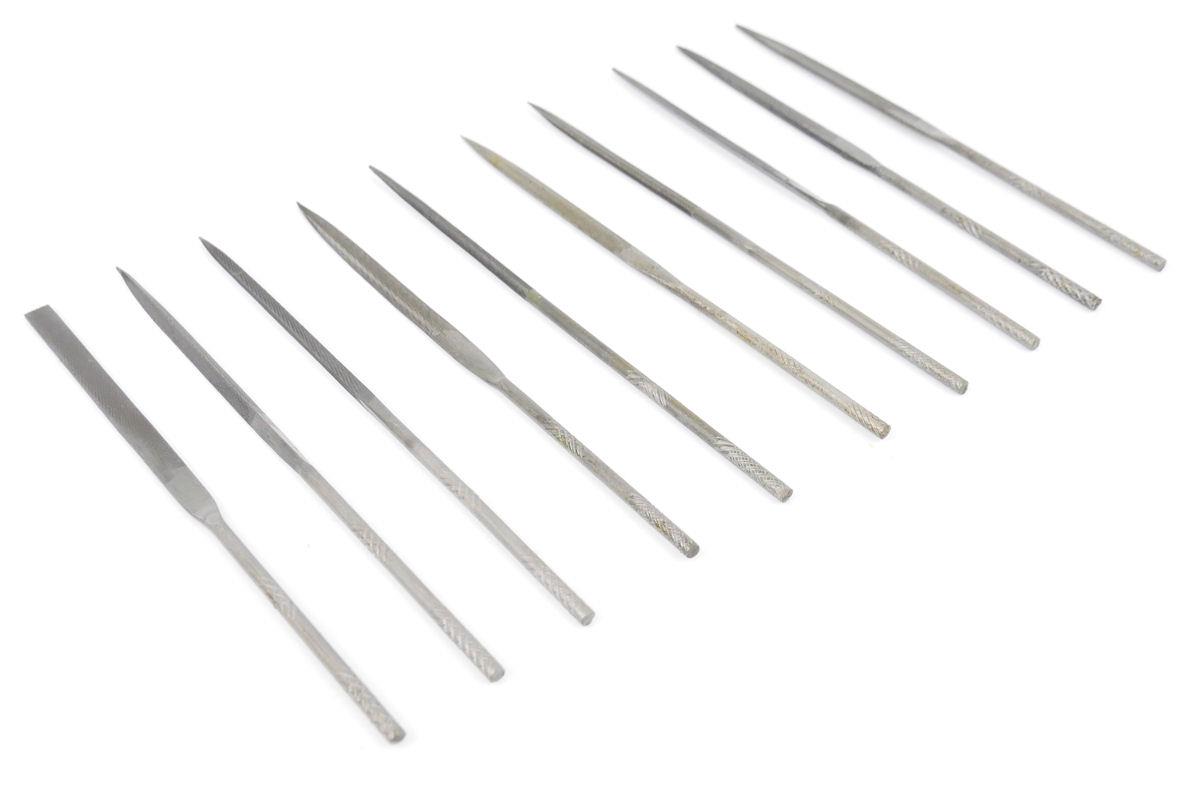
This isn’t at all my preferred way to cut track, but you’ll find it useful for a myriad of fine cuts pre- and post-track installation. If you do use a saw, please remember to support the track rails (with a block with grooves in ideally as described later) or you end up running the risk of wrecking the ends with vibration. And if you’re preferring a saw to cut rail, buy some fine files for deburring the ends.
So now, we’re at the stage of having the basics of what we need to lay some track. There’s your flexi track and the blank canvas of your board, so where do we start? My advice is with your points. Work out what junctions you need to achieve your play. You might be following something from a book or a magazine, or freelancing your own design, but remember it will be the junctions that make your layout actually connect up. Unless, of course, it’s a simple end to end or oval with no point work, but these are quite rare as they don’t offer tremendous operating potential.
Placing your first point for your favourite feature is the essential first step. ‘Favourite feature’ I hear you say? We all have that. The feature that’s stimulated you to build the layout in the first place. It could be the look of the sweeping curve for your main line express, your station, a bay platform, or your goods area, the docks, the brewery, a ladder junction, the loco shed (any more? – Ed). Place that first point and by place, I just mean lay it on the board, then the next point either before it or after it. Checking for framework under the board or anything else that’s going to cause you an issue later with point motor installation etc. just draw round the point(s) you’ve placed and stand back; does it look right? Will there be room for your train to come in, uncouple, move forward, run round as necessary? Consider all these things over a brew. When content with your key feature’s position and look, build backwards by doing the same thing with the next points, drawing round them as they look right in relation to each other.
Quick tip here: buy a single piece of 2nd, 3rd, and 4th. radius set track in the scale and gauge you’re using. These are incredibly good guides to visualise the flow of a curve as you’re at the planning stage and always go for the largest radius you can. The layout will look better and the models you run will love you for it!
Of course, as you go through this process with a number of points, drawing round these on a piece of paper and cutting them out will give you quick and simple templates for all you want to install and create a clearer picture of what will be where, and how it will need connecting.
The theory now would be - you have lots of drawings of points dotted around, some close together, some far apart. Now we arrive at the gaps, which is going to be filled with the flexible track with the benefit of now knowing what will be linked to what, giving us the result that was aimed for.
So going back to ‘our favourite feature’, we start back there Loosely pin your first piece of pointwork.
If it’s the sweeping curve of the main line and/or the other elements I touched on before that are key to your enjoyment when your work is done, this is your starting position and where we reach for the flexi track.
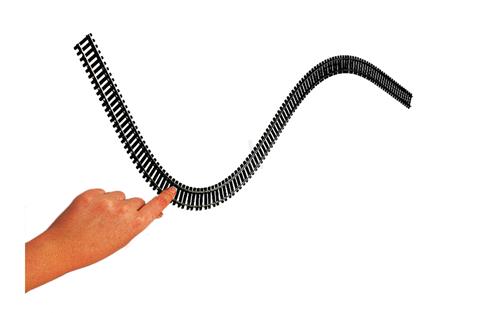
Inevitably you’ll discover this stuff moves and not always how you want it to, making you think it’s actually possessed, and you need a Priest! To help here…there is the Tracksetta range which you can use to ‘control’ the beasts.
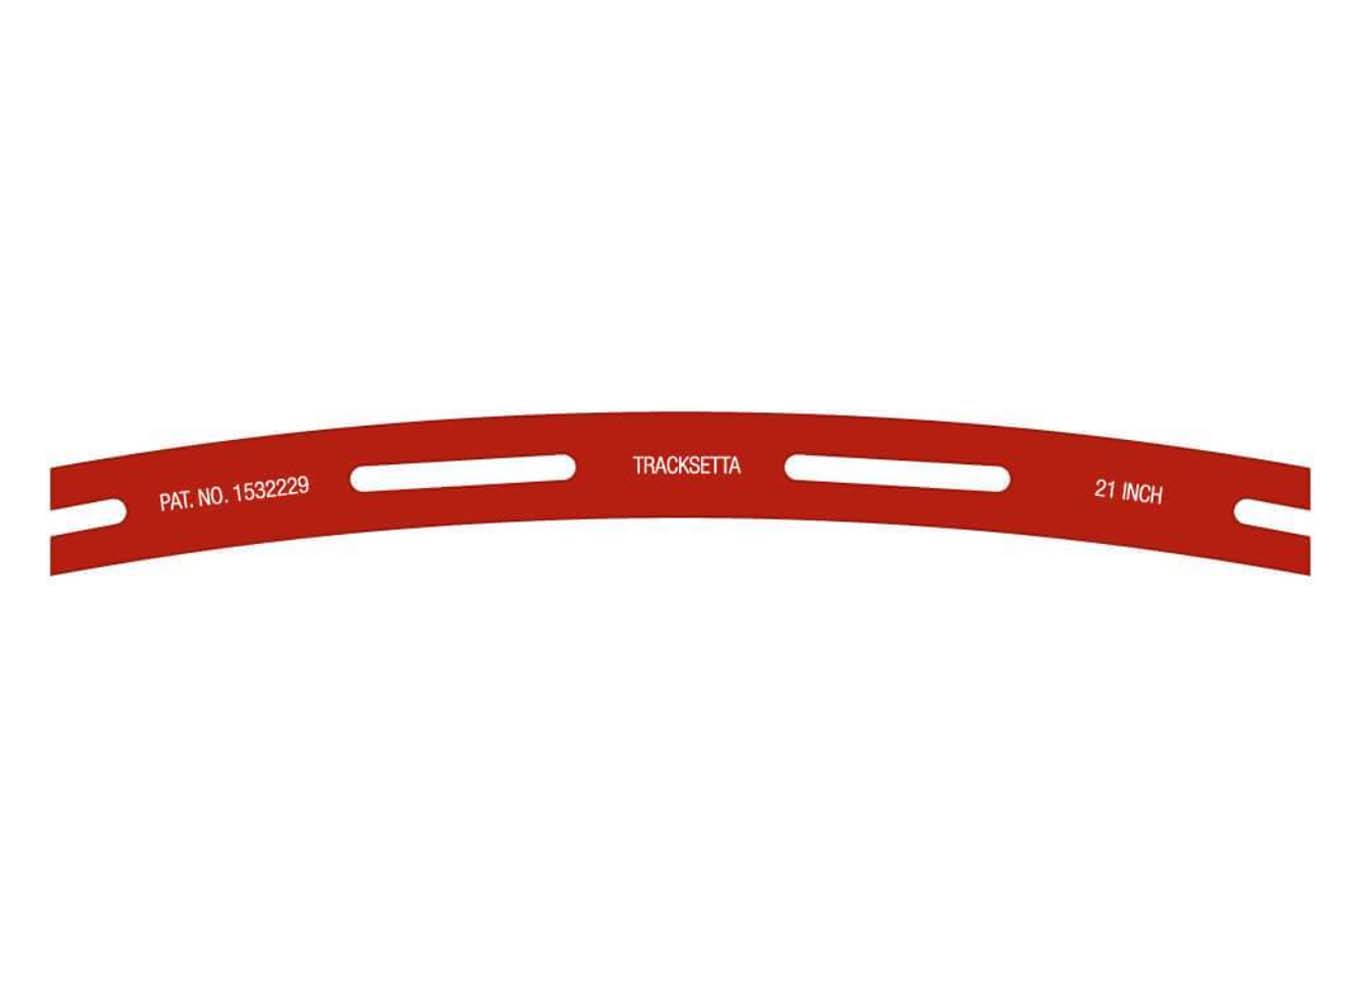
Click Here to view the Tracksetta range.
These are designed to make your flexi conform to the right radius you select. They beautifully made and finished and the slots allow you to drill through and push your pins in. It makes the job of consistency far easier to achieve and are perfect for the larger curves you want to do. Of course, you can do DIY versions with a pin and string attached with a pencil to create the curve which you can then follow round. You can even use sectional track to create a guide; simply put it in place then use a small block to space out your flexi to the curve you want. But now we get to the thorny issue of cutting the rail when we do a joint. One of the lines will have retracted behind the sleeper end, and the other rail projects out as each piece of the metal is now effectively at different radii.
This of course must be made to meet as square on as possible to the next section that you’re going to install, so make a quick mark with a good felt tip pen, lift the rail up a touch and use your Xuron cutters to slice through the metal.
Quick tip: While you get used to working with flexi and Tracksettas aren’t deployed, make a small guide from a piece of 2"x1" planed timber about 2" long. Using a smear of emulsion paint on the rail tops of a piece of your track press the block gently against the rails and lift away. The gauge and width of the rail top is now marked on the timber. Now simply cut two grooves with a saw along those paint marks as deep as the rails you’re using, as accurately as you can., and there you have it -a guide you can use to get all your track cuts square so you can mark them and cut them, ideally with the Xuron track cutters I mentioned, but the same block will support the rails if you only have access to a saw.
Incidentally, this method of emulsion or poster paint is also perfect for making your own level crossings or cobbled inlay sections between and either side of the track. Emulsion on the rail, place your object to fit on top and hey presto - that’s the shape you need to cut out! Of course, wipe away the emulsion afterwards - don’t let it dry!
So now we have our first piece ‘engineered’ to what we wanted. The curve is right, the ends are right. Now trim away enough of the sleepers to allow a rail joiner to be pushed on without it hitting or sitting on any plastic and you’re done. Now, it really is then just a case of repeating the process from point to point, or section to section.
And now, consider heat. If you lay your track in a garden building which isn’t insulated, you’ll be dealing with huge amounts of expansion and contraction through the year, same with your attic room. So, please get your temperature range limited to the smallest possible and remember that laying track in August will be longer than it is in January. Only by a tiny bit, but cumulatively you can have rail ends clashing and your track bends. You’ll come into the layout one evening and think your masterpiece has been visited by Mr Magoo.
Another quick note at this stage though; if this is going to be an analogue layout, you’re going to need the odd isolating sections to stable locos when they’re not in service. You’ll need to think about putting insulating joiners in these areas, so think about loco length, how many you would want to hold on a track etc. Of course, go DCC and you can forget about this particular problem!

Adding a slitting disc on an arbour to this tool will save hours of work.
These are perfect to create clearances, retrofit an isolating section and as mentioned earlier, heat expansion. Imagine the track has all been pinned or glued, ballasted, and then starts to expand because the central heating has come on in the dark nights. One section is over the radiator - running a slitting disc through will create some ‘room’.
But a word of caution when using a slitting disc: you generate heat, quite a lot of heat and this can very easily melt the plastic! So, go slowly down through the rail keeping the disc held as vertically as possible so the heat doesn’t build up so aggressively or your sleepers and chairs will be akin to melted chocolate!
Flexible track is a joy, but so many of us just never get on with it. Hopefully this brief look at the process of laying piece #1 has helped; but if it hasn’t, we have to praise the manufacturers like Peco, Hornby, Bachmann, Roco, Fleischmann, Kato, Marklin, Piko and on and on, for making sectional tracks!
Click here to view all of the available Flexi track.