
 MARTIN LOVELL shows us how to finish off the Fordhampton Church kit.

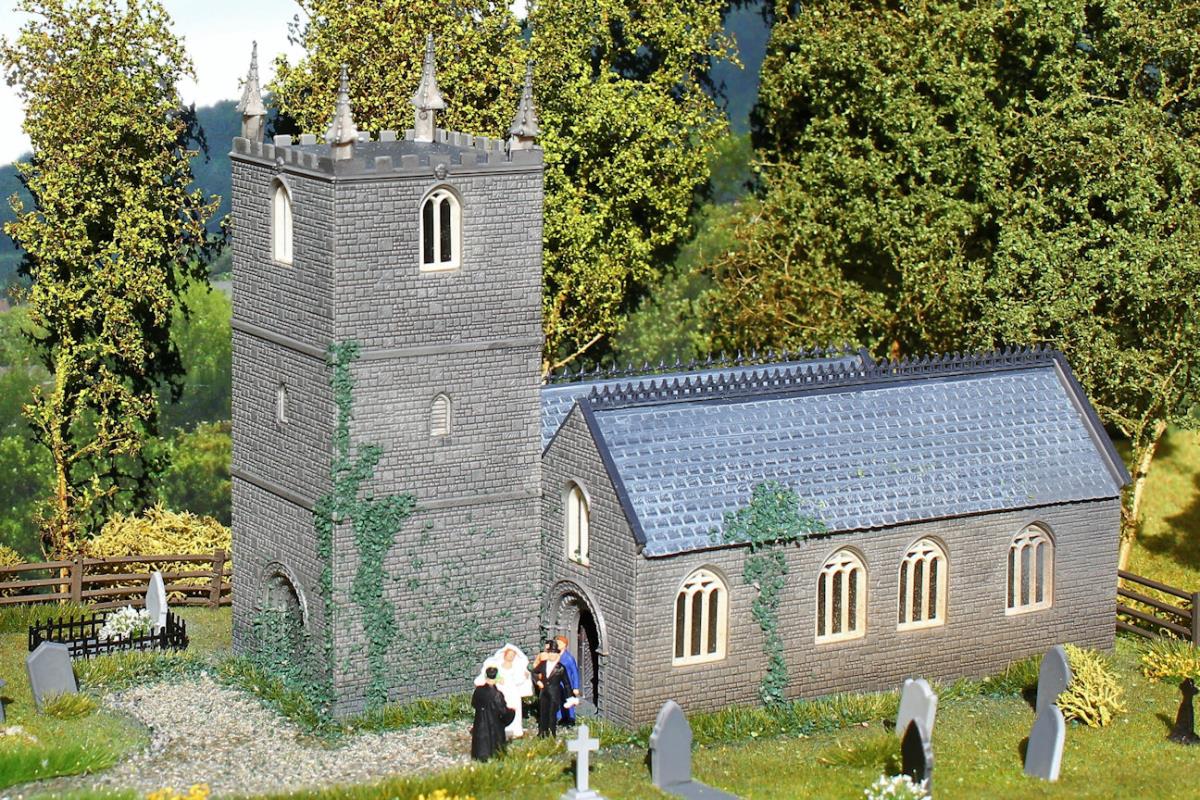
Recently released in the ever-expanding Fordhampton range is GM483, a typical country church.
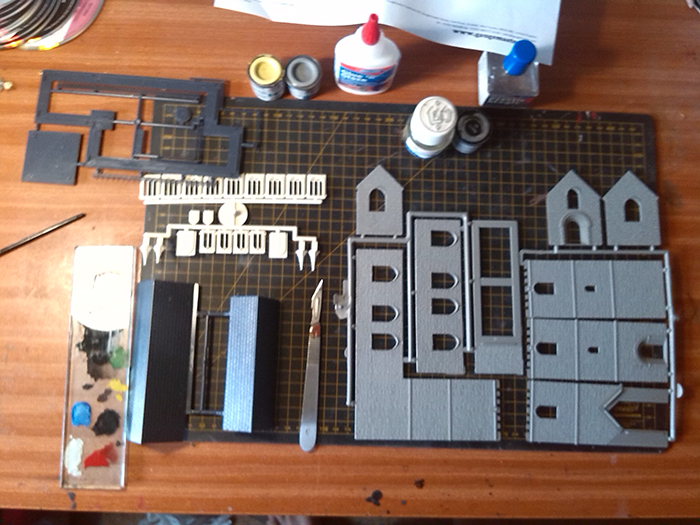
As you are probably well-practiced kit builders by now, I have left out the basic kit building descriptions and have concentrated on aspects of improving a kit using methods that you may not have thought of; specifically, the use of washes and drybrushing, producing leaded windows, and finally, glazing the windows.
I will start off with washing. A wash of paint is basically using very thinned down paint which can be applied to an embossed surface. The paint flows into all the nooks and crannies, so is ideal for producing a mortar effect on brickwork or stone. It can also be used for creating shading on figures - maybe more on these later.
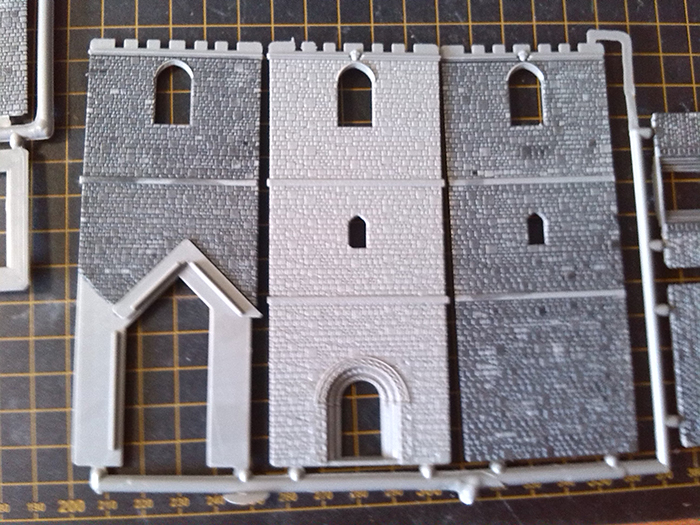
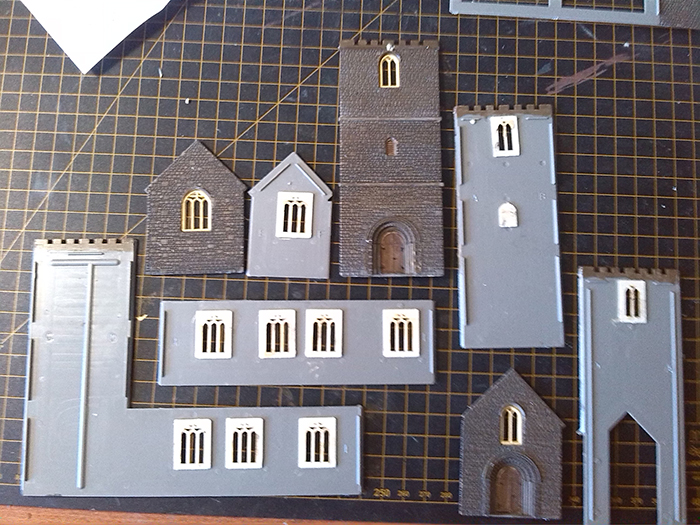
I used Humbrol 33 Matt Black for this, adding Humbrol Enamel Thinners on the pallet until the paint resembles a ‘dirty black’ thinner. This is then touched on the surface of the stonework (in this case) where it flows by capillary action into all the mortar between the stones. Keeping the parts flat prevents the wash from flowing to the bottom of the wall, so therefore this is best done before construction of the kit.
Once the wash is dry, drybrushing of the main colour can now take place. Basically, drybrushing is 'dusting' the colour onto the detailed raised area of the embossing. For this, I used Humbrol 29 Dark Earth paint. Taking some straight from the tin after stirring, a large brush, number 6 or 8, is dabbed into the paint. The trick is to not get too much on the brush - then with a dusting motion, run the brush lightly over the surface, gradually building up the top colour. Once this has dried, you can always go over it again, to redo any missed bits, or to enhance the colour. Practice is the watchword here. You can always practice the technique on old, unpainted kits, or scrap pieces of embossed Plasticard.
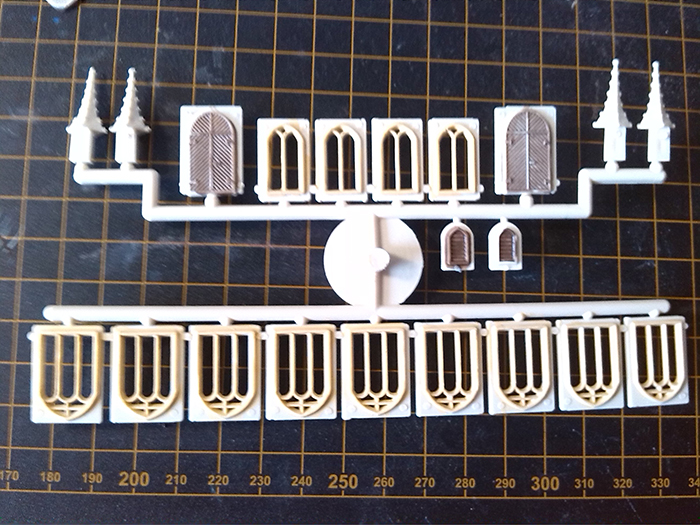
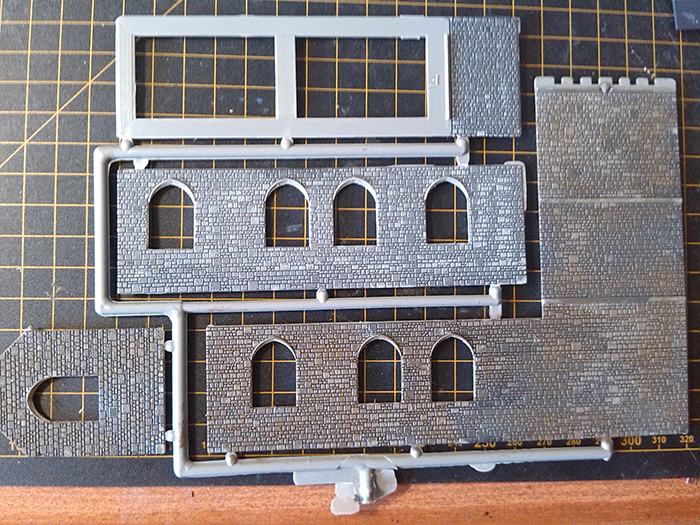
Next, I moved onto the windows. Having painted these, I used Humbrol 148 Radome Tan which, when dry, were placed into position in the walls and glued in. Once again, this was done before final assembly.
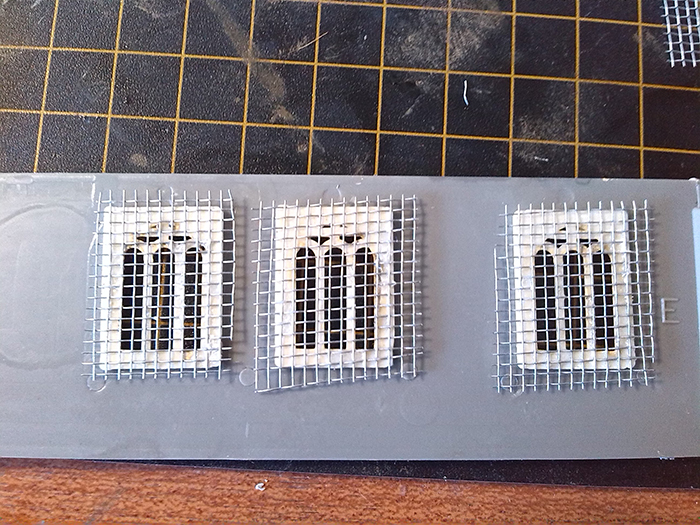
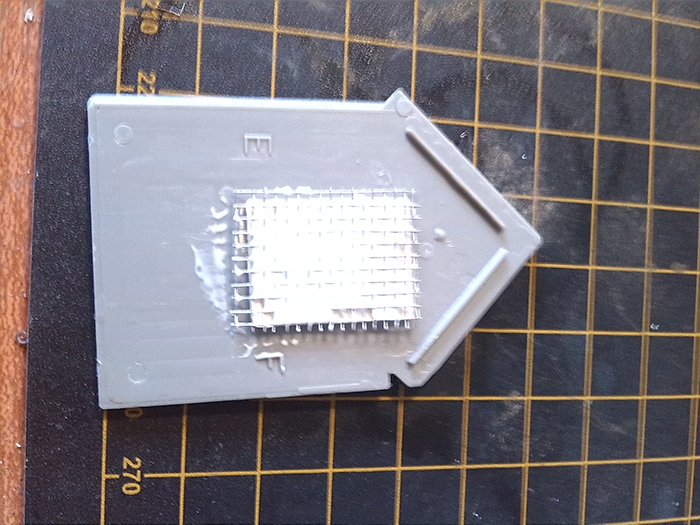
It is at this point that you could of course just use plain acrylic sheet, but I thought that leaded glass windows would suit this particular kit. With this in mind, I dug out some off cuts of the wire mesh usually used for landscaping. Cut to size, and glued onto the back of the windows, this looked fairly convincing. Glazing was then added using Deluxe Materials DLAD-55 Glue and Glaze, which was applied to the mesh from the back and spread, so as to create a thin film over the mesh. It is white when first applied, but after an hour or so dries to a crystal-clear finish. If you find you have holes in the finished windows, a touch of this product will fill these in, unless you want to blame the local yobs of course!
With all this done, you can now get on with building the kit. Any glue marks can be disguised with a repaint; likewise, any final weathering or detailing can also take place at the end of construction.
So, there we are. I hope the photos make things a bit clearer and that you enjoy not only this and the other kits in the range, but also using the various methods used in this article.
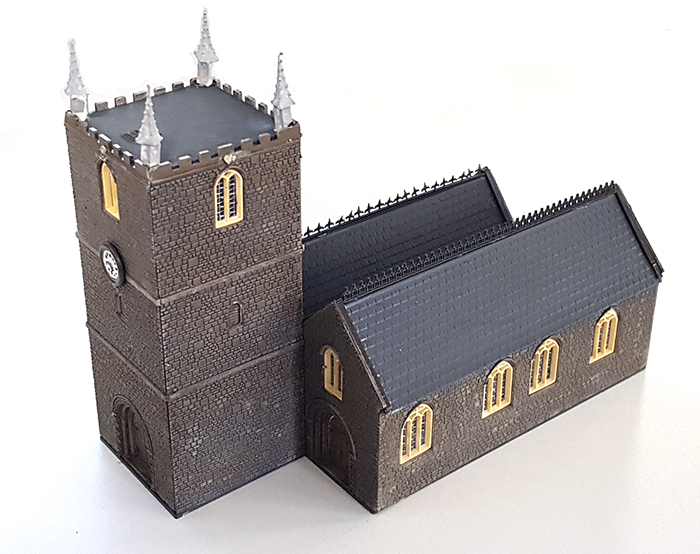
The completed kit, ready to be planted on the shop layout.
Happy Modelling,
Martin