
 TERRY SMITH builds this new kit in the Gaugemaster Structures range.

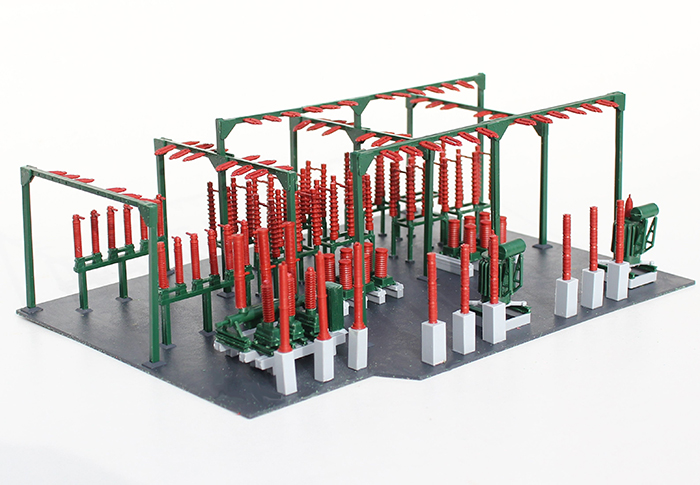
Electricity Substations have been part of our landscape ever since electricity has been distributed by high-tension overhead cables. They are the point that the ultra high voltages carried by pylons are reduced to more manageble voltages to be used by both industrial and domestic consumers.
The GM487 Fordhampton Electricity Substation Kit is made up of 263 parts moulded in 4 colours and when built, measures 220 x 168 x 75mm. I'll now show you some hints and tips for when you are building this impressive model.

It is best to lay out all of the parts so you can familiarize yourself with what comes in the box.
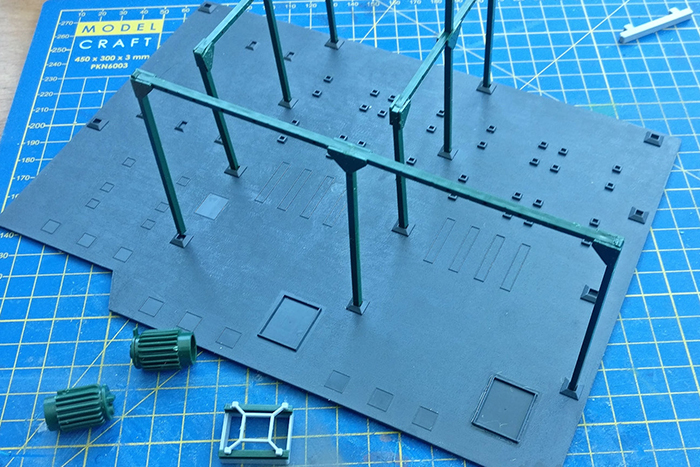
I built up the green coloured frameworks first but did not glue them on to the base. This meant that they could be removed, allowing free access to assemble the other ground mounted items.

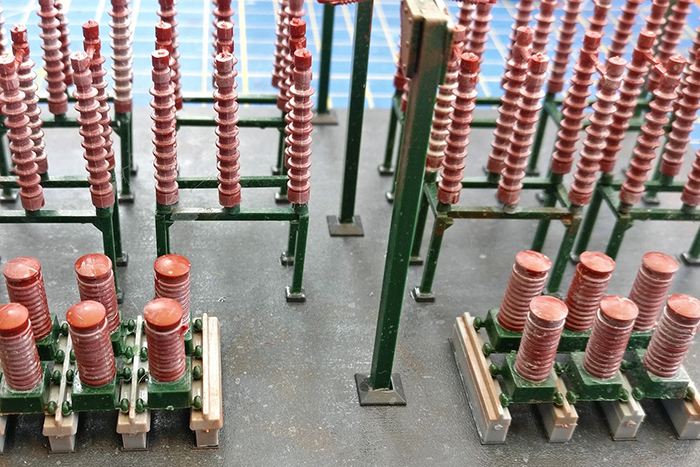
Here you can see various parts glued onto the base including the smaller green frames that hold some of the ceramic insulators.
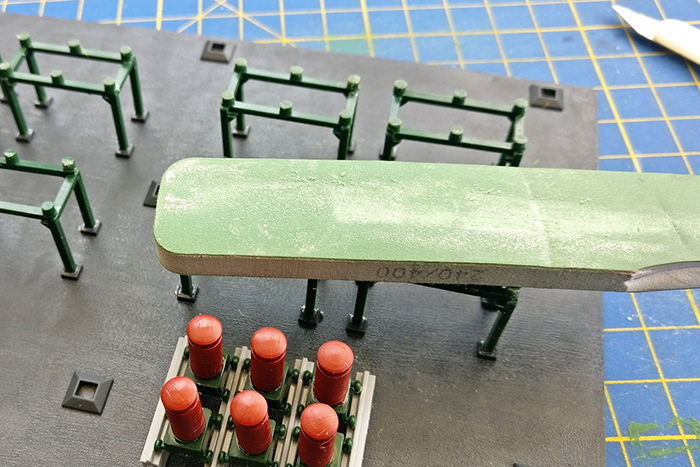
Use a medium sanding stick from GM620 to ensure the insulators have a level surface for attachment.
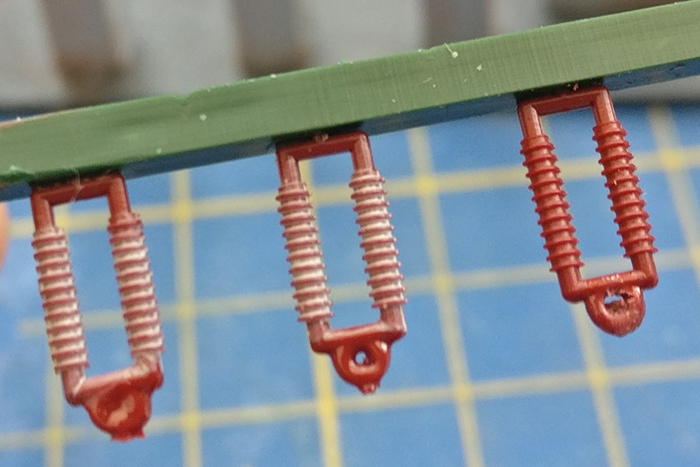
Make sure you identify which insulator goes where - there are many sizes and styles and it would be easy to mix them up.

After applying glue to the underside of each insulator, it is easier to place them using a pair of tweezers.
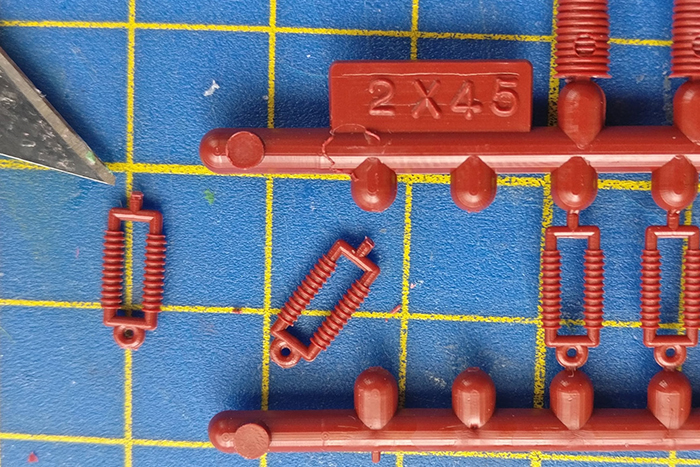
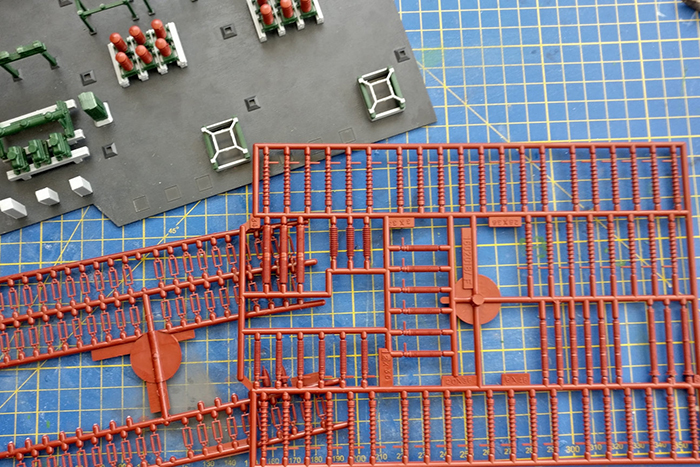
Be careful when cutting the small twin insulators from the sprue; don’t cut them flush but leave the small locating extrusion that fits into the holes on the framework.
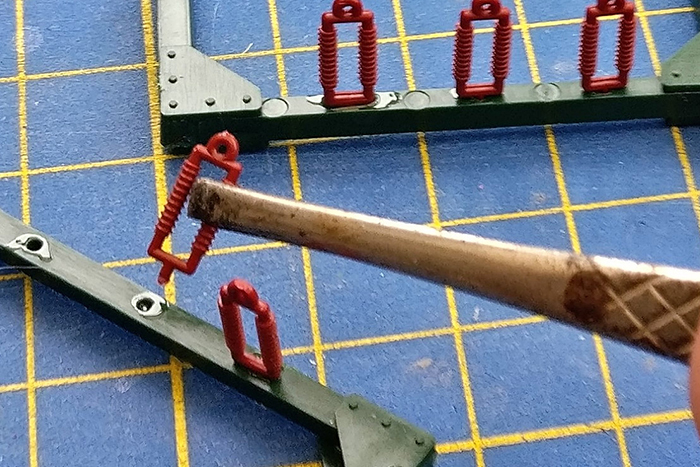
You really do need tweezers to construct this model as it can be a little fiddly.
Adding weathering can make all the difference, and all the insulators on this kit were treated to a well thinned down wash of off-white to pick out the detail.
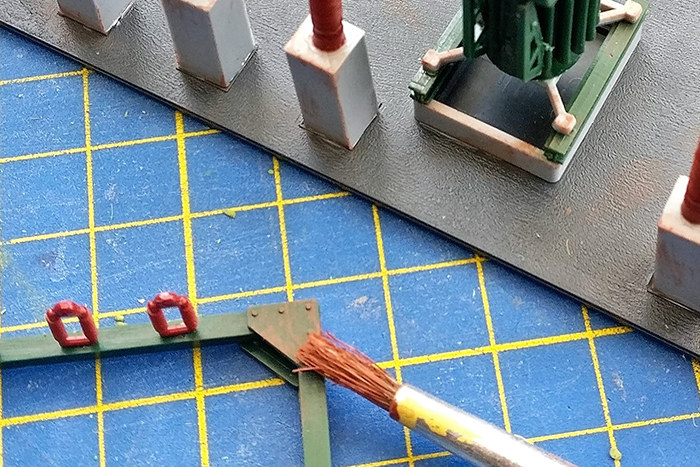
RM2405 Dark Rust paint was dry-brushed onto joints of the framework and on other parts that represented metalwork on the model.
The weathering certainly adds to the realism of the model.
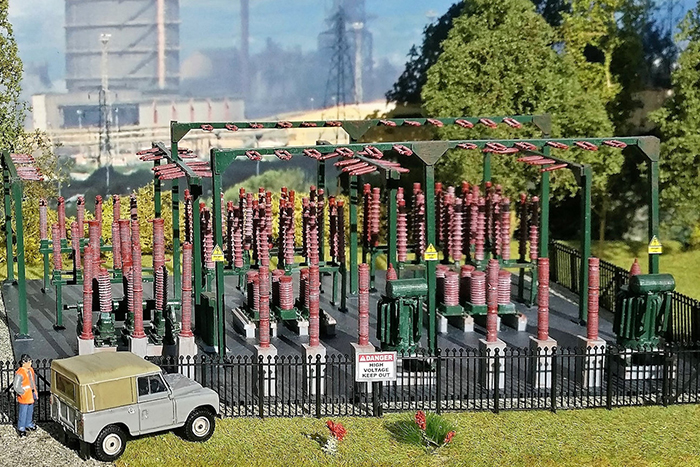
The finished model is enhanced with suitable OO figures and vehicle placed alongside. The fencing used was the GWR Spear type - GM429 and the warning signs are cut from the handy panel on the back of the box that the kit comes in.