
 MARK HOLLAND adds a controllable sound module to a wagon.
This article is a how-to guide on fitting a sound unit to rolling stock. You may have read my previous guide on fitting a Train-Tech SFX+ Sound Capsule to a Dapol Van. In this article is how to fit a GM783 Urban Scenic Sounds Module to a wagon. The module is powered from layout/separate power, so the fit is a bit different to the previous battery powered sound capsule.
I have to start with an apology, due to 'technical issues' (my apparent inability to use my computer to transfer photos!) this article has less pictures than I would normally like to provide in my guides. That being said, I hope I can still give you some inspiration to try this idea out yourself.
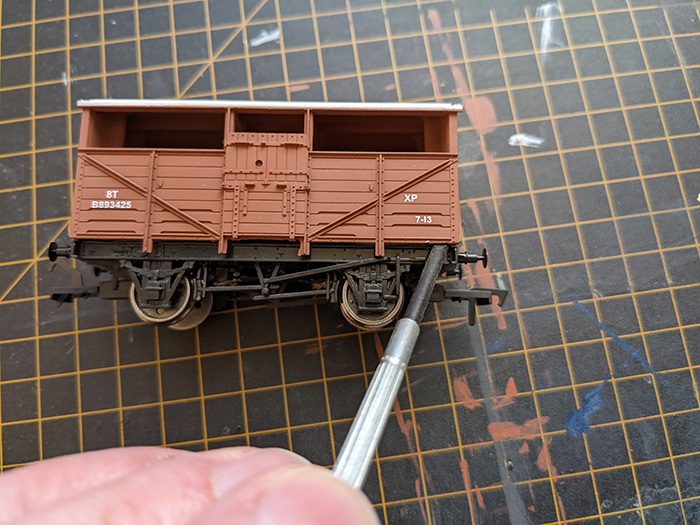
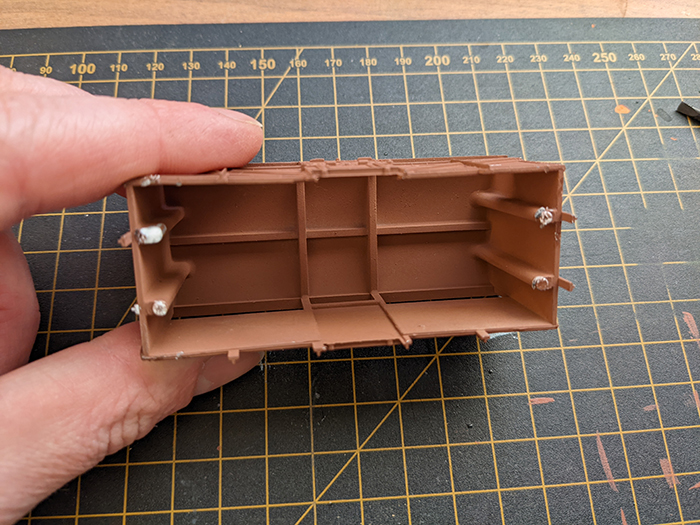
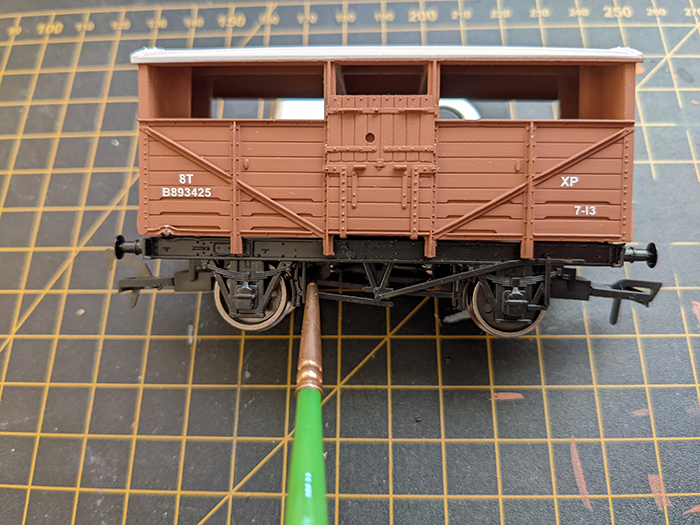
I selected the cattle wagon because of the open section on the sides, that I felt will give a better sound. Unfortunately, Dapol glue their bodies onto the chassis, so a bit of gentle persuasion is needed to break the glue and release the body. Careful with this as the plastic is easily dented doing this part.
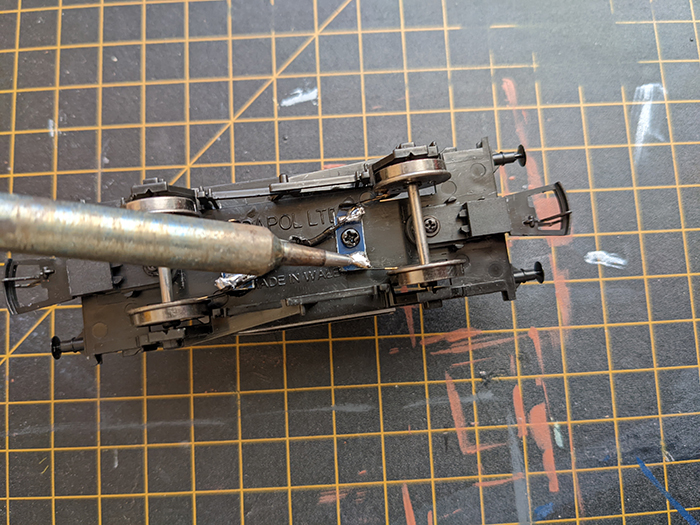
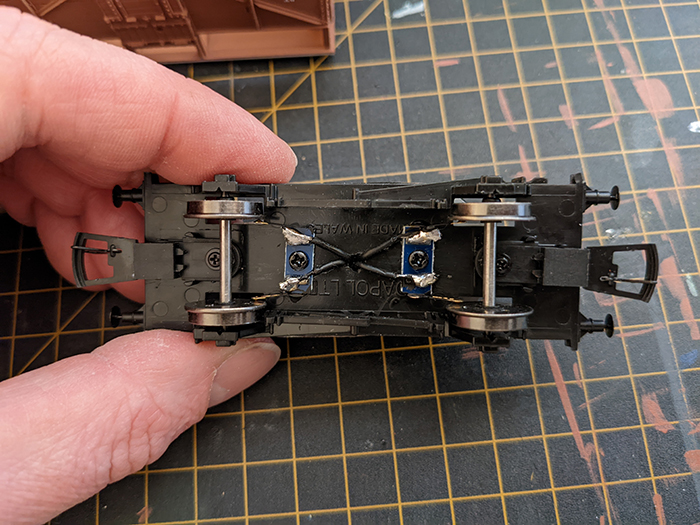
Rather than just having a pair of drop wires to power the sound unit, I went for the wheel pick-up method. The pick-ups are from DCCconcepts (DCDCF-WP12) and are of the wiper type, the same type that are used on locomotives. They come with self-tapping screws so can be directly fitted on the underside of the wagon and wires soldered to them. A note here; careful how you position the wipers against the inside face of the wheels. If you have spoked or holed wheels make sure the wipers don't catch as the wheel rotates.
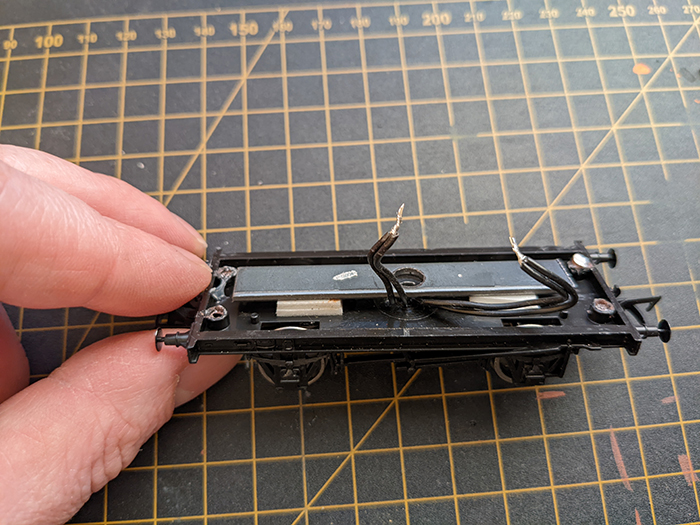
Once the wires are soldered onto the pick-ups they were routed up through the chassis via one central hole. You will notice the spacers under the steel ballast weight; this is because the screws were a little long and contacted the weight before being fully tight.
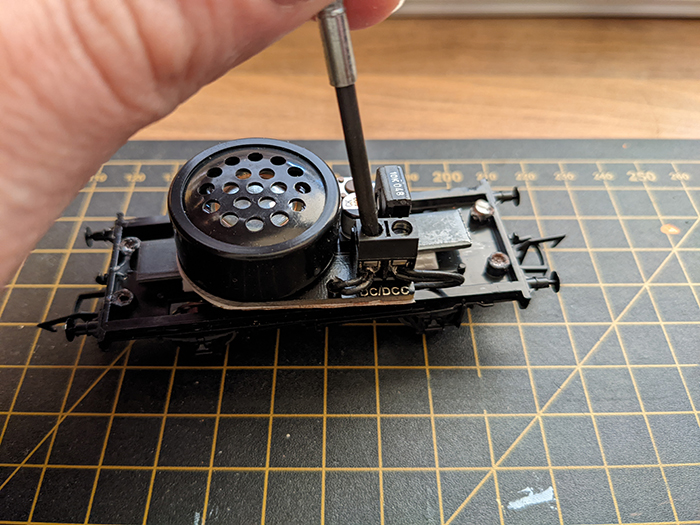
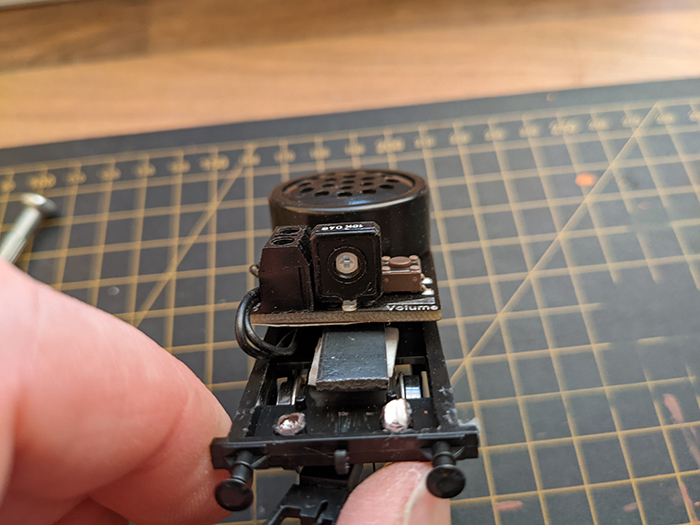
The sound module was centred on the ballast weight and fixed down with a self-adhesive pad, a bit of double-sided tape or a spot of glue could be used depending how permanent you want the fix to be. The paired pick-up wires are then put into the screw terminals on the module. There is a volume control at one end, it is set to 50% as a default. Once the wagon is being used on a layout you may wish to adjust this.
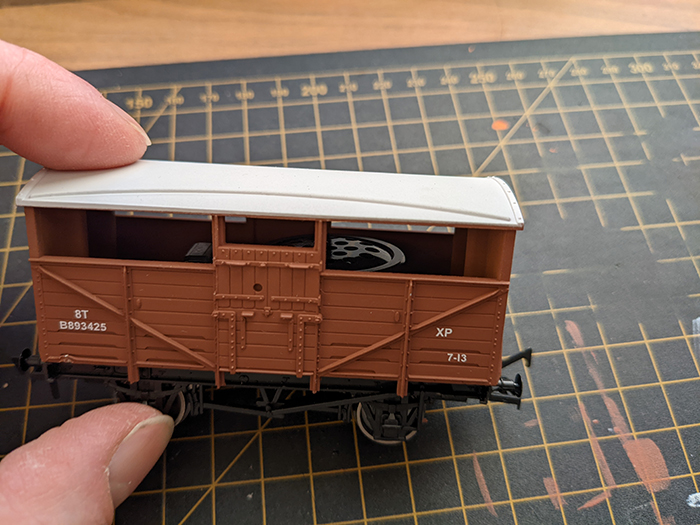
The wagon body back in place. I have just let friction hold it for now, it seems secure enough, but this might need to be revisited later if it loosens at all. As you can see the module is unobtrusive and you would have to know what to look for to see it from any normal distance.
One last task is to paint the outside of the pick-ups with some black paint. This is needed to disguise the gold colour that can be seen. The wagon frame doesn’t really hide the pick-ups well if they are left bright gold.
The modules can run on either DC or DCC power with no problem, if run on DCC then the sounds can be controlled if not then they just randomly cycle through all the sounds. See Terry's previous article for more details on how the module is operated.
Hopefully this has got you thinking of a few different ideas on using the sound modules rather than fitting them in buildings or under the layout board.Above is a video of the van working on an analogue set up (although not very urban, despite the sounds!). You can see how it can be added to a siding and powered from the track.