CRAIG WEATHERLEY takes us through building a helipad diorama to compliment his previous airfield diorama display.
Back in January, I put together an article about how to build your own Airfield Diorama using items from the Gaugemaster Scenics range: Grass Mats, Plants and Flowers, and Tufts. Now I’ve created a helipad display, and this is how I achieved it.
First, I decided whether I wanted a grass or tarmac helipad. I decided to build it into the field adjacent to my runway diorama.
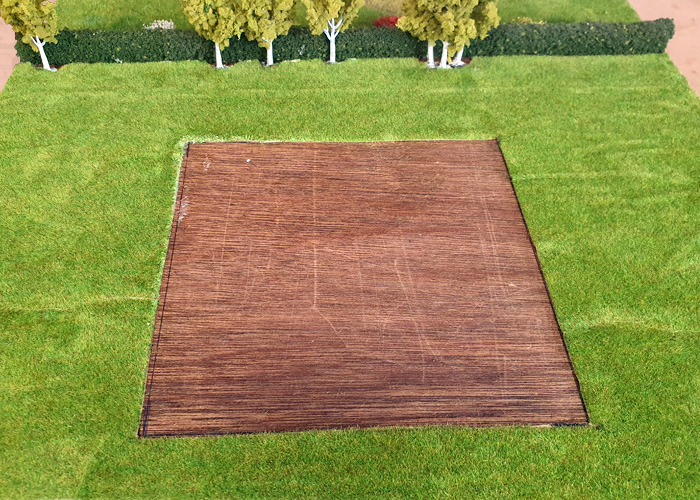
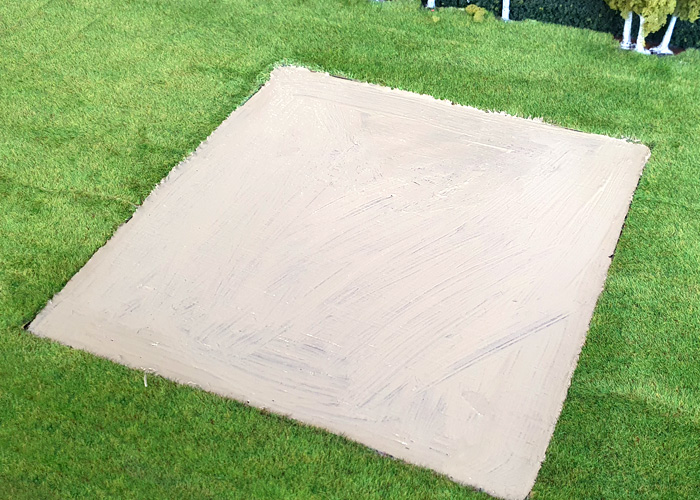
I started with a GM20 Grass Mat and cut a square into it. Gluing the grass mat down can be achieved by using Deluxe Materials Speed Bond. It is a fast-drying glue so is perfect for this application. Then, using any kind of light greyish colour paint, coat the base of your helipad. Let this fully dry before the next step, otherwise it could blend with the next coat of paint. For this stage I used Railmatch RM2422 Concrete, which is an acrylic paint.
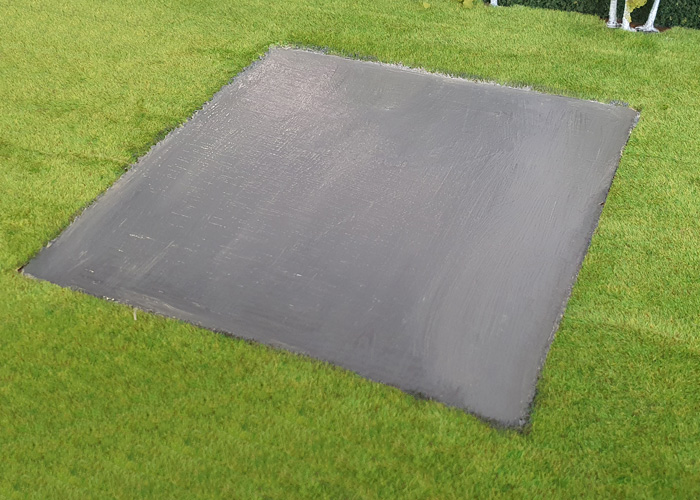
When the first coat had dried I painted over it with a worn tarmac colour. The light grey from the undercoat will create a depth to your tarmac. For this coat I used Railmatch RM2428 Worn Tarmac.
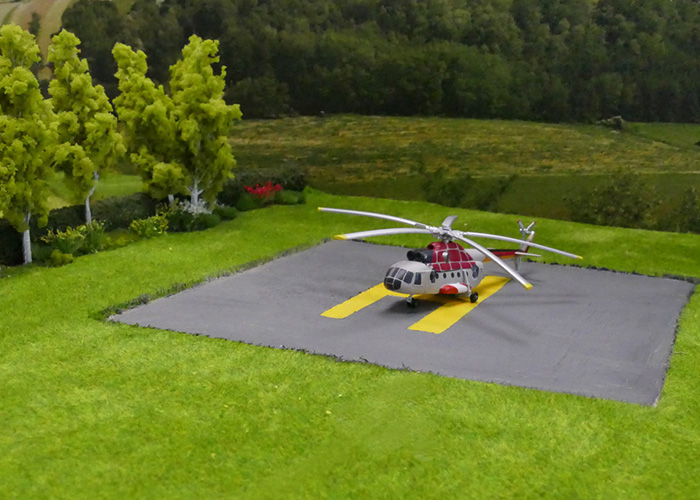
Now some more waiting, as this layer needs to dry completely before the final stage of painting. Once the tarmac is dry, I painted the ‘H’ symbol found on helicopter pads. With a fine pencil I roughly drew an outline of an ‘H’ and choose a bright yellow paint, Railmatch RM2304.
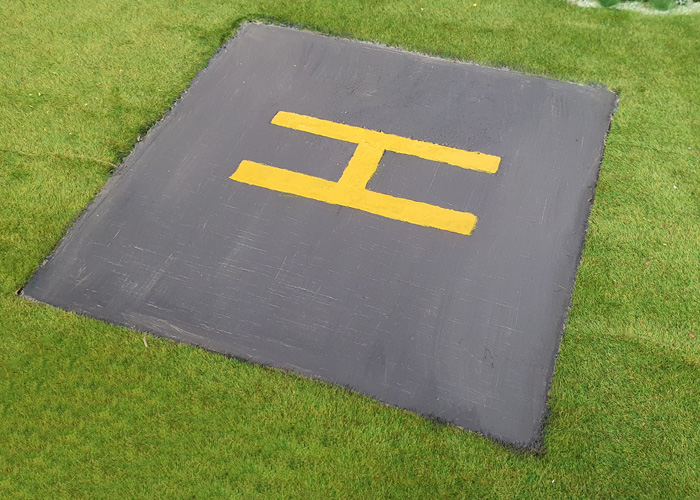
Now that you have your helicopter pad you can decorate and blend the background scenery into your landscape by using Gaugemaster flowers and tufts as seen on my previous article, and then you are ready to add your aircraft. For this scene I used a Herpa HA571197 Mil Mi-8TB Helicopter German Army 94+62 Hip (1:200).