

 TERRY SMITH builds up this simple but effective N Scale kit – is it time that you gave it a go?
It’s strange, but some of you just do not like building kits. I know because many customers told me just that during my 10-year job as the Engine Shed shop manager. Some cited that they were too fiddly, while others said that that they could not be bothered to do any painting. Well, building a kit like the GMKD1009 Oil Storage Tanks might just change your mind.
There is no doubting that the wonderful pre-built and decorated resin models from the major UK model railway manufacturers over the last 20 years have had some effect on the sales of plastic kits. However, nice as they are, they do take away the important side of crafting your own miniature structures for your layout - which is what the hobby is about!
After acquiring the N Scale plastic building kit company Kestrel many years ago, Gaugemaster have been expanding into the plastic kit market in both OO and N Scale, working with partners such as Faller. This German company have for years been a staple part of the continental railway modelling scene with their self-coloured model kits, and this was something we wanted to introduce for the UK market.
Kits like these fuel tanks could be used on layouts anywhere in the world and even come with BP, Shell and Esso signage should you want to use them - or just leave them unbranded like so many of the real storage tanks are in real life. All Kestrel Kits come moulded in pre-coloured plastic, however these can be painted for extra detailing or weathered to your taste to add more realism. Let us look at how the kit goes together.
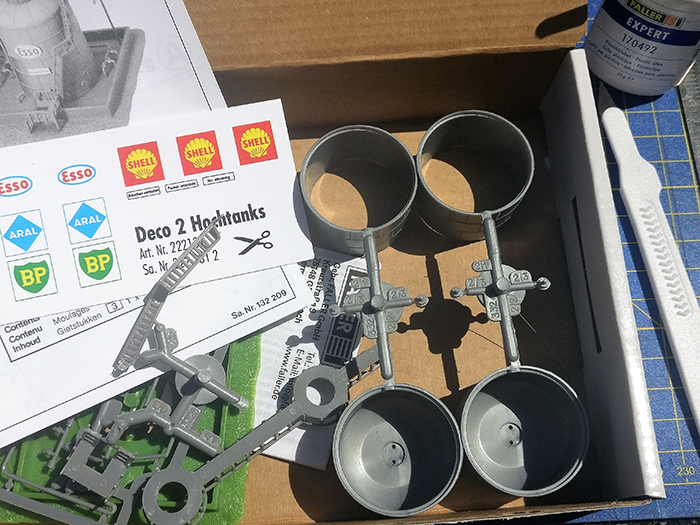
1 – This is what you get in a Kestrel boxed kit like this - everything you need to build the model in realistic coloured plastic. An GM602 A4 Cutting Mat and a pack of GM613 Trim Away Knives are useful.
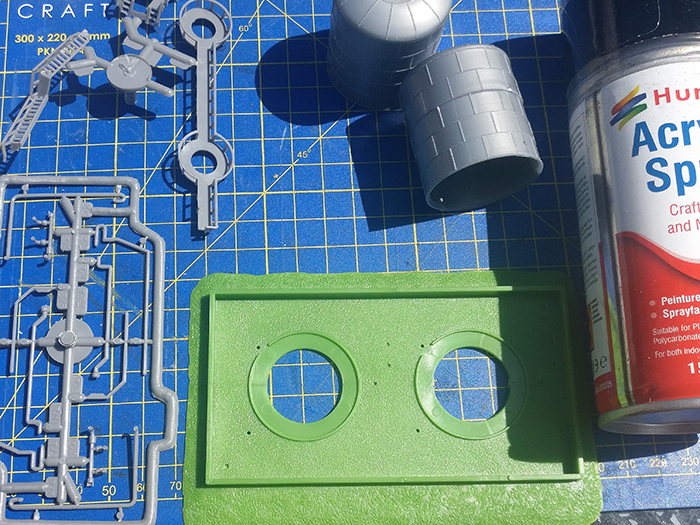
2 – Each tank is in two pieces and were stuck together using FA170492 Faller Expert Plastic Glue. Before any other parts were stuck together it was time for a little paint.
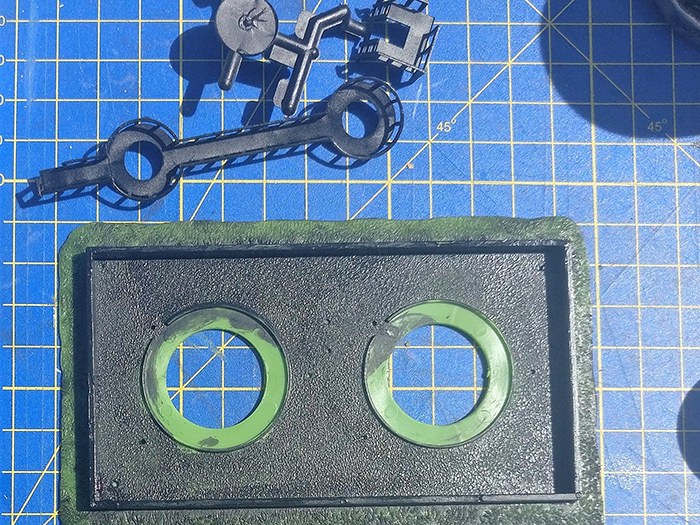
3 - While the colour of the walkways and ladders was different from the tanks, I decided that as I was going to be using the Humbrol AXD6085 Satin Black Spray for the base anyway. I would also paint these parts to give more contrast.
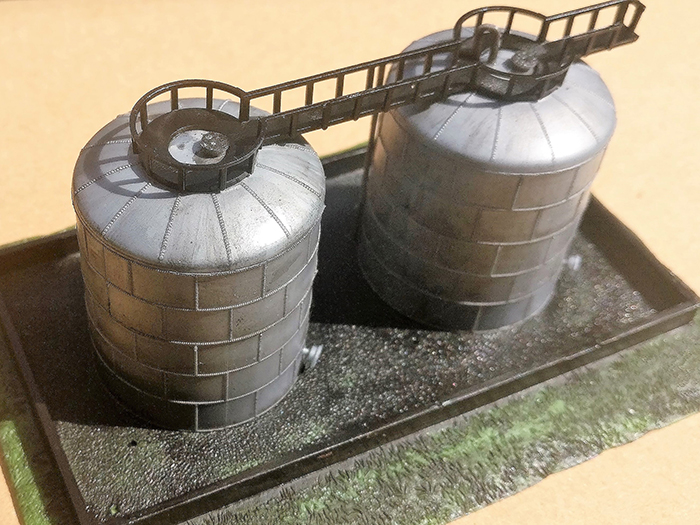
4 – This shows the area under the tanks and the containment wall being painted as a grimy black. The grass was toned down as well. this plastic area could also be cut away if you wanted, especially if you want to place multiple tanks close together.
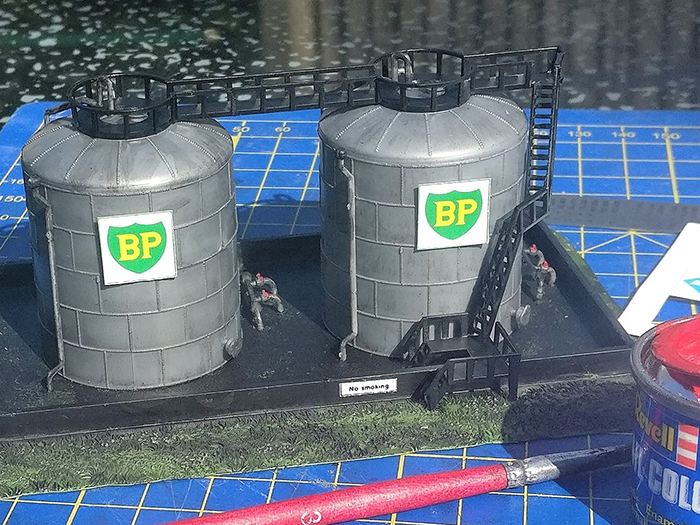
5 – It’s the little things that can make a difference. Just a couple of dabs of red paint on the supply taps brings it to life.
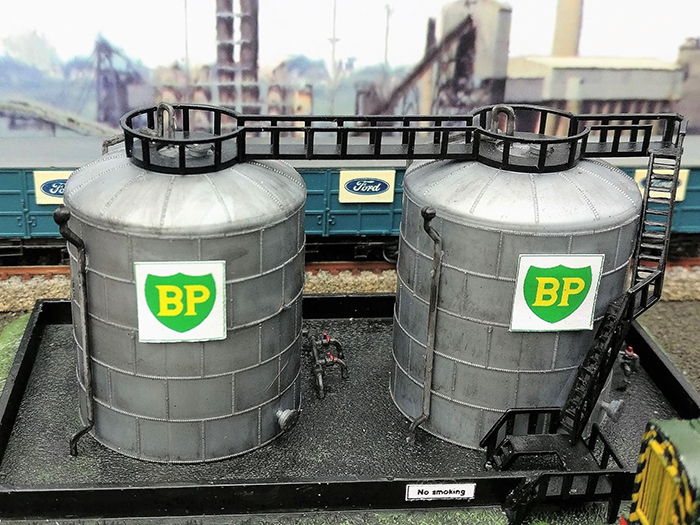
6 – The completed model in an industrial setting. The model is perfect for gap filling on a layout, and you can tell everyone – you built it yourself!