

 TERRY SMITH constructs the upcoming super-detailed BP Petrol Station kit from the Kestrel N Scale kit range.
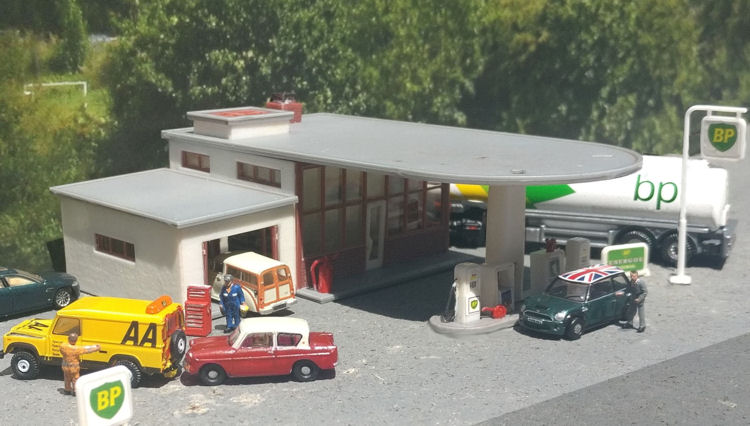
When opening any kit box, I usually have an anticipation of what you are about to undertake. Perhaps it’s the kid in me reminiscing building his first Airfix Spitfire aged six? First thing I always do is lay out the parts in front of me and familiarise myself with them and picking out parts that may need painting or weathering. The first thing you notice is that there are a lot of parts for such a small structure and when you study the instructions you realize why - the model is crammed with so much detail, more in fact that you get in some OO Scale kits. How about a fire extinguisher and watering cans for the forecourt – tyre rack, wheel balancer and work bench for the service bay – and a fitted out shop with stands selling oils and magazines plus a counter complete with till, all in 1/148th scale?
As usual I use an A4 cutting mat, sharp blades and some sanding sticks to help with the construction. The building itself goes together pretty easily, but do make sure all the walls are seated and glued onto the moulded base properly so that the roof fits nice and level. It’s said a picture is worth a thousand words, so let’s get started.
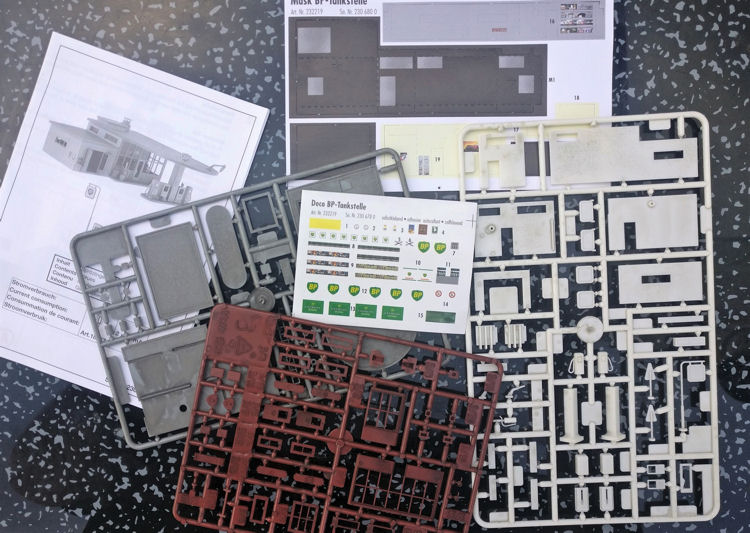
An impressive amount of parts greets you on opening the box of GMKD1003 – 96 in fact moulded in 3 colours. The kit benefits on its parts being slightly pre-weathered.
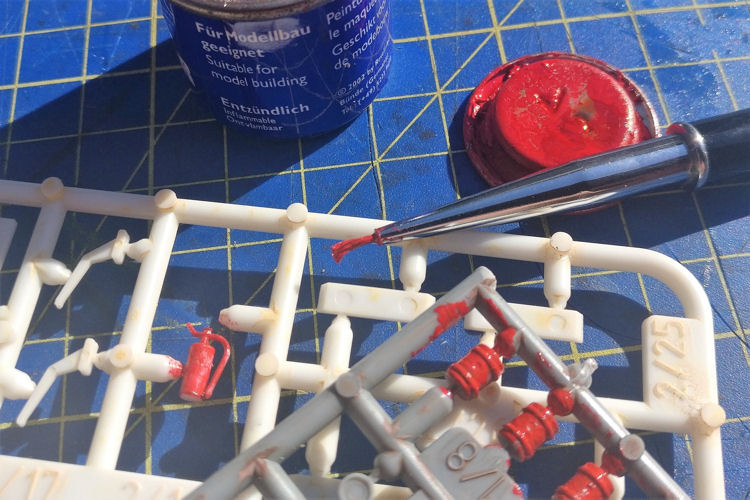
I picked out small parts I wanted to paint while they were still on the sprue. Do study the instructions to find out which part is what.
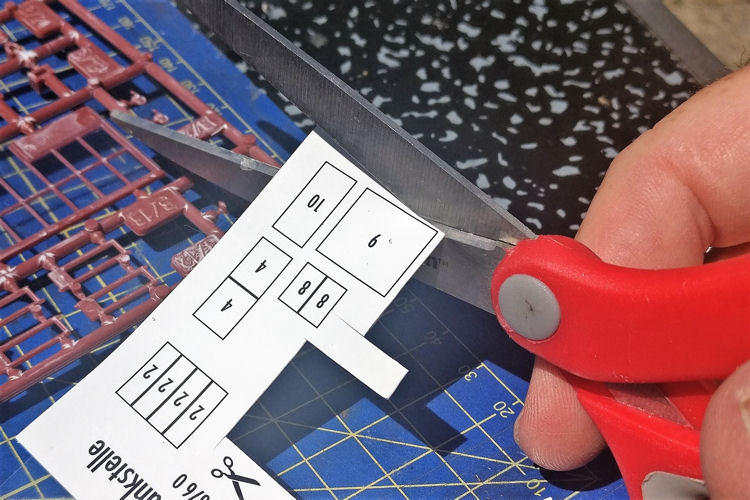
There is a vinyl mask that sticks over the sheet of clear plastic film. Cut out each shape for all the different windows in the kit. I stuck the clear plastic onto each frame while still attached to the sprue.
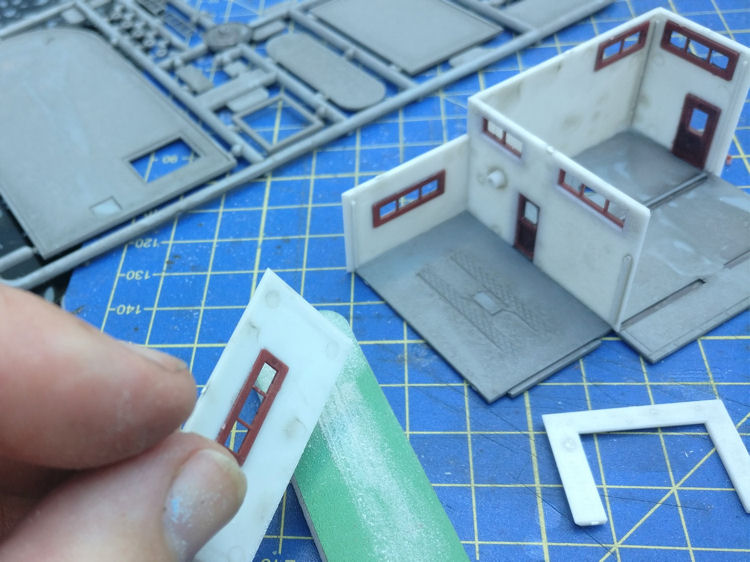
The base is key to the construction of the building. Some of the walls locate in groves in the floor, note the windows are stuck in place already. Remove any remnants of the sprue with a sanding stick for a flush fit.
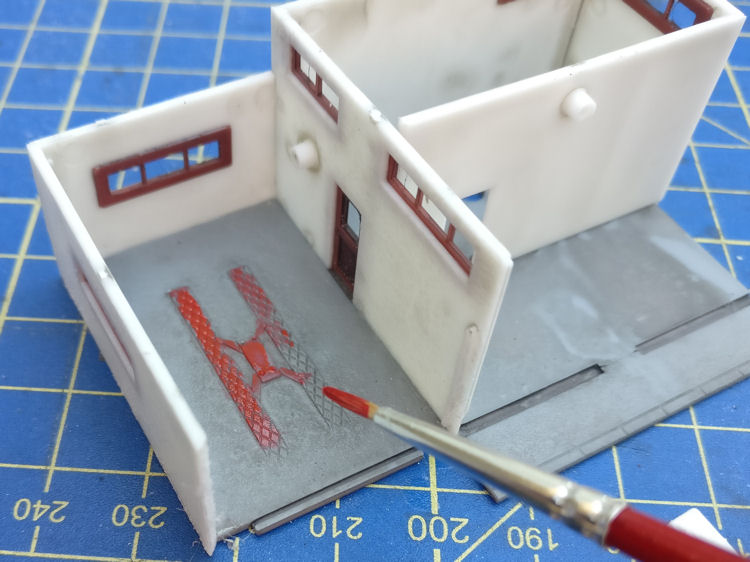
I picked out the ramp in the service bay with red paint, you can also use a larger black Sharpie pen to colour parts like this.
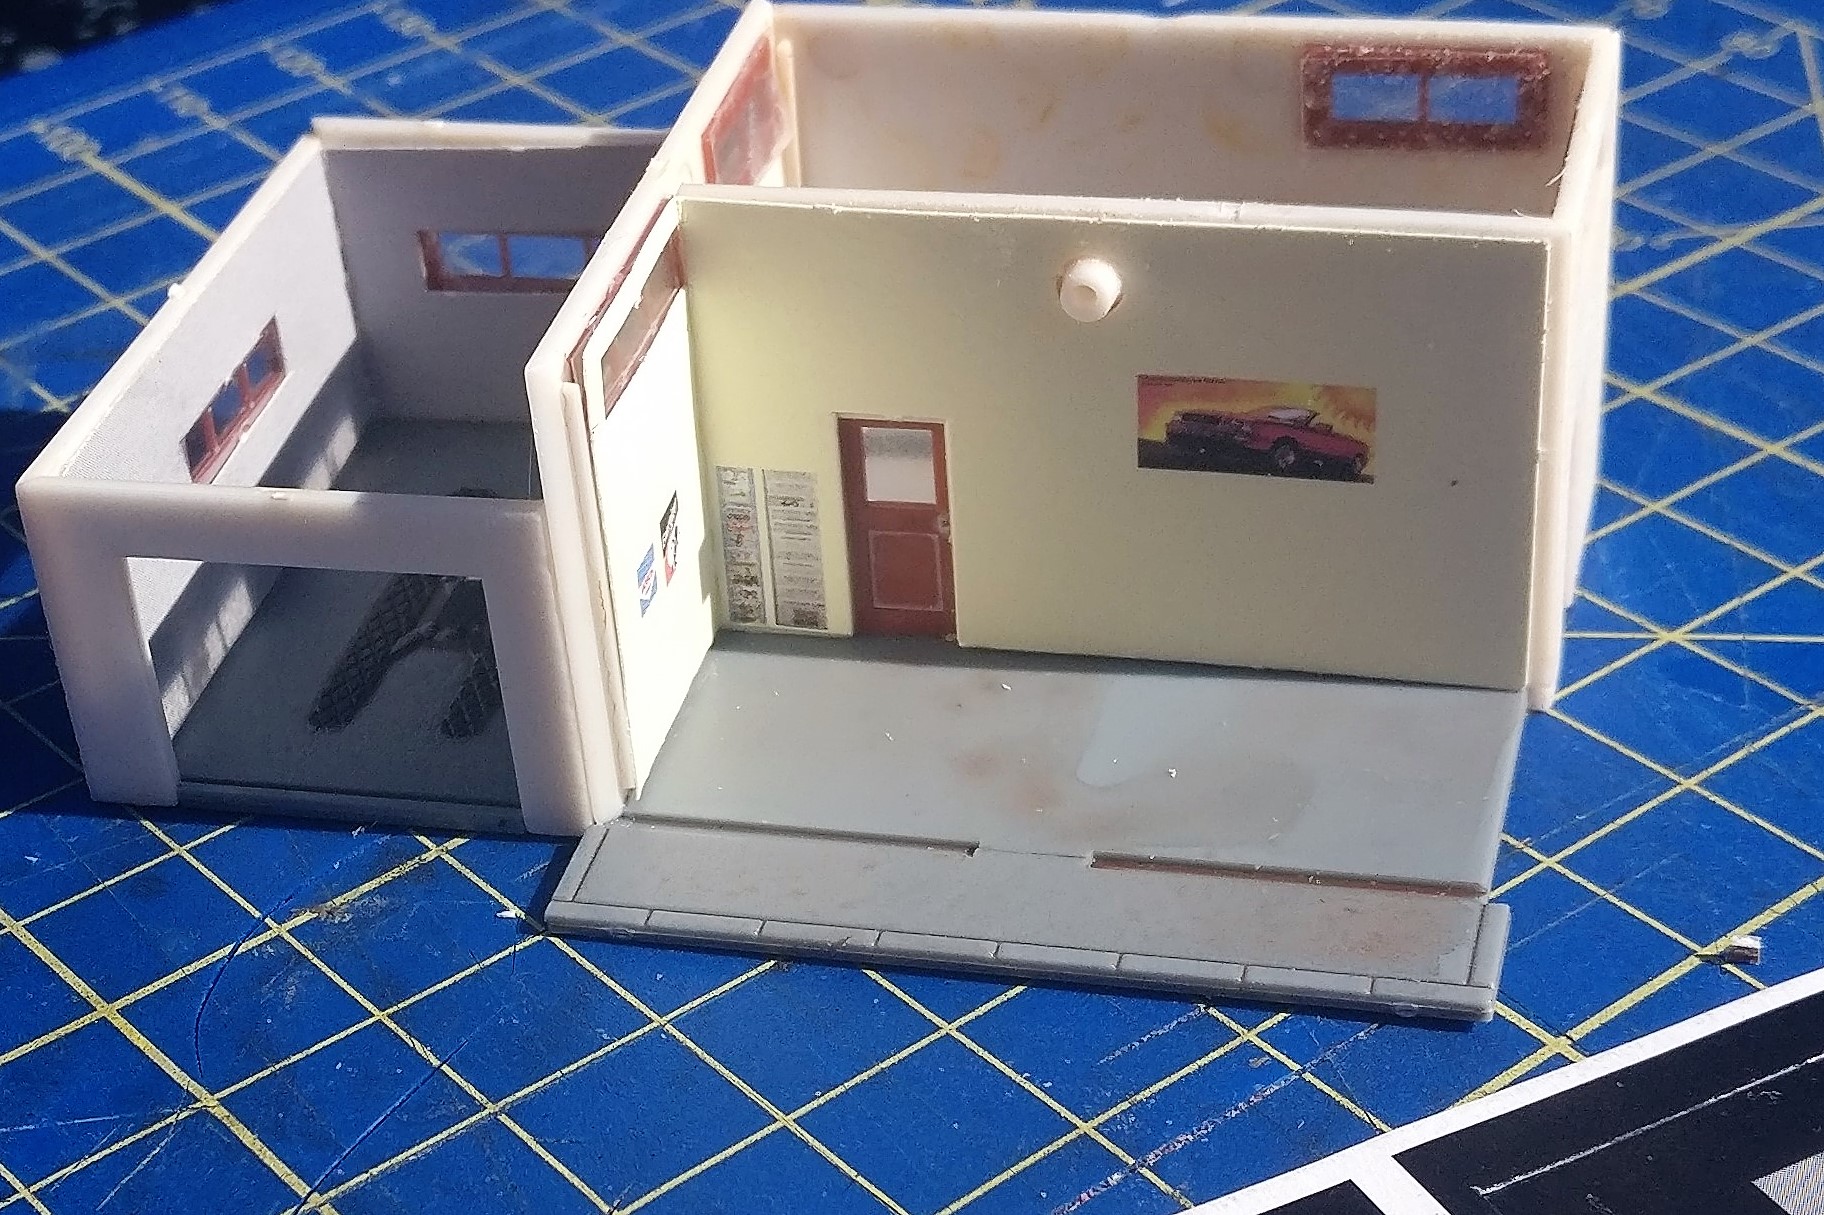
The interior masks work well and add a level of detail. The black one in the foreground was for the stock room but was not used. You can add lighting to this model and while not fitted I would recommend this, to show off the detail in the shop and service bay.
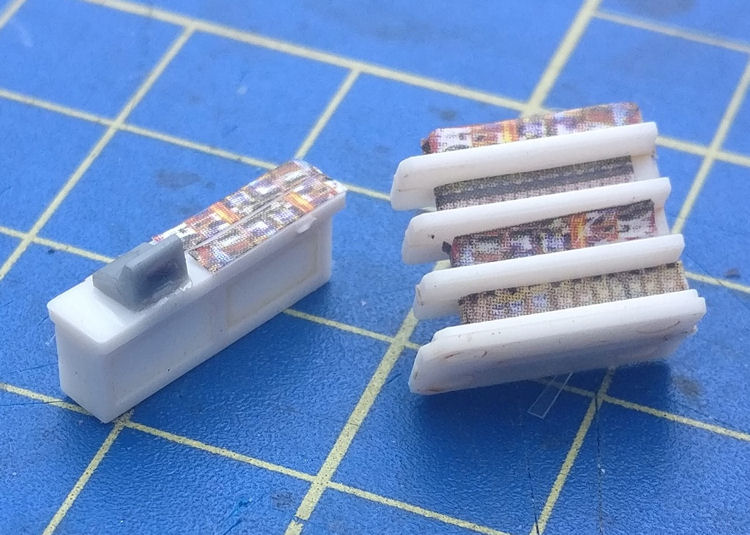
A counter with till and a magazine rack in N Scale! The service bay is also packed with small workshop details.
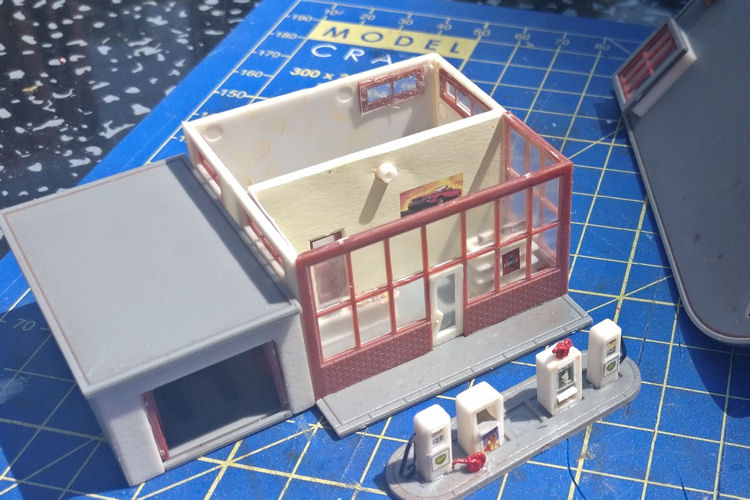
The forecourt main building and roof prior to final assembly. While there were two magazine stands for the shop, I only used one to make the area less fussy. Feel free to make choices like this when building kits, after all, it's your model! The hole in the wall is were you can place a small LED for lighting should you want it.
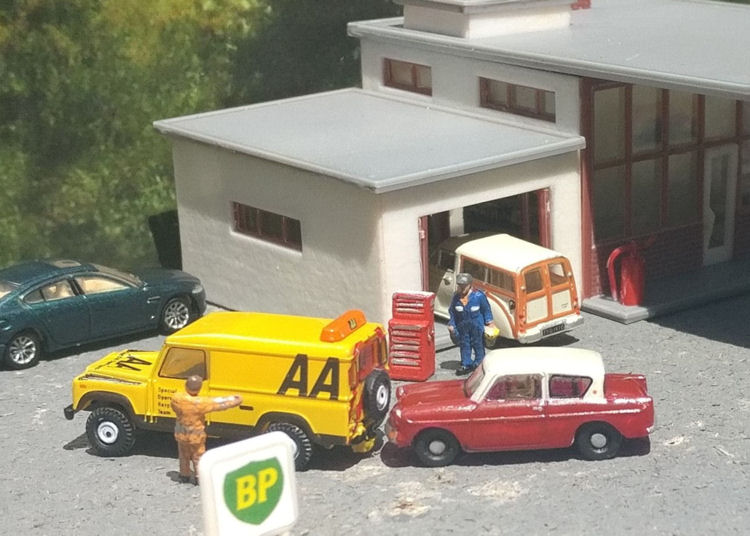
Bring it to life with figures and vehicles. The cars used will be dependent on the era you wish to model - here we have a mixture of classic and contemporary vehicles. This style of petrol station can be used on layouts from the 1940s onwards, and there are still buildings like this in use today.