

 STUART JORDAN shows you how to enhance your castle card kits.
In the previous article, I showed you how to put together two kits from the new Metcalfe Castle range in OO Scale. This set of modular kits allows you to build up a castle for you layout with walls, gatehouses, towers, and a keep.
In this article I'm going to show you how to take your kit a little bit further and make it a bit less pristine. Here's a Historical Note - after the invention of gunpowder, the stone defences of castles and town walls became less relevant. Tall stone walls could be breached much more easily with cannon, so defences changed and castles fell to ruin as many of them are today.
So how do we model this using our Metcalfe kits? One architectural feature to keep in mind was that castle walls were not solid stone bricks. To save building time two walls would be built parallel to each other with the gap between filled with rubble.
We can simulate this by adding a polystyrene centre to the two outside sheets in the Metcalfe kit.
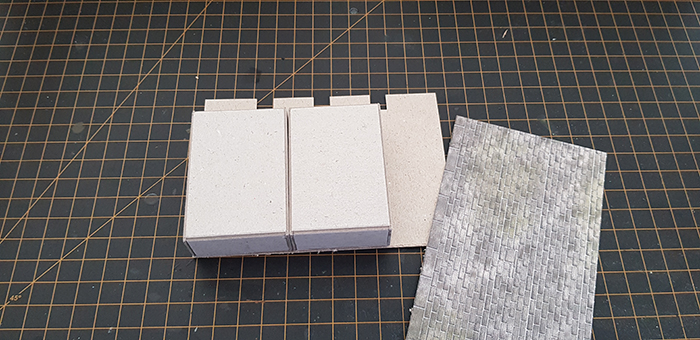
In the instructions, the extra-large wall uses two strengtheners each stuck on the ends of the walls. I'm going to assemble it with the strengtheners pushed to one side.
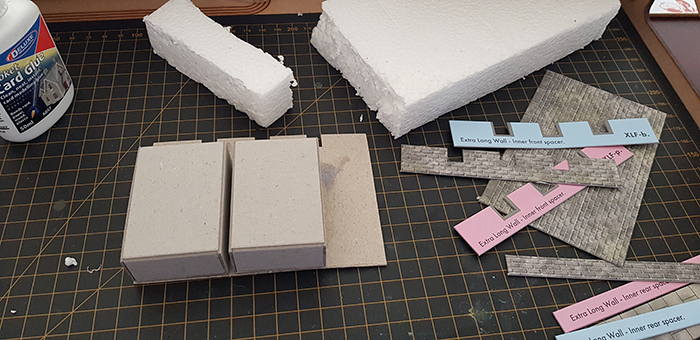
I can then cut a chunk of polystyrene to the right size to fit the gap that remains, and get ready to assemble the crenellations and wall tops. We can't really use a polystyrene cutter for this because we want a rough edge, so cutting it with a knife will be messy!
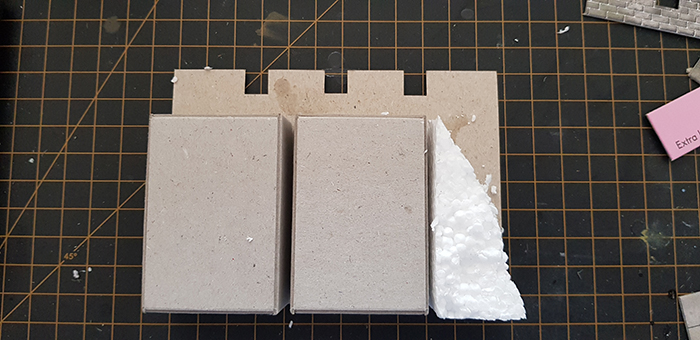
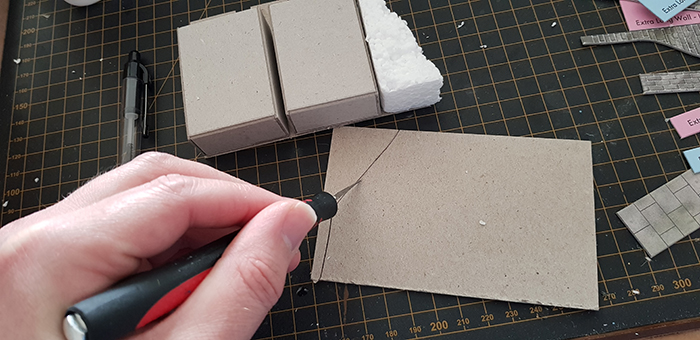
The collapsed interior of the walls can be traced around and the wall sheets cut accordingly.
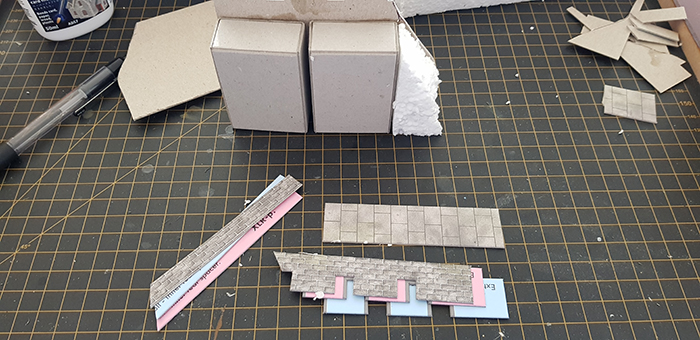
Now the walkway and wall top sheets also need to be cut to match.
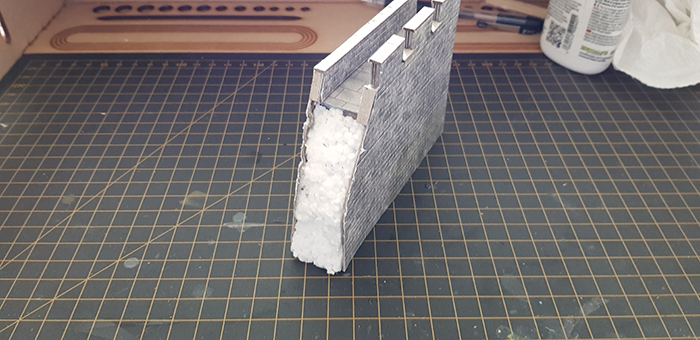
With everything assembled, any overhanging card can be trimmed off to line up with the polystyrene.
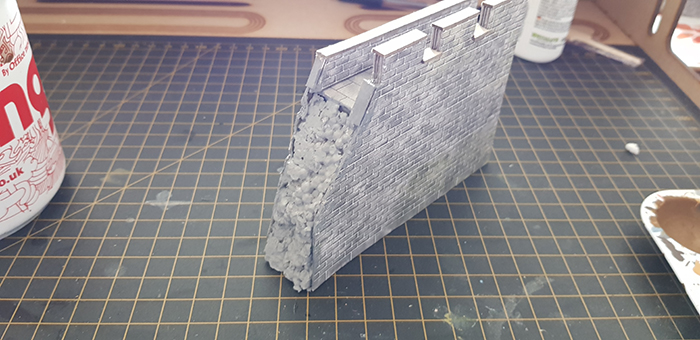
We start with a basecoat of dark grey. Spots of yellow and green are added to represent plantlife and, when dry, the whole face is drybrushed with a lighter grey making sure to catch the bare edges of the cardboard as well.
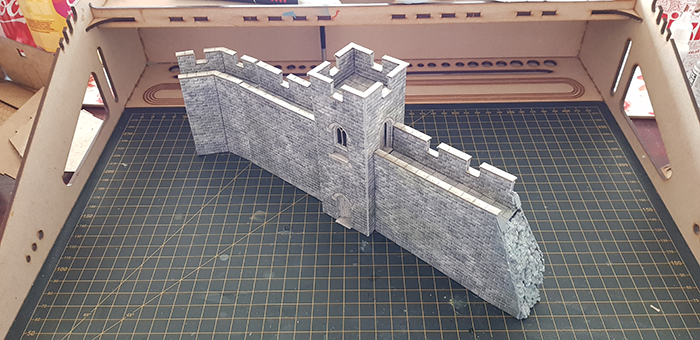
The completed ruined section with the parts built last time. It can be built in to the layout and more polystyrene rubble added to the bottom of the wall and blended in with scatters and vegetation. Now we have the makings of a proper castle ruin.