
 STUART JORDAN builds part of this incredibly popular new OO Scale card kit range.
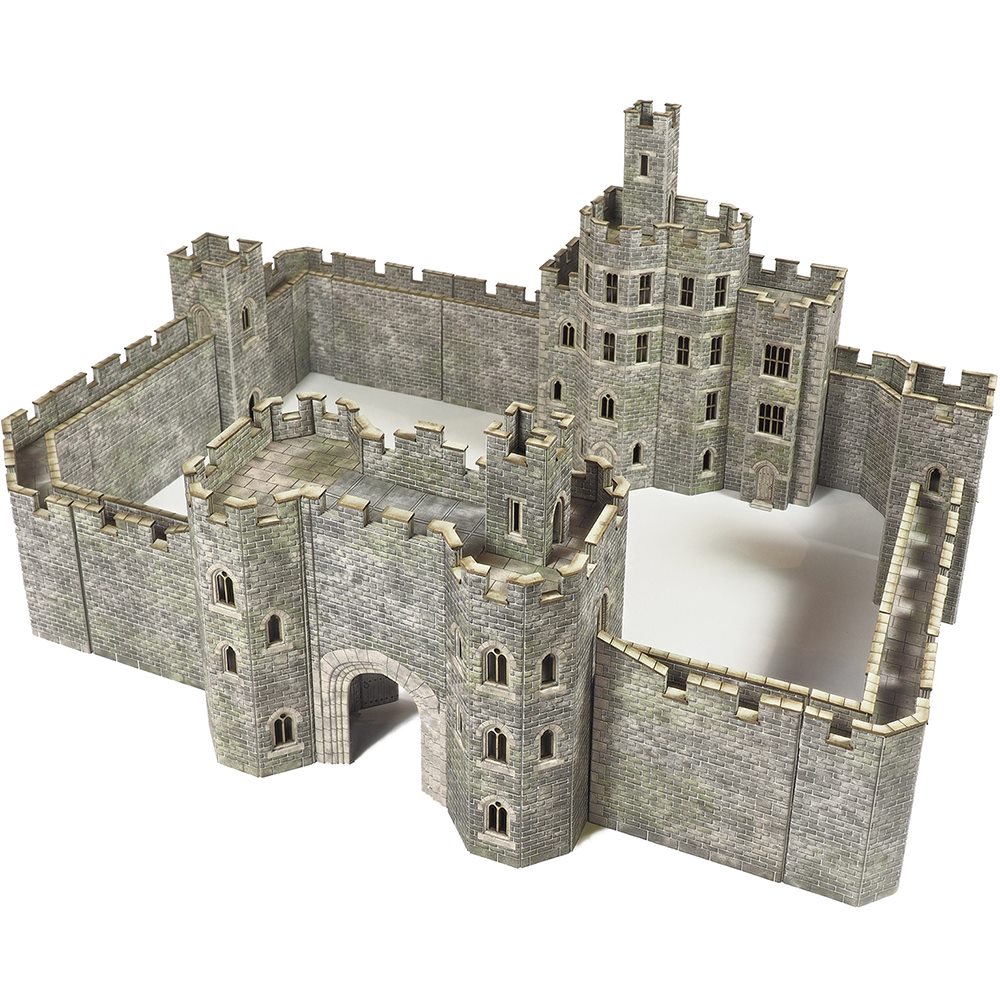
A castle made up of several items from the range.
Back in October 2020, Metcalfe released a set of four OO Scale card kits, allowing the building of a modular castle to the modellers' own design. These kits became somewhat of a lockdown hit, with the range selling out almost as soon as they came in. They still remain popular and I'm sure that the N Scale versions due later in 2021 will be just as sought after.
So what is in the range?
MEPO291 Castle Gatehouse Card Kit
MEPO292 Castle Watchtower Card Kit
MEPO293 Castle Curtain Walls Card Kit
The Gatehouse is suitable for modelling either a castle or city walls. The Castle Hall could be used on its own as a fortified manor house. In this article I'm going to take a look at the Watchtower and Curtain Walls kits.
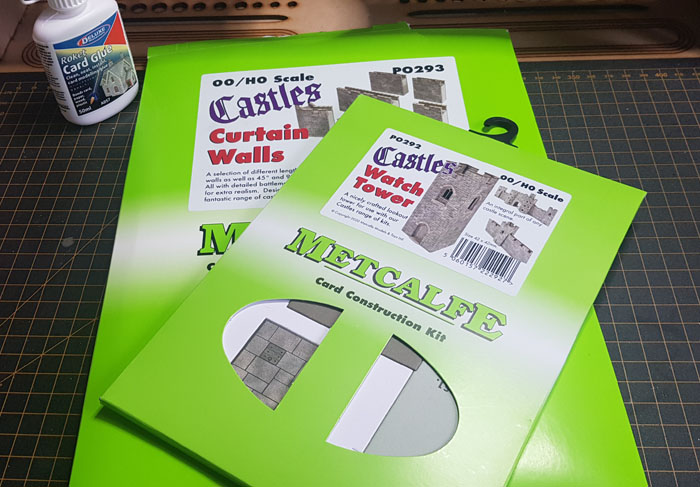
I'm going to use these two kits to start building a wall and watchtower for a city wall on a layout. Recommended tools are DLAD-57 Roket Card Glue, a sharp modelling knife, and a steel rule.
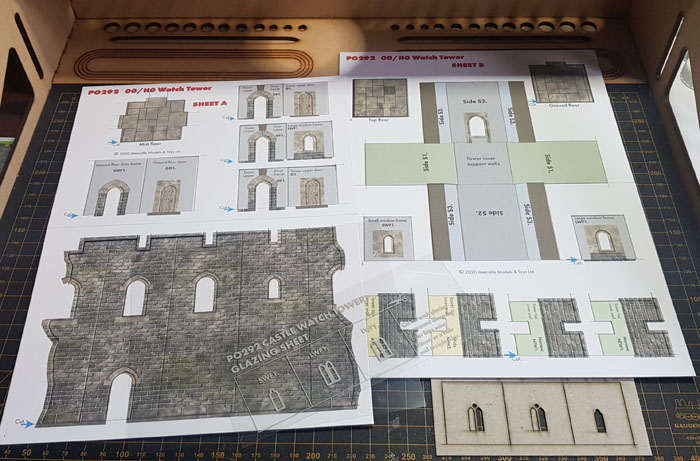
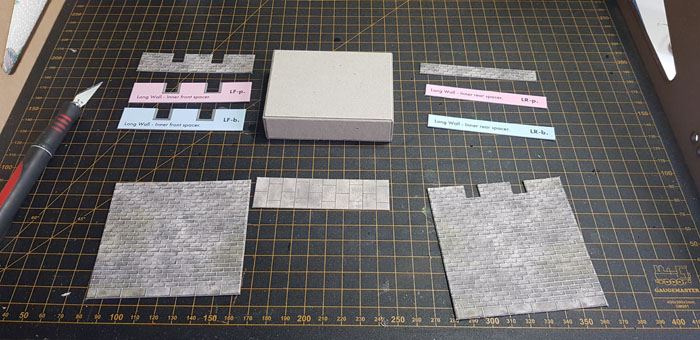
Starting with the tower, here is what you get in the kit. It's quite a small kit with only a couple of sheets of parts, plus glazing.
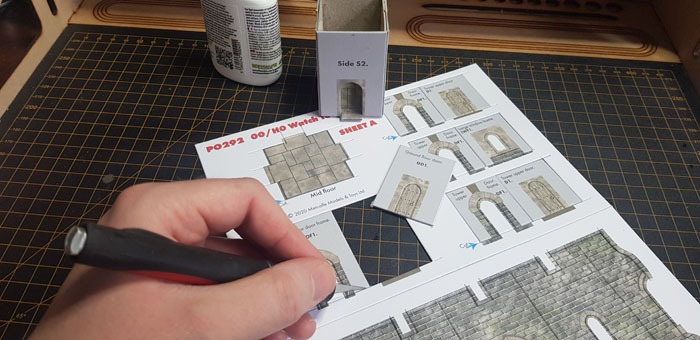
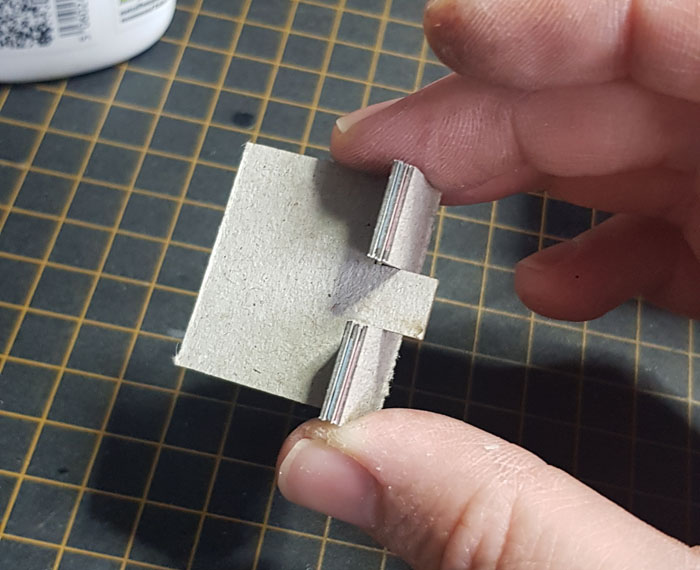
First off, you build an inner for the castle, which you can see at the top of the picture above. This is the foundation that the outer stonework is wrapped around. The ground floor tiles and door are added first.
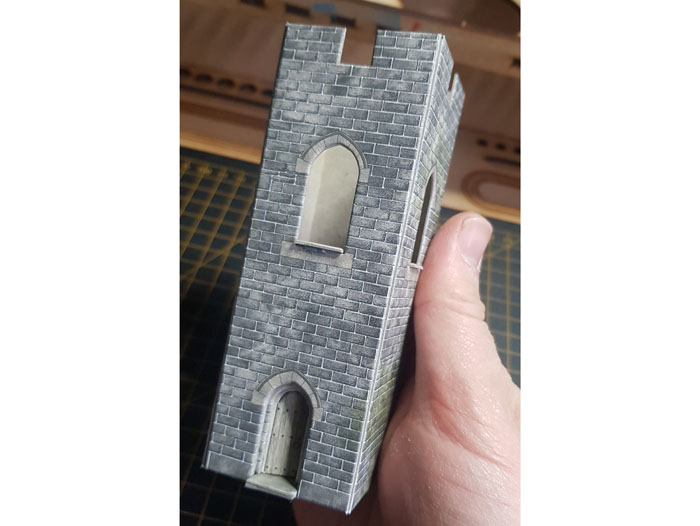
This is the inner with the outer shell wrapped around it. The middle floor has been added and forms the steps outside the doorway. As I'm not sure what I'm doing with the walls yet, I don't know if the three large holes on the middle floor need to be doors or windows. For that reason, I'm going to pause with the tower for now and take a look at the walls.
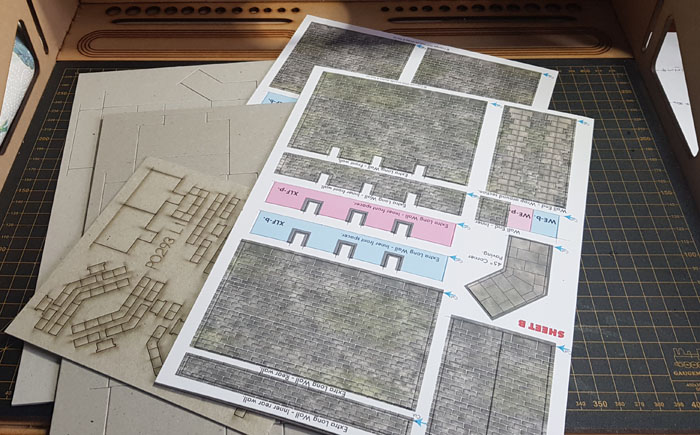
The wall kit is far more substantial, with many sheets building up to one extra large straight (118mm), one large straight (84mm), one medium straight (59mm), one small straight (48mm), two 45 degree curves, and one 90 degree curve.
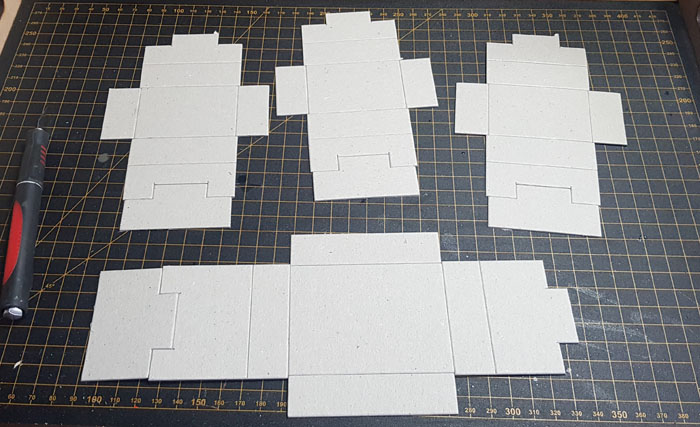
The wall sections are formed around inner strengtheners which start out as flat templates like the ones above for straight walls.
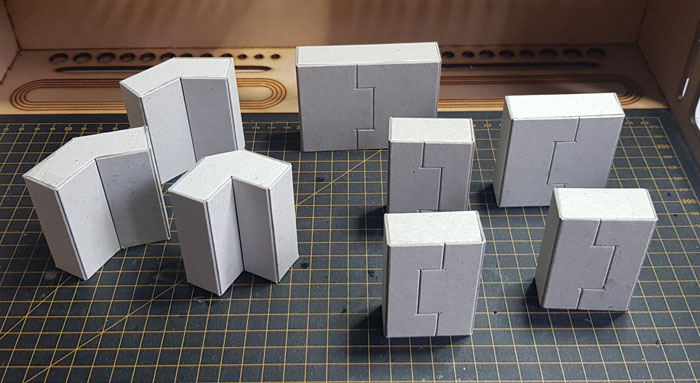
These are the completed strengtheners for all of the wall sections. The extra large wall section uses two of these, which is why there is one more than wall sections in the kit.
So what's in a wall? Here we have the strengthener, front and back wall sheets, walk way, and three-section wall tops. The tops of the walls are therefore four sheets thick, giving them a much more realistic appearance.
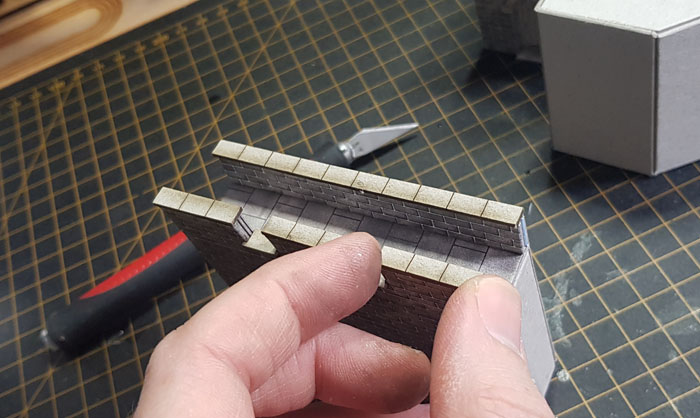
Once stuck in place, capping stones are added to hide the layers of card.
A jig is included on one of the sheets to allow you to line up the crenellations. This is part of the outer wall for the curved section.
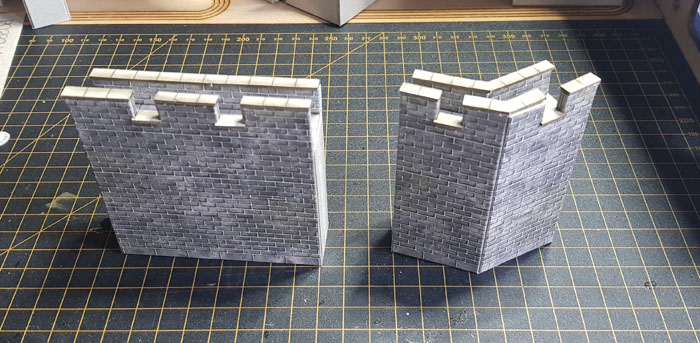
With the long straight and 45 degree curved wall completed, we can get back to the tower now that we know that we will need two doors and two windows on the middle floor.
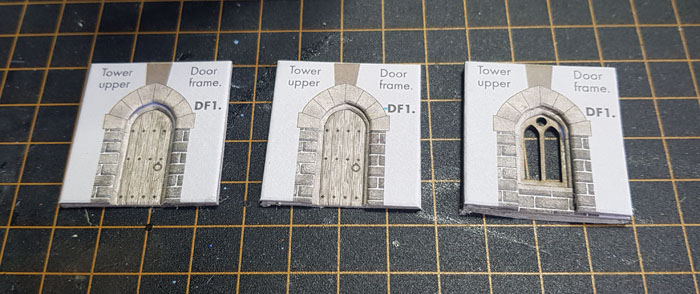
The doors are made up of two layers, and the window is three. This gives a nice effect of depth. Note, I have not included the glazing as the glass most probably wouldn't have survived the centuries unless it is a particularly well looked after monument.
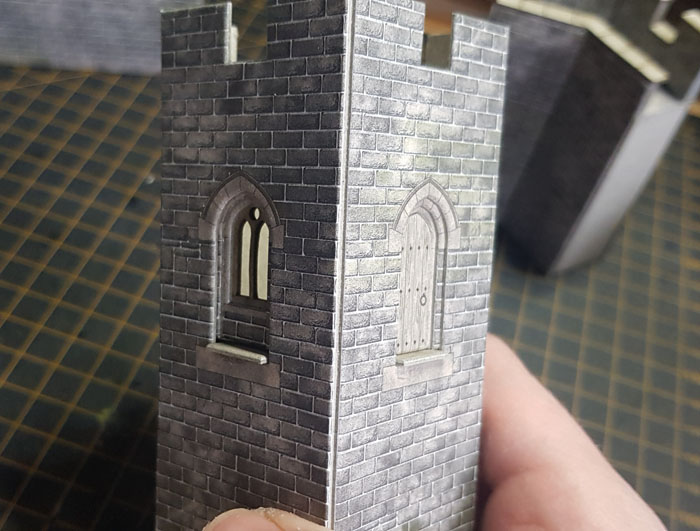
Here you can see the 3D depth effect.
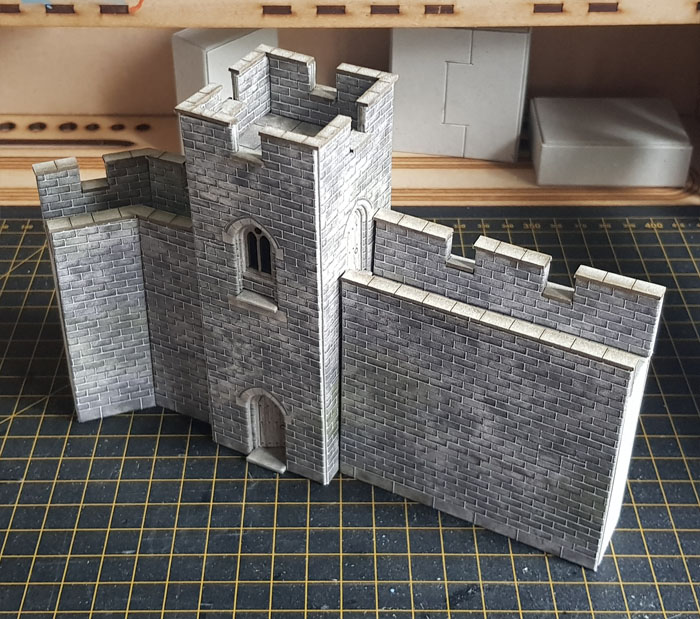
So there we have it - we've made a good start to our city wall. Moving on from here we can add more wall sections and towers, and maybe a gatehouse and then blend it into the layout. These three sections took me a couple of hours or so to complete, but to be honest now that I know how the the wall layers go together and how everything fits around the strengtheners, it will take a lot less time to finish the rest of the kit.
This is a pristine kit - every stone is in the right place, so it will be interesting to see how to 'dirty' it up and include ruined parts, but that's a job for another day.