 JAMES HICKMAN takes us through how to create a diorama for display.
Those of you that have read our sister publication Right Lines may notice some similarities to a previous article there. I haven't just duplicated that article however as here i have extended the content and taken a look at how to build this kind of roadway as a standalone model, from scratch.
There are not two roads the same here in the UK and it’s the same around the rest of the world. No two roads share the same length, radius of bends, or width, and that's just the measurable parts. A simple google search of junctions brings up a host of different options and looking at the Highway Code there are no less than seven types of lines running along the carriageways, not including those pesky double yellows. Because there are so many options, for a fully realistic road, a little research maybe required. Here we will stay with the basic markings.
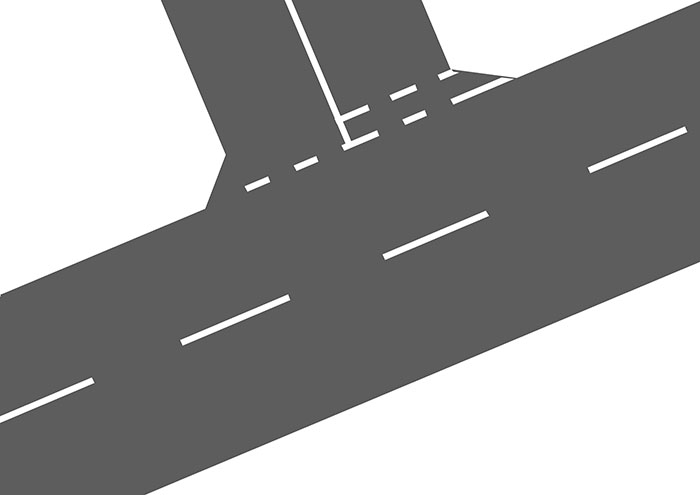
The plan of the area. As this is being made as a diorama, I wanted it to be a little more interesting that a simple strait road, so I set it on a slant.
Aside from working out the available area to build the display for, the first thing to think about when building the a road is where it is going and what it is being used for. This will give you a direction in which to base the scenery. Once you have mapped out your road and decided what type of road you want, it's time to start laying it out. Here I started by drawing out the roadway onto my surface, in this case, card. I used a thick box card for this (thought: you could use that from a cereal box too). Once drawn out, it was time to lay down the curb stones. For these I used PLS90767 Plastruct sections, as in scale terms worked out to be approximately the same size as a curb stone in OO Scale. After a bit of research, it turned out that about half of the curb is actually buried. So, this gave us the perfect edge to work to.
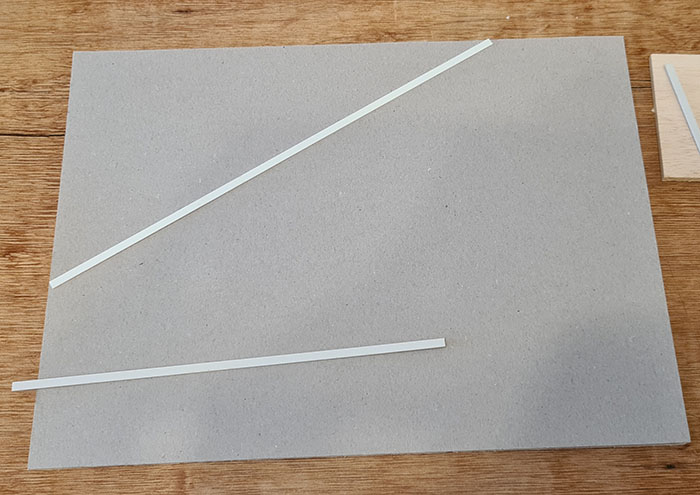
The Plastruct is ready to go.
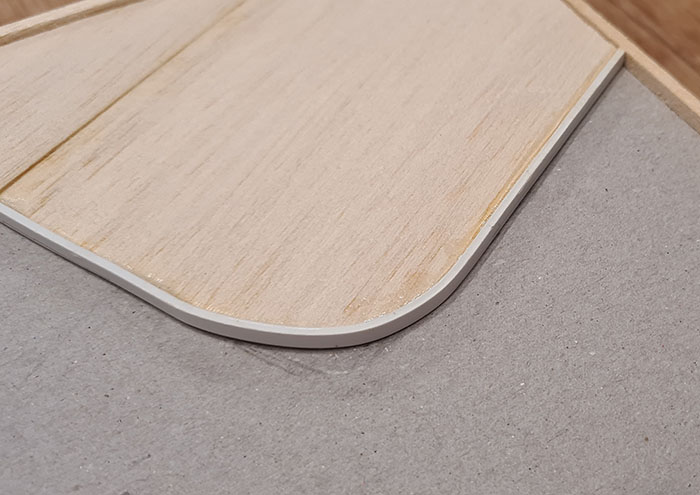
Now it was a case of building a simple frame in which to mount the card. This was done here out of balsa wood, but the same thing could be done with Plasticard or even a ply or hardboard. A lip of square plastruct was then mounted inside to give a ledge on which to sit the card. Here I used a plasticard base and glued the card onto this.
The next thing to do was to raise the pathways. This was done using balsa wood but could easily be done with card. This gave us an edge onto which the Plastruct could be attached. This was glued using a fast-acting superglue (Roket Glue) and set in place.
The Plastruct was gently heated using the heat shrink adapter (GM583) on the cordless soldering iron GM580) to allow it to bend around the shapes easier.
The radius of the corner was done on an ‘it looks right’ basis as there is no standard for the corner radius of pavement. This model is set in the late 1960s and I can remember dropped curbs being introduced around my home area during my lifetime, so I decided to leave these out of this model. If I was doing a model of a later period, I may have also included Tactile Paving (SSMP233) around the drop curbs like that found here at pelican crossings and along platform edges too.
To create the road surface, I was used plaster (GM119) so I wanted to make sure none escaped. The next stage was to seal the area using a thin coat of Speedbond (DLAD-10). This would seal the gaps, stopping the wet plaster from escaping and soaking the base below, distorting it.
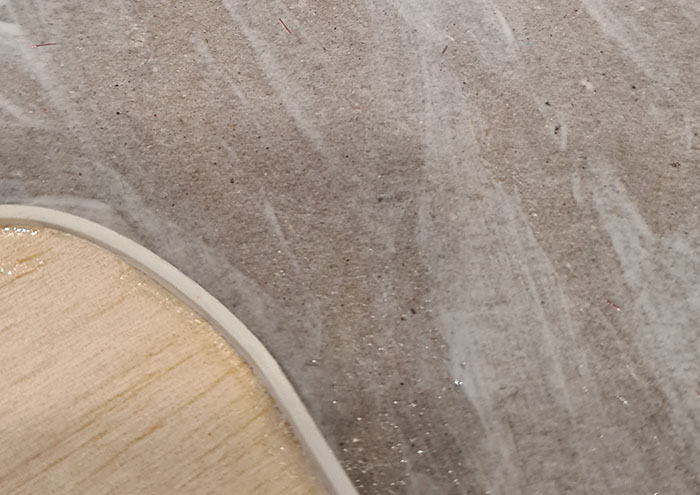
The area is sealed.
Once dry the area was filled with Plaster of Paris. This was made to a flowing consistency. Some articles will say you can use household filler for this, and if you are on a budget that is fine, however, it is coarser than plaster so additional sanding is usually required when dry to obtain a smooth surface. Once the plaster was dry it was treated to a dark grey undercoat using a generic grey acrylic paint. Both Noch and Faller produce roadway paints to give you varying effects. The pavement areas were also given a coat with a thin layer of plaster.
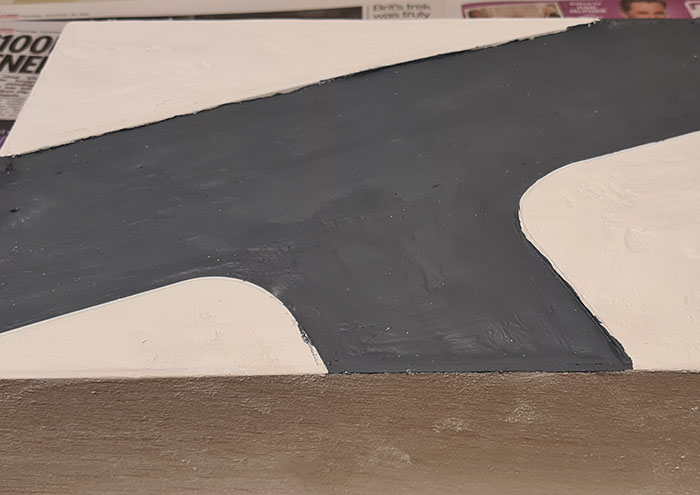
The area has been sanded and painted after leaving the plaster to fully cure.
The issue with paint is that even if applied onto something like plaster, can give a very flat finish. To compensate for this, the weathering powders were brought out. I gave the whole area a coat of black weathering powder which was worked into every corner.
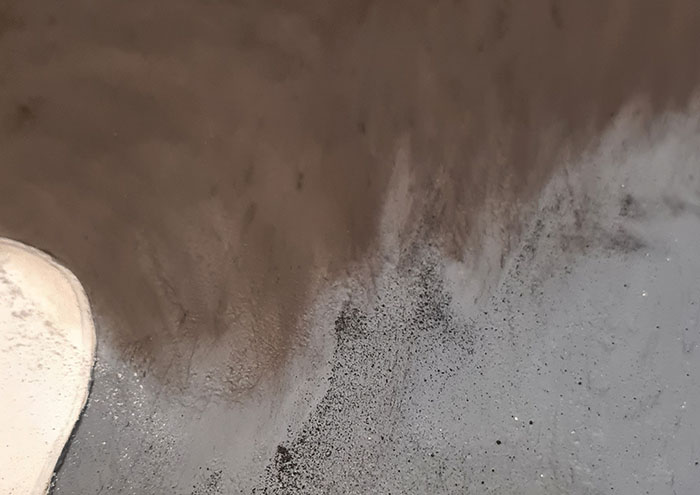
The difference one coat of weathering powders can make.
Once this was done, I turned my attention to the pavements. To roughen these up, I coated them with a textured paint from the Noch Nature Paints pack (N61200). This gave me a different texture to that of the road surface. From here, both the roadway and paving were given a coat of a light grey weathering powder. On the road surface this second layer was worked into the one below, breaking up the uniformity of colour.
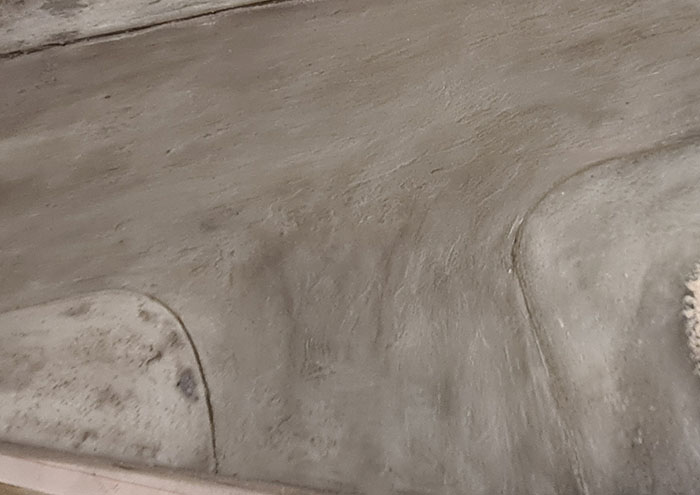
The weathering powders bring the area to life.
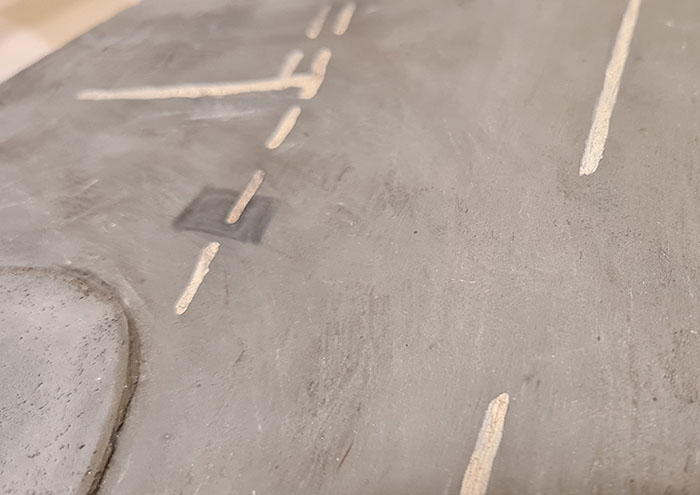
Once the surface was done, it was time to turn my attention to the markings. When doing this yourself, take a look at the real thing or images online and you will see that each junction is different. There are guides available online to read from various agencies that will allow you to decide on the correct location of the markings.
For mine, I simply went for the basic junction lines. These could be added in a variety of ways. Noch produce templates for road markings, and you could make bespoke ones yourself if you have the time and patience. Faller produce rub-on markings, which are good, but like the pre-designed roadways are limited in some ways. As this was a small diorama, I opted to hand paint my lines on. In hindsight I should have gone for a template as the results aren’t perfect, but they do give the feel of being correct, even if they are a little wonky.
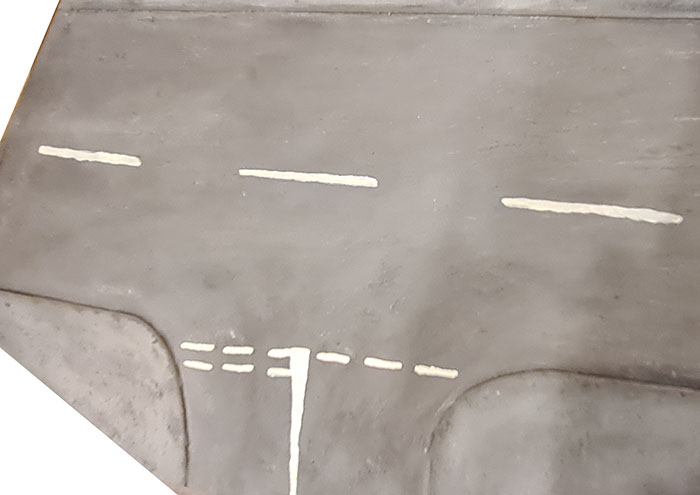
The hand painted lines are a bit wonky but do the job.
Once this was all completed, the curbs were painted. These were given a coat of a mix of a light brown and the initial grey colour, with a 60/40 bias towards the grey. This was delicately applied to the exposed curb stones which were then weathered in using the light grey powder.
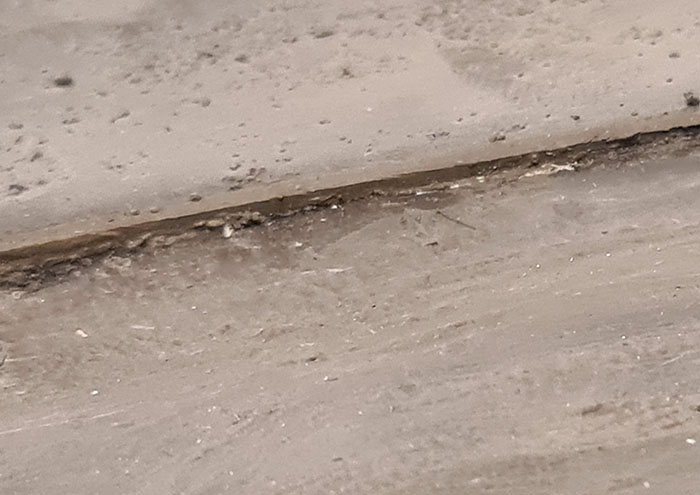
Although not dissimilar in colour by the end, the result is subtle but noticeable enough to emphasize the presence of curb stones.
From here it was a case of starting the details. I decided for a bit of fun to add some double yellow lines along one side of the road which were applied using a yellow acrylic paint and a not so steady hand as it turns out, but again I am happy with the result. Patched tarmac was achieved using a damp paintbrush to remove some of the weathering in the appropriate areas and shapes . Make sure your brush is only damp and not wet, as too much water can undo all your hard work.
Once the water had dried, the weathering powders were again used to disguise the hard edge.
The only other addition was the inclusion of some street lighting. These lamps are found in the Gaugemaster range and were glued into place after a hole was drilled and the wires threaded through. These opperate on a 12v supply, but will happily glow, perfectly for a cabinet, on a 9v battery. Wiring these lights to a battery clip and a switch will give you the ability to switch the lights on and off at will. If you fancy something a little different, a Zebra Crossing set included everything you need to wire these up and have them flashing away. The only thing you need is 2x AA Batteries.
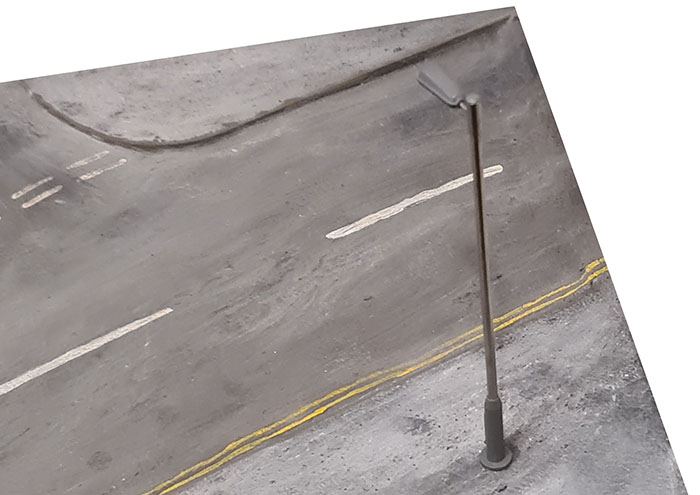
The lamp posts are glued into position awaiting painting.
And there we have it, a road ready to go. Of course, the model isn’t finished here as the next stage is to add grass, weeds and detail away from the roadway to bring the model to life. This is all achieved using techniques that are common in the hobby, and many can be found covered in by Right Lines Scenic Articles.
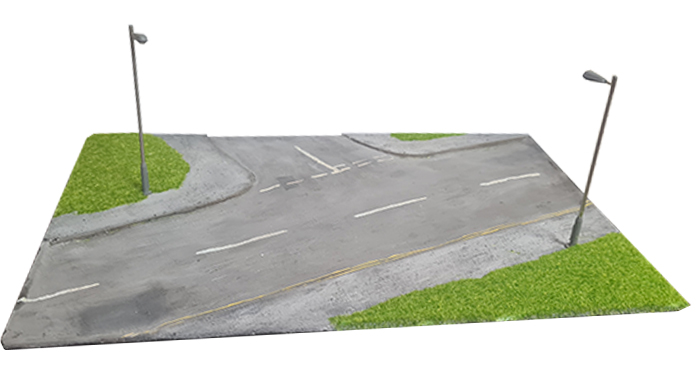
The result.
Hopefully that has given you some ideas to make your display a little more lively, and inspired you to try it yourself.