

 WARREN KERFOOT shows us what he's done to his fleet of Mechanical Horses.
Here is another venture into my (perhaps) peculiar fascination with modifying proprietary items. Once again the victims are from the OO Scale Oxford Diecast range, and all are the LMS Mechanical Horse in particular.
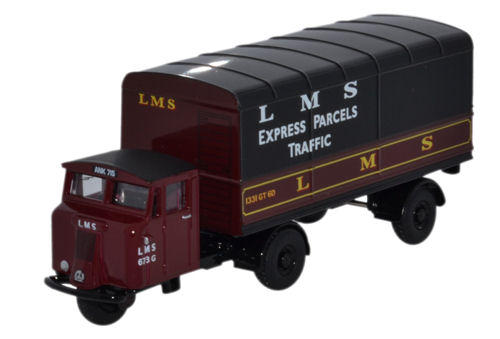
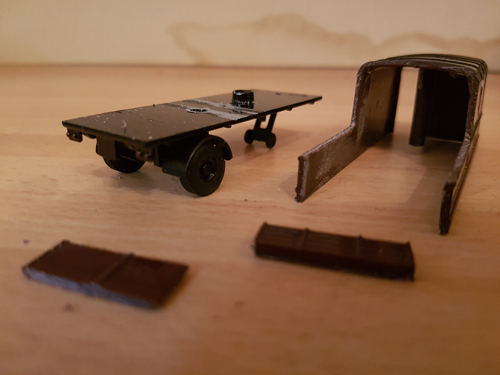
All were dismantled which is straightforward with a screwdriver for the trailers, it's a drilling out of rivets for the tractor units though.
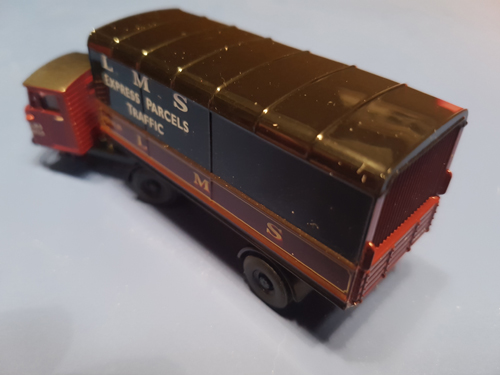
With the cab detached all the interior and glazing etc. comes away readily. All, bar one, were painted a light colour inside to 'lift' the look through the glazing.
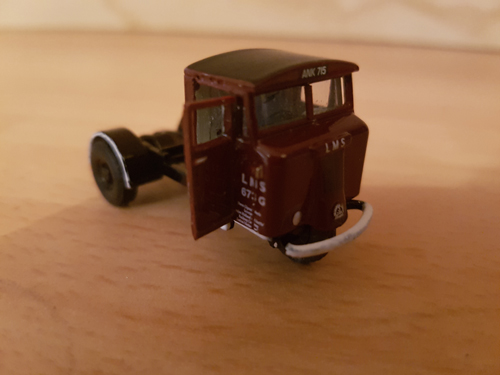
The vehicles where a door (or doors) were to be posed got a run through with the GM679 razor saw, but these are very tricky to deal with as the metal is made to thin and weak to allow proper separation and re-use. Instead, what I did was just use the door body and fabricated a new door top/window frame from Plastruct.
Re-assembly done with Deluxe Materials Roket Cyano Max and, to make the glazing look a bit more flush as on the real thing, I applied Deluxe Materials Glue N Glaze. This may need two attempts as the moulded glazing is far from watertight, so run a small bead of Glue N Glaze round the edges first. Leave it for an hour or so, and then go in ‘heavy' with the fill of the material to create a flush look.
Each trailer was changed in a slightly different way. I want each to look to be at the point of doing something, or having just finished. The body top is made of plastic and very easy to work with, and the chassis is metal and didn't require any modifications for what I wanted here. Only on one did I open the bulkhead door, which is something that Oxford have printed on - and is a genuine feature of the trailers. Bizarrely, the lower portion drops and the upper is a stable door type. The real things were a touch wider than the print is and a quite heavy looking tongue and groove type construction.
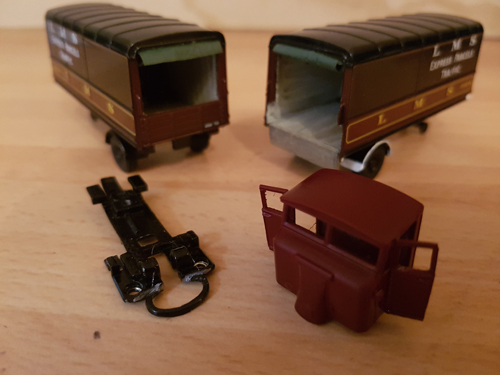
The business end of each of the trailers can receive some interesting feeatures. The easiest is removing the ribbed panel to replace with a cover. From what I can make out, this generation of early trailers had a plain black, quite shiny looking, oil skin type sheet. I have deliberately changed mine to a probably too modern green canvas type cover, made from tissue and painted.
The most technical, if you can call this type of thing technical, are the tilt versions. I confess that these are a flight of fancy on my part, I can't find anything to indicate the LMS had any done like this at all - although the GWR had a few adapted bodies. The cuts here are straightforward with the first and most critical being vertically down amidships to the top of what would be the top of the drop sides. Be careful of your saw wandering! Then cut horizontally along the sides' top rails to meet the bottom of the vertical cut and the piece comes away. The internal moulded web, used presumably to keep things in shape, can be substantially removed to give a proper ‘opened up' look at this stage. If you want to pose the tailgate, this gets cut off now - but does make the back end feel a bit flimsy during rebuilding. To solve this I bonded the chassis back to the one that was having that look.
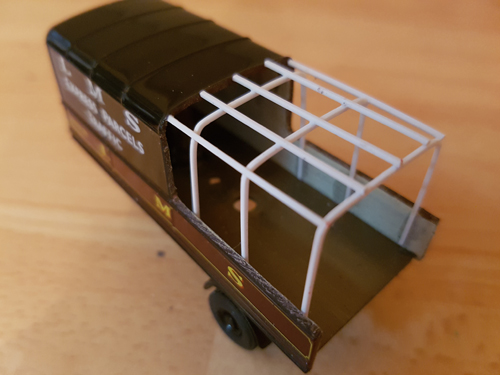
The tonneau cover frame is simply bent wire for one and Plastruct rod for the other (using the bit of van body cut off before as the former for the shape) with bonded braces as required. The side skids are Plastruct strip with the cover itself, again just tissue painted green!
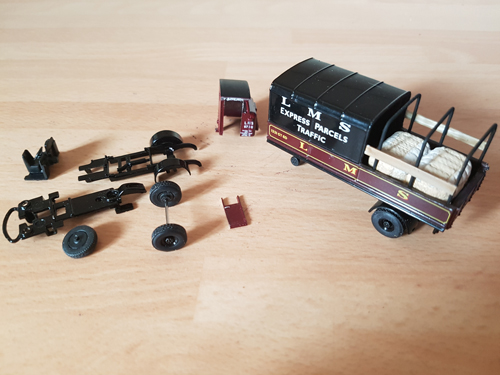
The loads are a mixture of Preiser's cargo, sacks, barrels, and crates plus the fantastic HHFL113 cotton bales, amongst other bales by Harburn Hamlet. Some livery modifications were done using HMRS Pressfix LMS lettering and the number plates are from the Scale Model Scenery range.
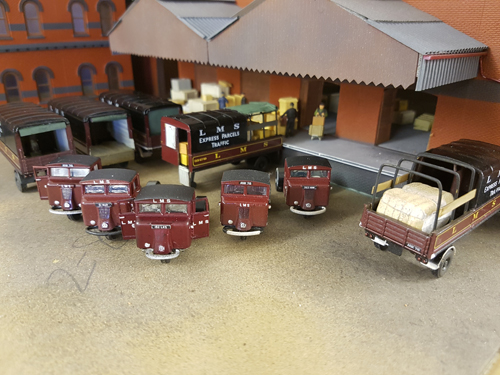
You may also notice I have added some wartime blackout white markings to the pieces. Again, this is just something that places them a bit more "in their time" and is very simple to do.
Total time from out of the box to something different was about an hour or maybe two! A nice simple project done quickly and easily to add a different dimension to the vehicle. There are of course some very serious and skilled modellers of road transport vehicles.