

 WARREN KERFOOT shows us what you can do with Oxford Diecast Austin 7 Van.
Following on the Oxford Diecast Truck I slightly modified, here is another selection of quick evening’s simple projects I did the other night to the excellent Oxford Austin Seven vans. These ones involving some easy to use items from the range, each to create a model with a bit of difference.
I am aiming to give the vans the look of being checked over, loaded or just 'in action' during the day’s work. The bodies on these great little models are a pretty clever composite and lend themselves to butchery really well.
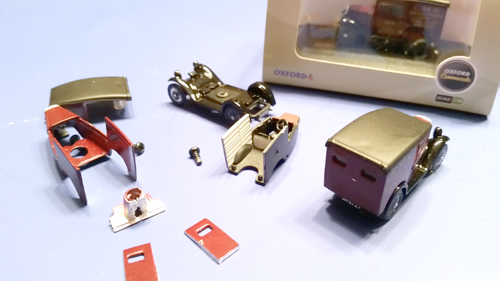
Dismantle the vans, each in turn for the victim of the night sessions. This is straightforward with a screwdriver. With the body sections detached, get your Gaugemaster GM679 Razor Saw and cut off the bits that are going to be posed. If you plan it well you hardly damage the factory finish, minimising collateral damage to paint. Often just a quick clean up with our GM632 files to deburr and it’s ready for reassembly!
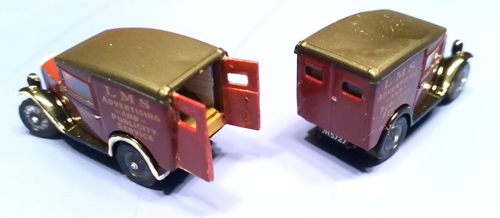
Using Deluxe Materials Roket Cyano bond the doors, or bonnet etc where you want them to be. With the back doors open scenario, you do need to lose most of the original body mounting lugs etc. and make a new rear floor in plasticard. Rear glazing is done with Deluxe Materials Glue N Glaze. Refix the whole vehicle back together with Deluxe Materials Roket Cyano Max or Roket Cyano Hot again.
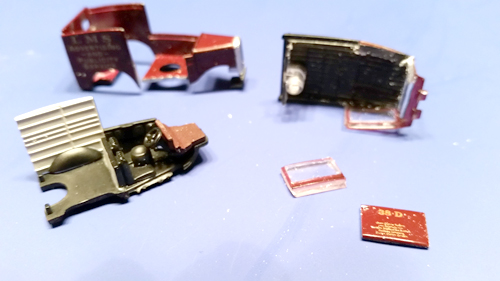
For the bonnet-open version make a rough over template of the bonnet using a piece of ex-takeaway tin foil tray, then remove the front grille from the bonnet. Cut down the bulkhead from the scuttle panel, using your foil template as a rough distance guide to the cab bulkhead. At this stage design an engine. You can go as far as you want in this area, but for my model it’s just the suggestion of one being in there was all that’s needed. To do this I needed to pose the bonnet open and then build some resemblance of the engine, detail isn’t going to be an issue as it’ll be obscured ultimately by our driver servicing it!
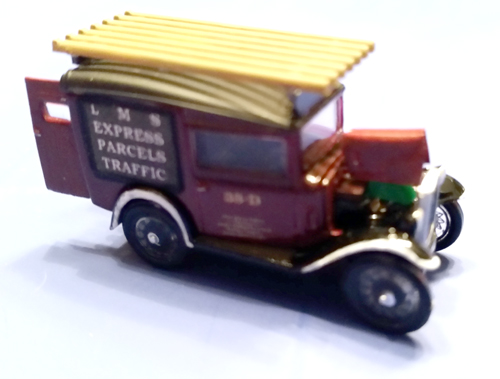
During the blackout regulations meant that pretty crude white markings were painted over edges and arches. I’ve tried to replicate this on some and also kept variety into what’s been done.
I’ll deploy Preiser or Noch Car Mechanics embroiled in some task around each of these ultimately so they look more in context than a vehicle closed up with the wheels pointing dead straight!
Total time from out of the box to something different was about an hour on each. Of course there’s so much more to do if you wish - engine details, wipers, mirrors, loads, ladders, sheets, number plates, or convert one to town gas running, or a roof mounted advertising board, or even convert it to a pick up or breakdown truck. Now, where’s my saw!?
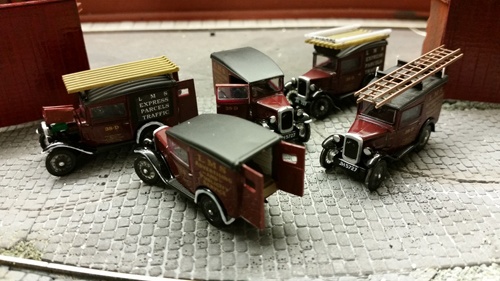
A nice simple project done quickly and easily to add a different dimension to the vehicles. The same principles can be applied lots of the superb Oxford Diecast vans.