

 WARREN KERFOOT tells us how to modify an Oxford Diecast Lorry to make it into a small vignette.
Following on from my other evening project with the Corgi OOC bus, this is another quick and simple project I did the other night to excellent Oxford Diecast OD76BD006 Bedford OY Dropside OW BRS (The truck pictured with the LMS livery is now no longer available - Ed). This one involving some easy to use items from the range to create a model with a bit of difference.
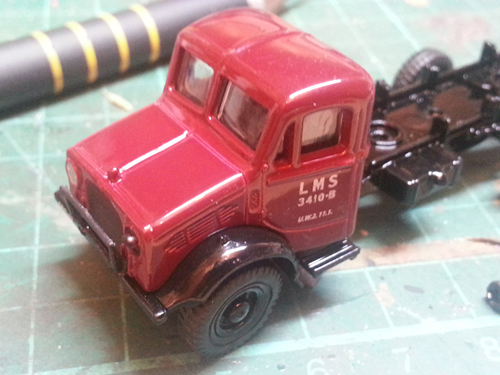
I am aiming to give the wagon the look of being checked over before the day’s drops begin. To do this, I needed to pose the bonnet open and then build some resemblance of the engine. Detail isn’t going to be an issue as it’ll be obscured ultimately by our driver servicing it!
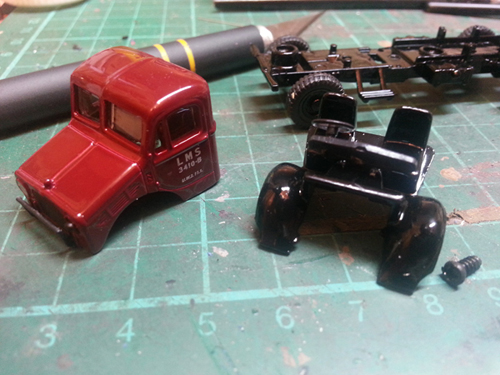
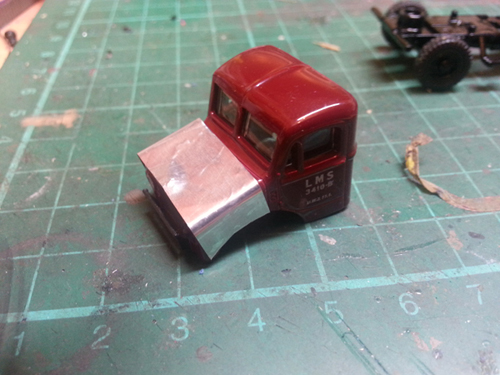
I dismantled the wagon which is straightforward with a screwdriver. With the cab detached make a rough over template of the bonnet using a piece of ex-takeaway tin foil tray. Put this to one side and then get your Gaugemaster GM679 Razor Saw and cut off the front grille. Make this cut first as it a lot easier to hold and as fine as you can. Then cut the rest of the bonnet from the cab itself.
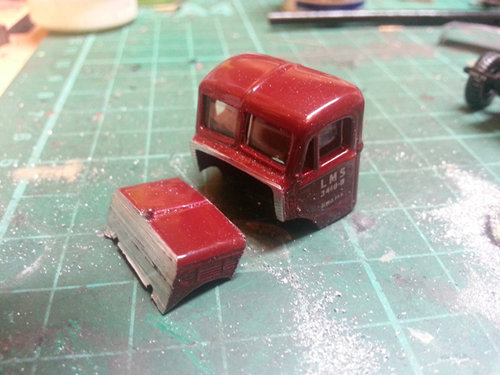
Using Deluxe Materials DLAD-62 Roket Plastic Glue bond the front grille to the chassis, using your foil template as a rough distance guide to the cab bulkhead. At this stage design an engine. You can go as far as you want in this area, but for my model, it’s just the suggestion of one being in there is all that's needed. Then quickly prepare the cab for repainting with the Gaugemaster fibre glass pencil, the GM633 red one is best and gives a brilliant key for the topcoat. While the repainted cab body was drying I added a mixed load of goods which will roped and sheeted.
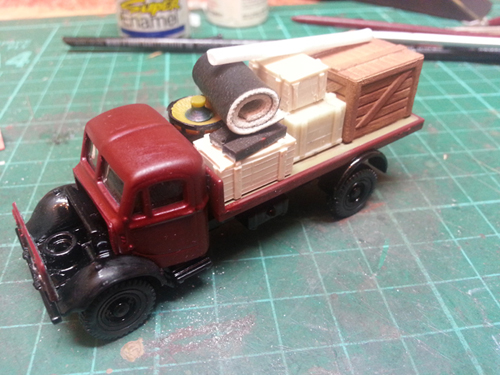
Then using a photograph of the real lorry, make the folds in the foil template which was painted at the same time as the cab in LMS Crimson Lake (to be honest, it’s difficult to tell whether the bonnet valances hinged or were just removed... but let’s not get too bogged down!). Then paint the inside faces in a utility grey colour in line with it’s ‘de-mobbed’ status.
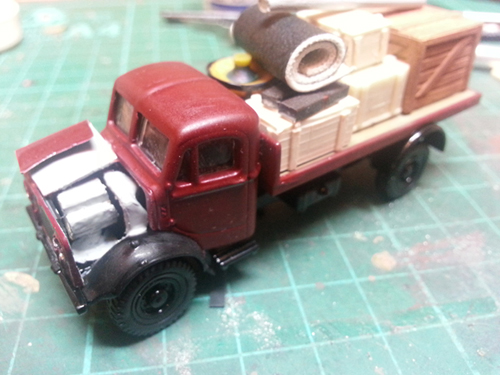
Total time from out of the box to something different was about an hour. Of course there’s so much more to do... engine details, wipers, mirrors, flush glazing with Deluxe Materials DLAD-69 Glue–n-Glaze, sheet the load over the top and add ropes etc.
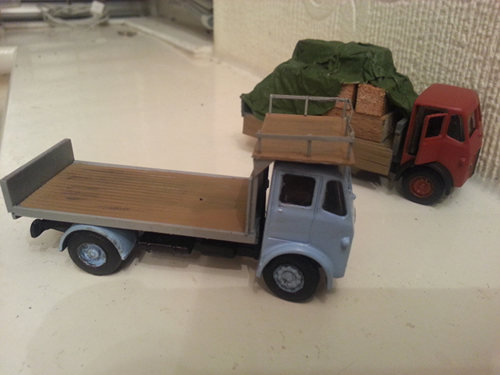
A nice simple project done quickly and easily to add a different dimension to the vehicle. There is of course some very serious and skilled modellers of road transport vehicles. I’ve included a picture of a couple of my modified Base Toys trucks too. Again, so simple to modify with quality glues and tools from our range.