

The DCC05 Prodigy WiFi unit has now arrived! In this article I will take a look at the unit and how easy it is to use. The unit itself is a small black box, and the only other component included is the connecting cable. Other than that, all we need is a smartphone or tablet, and the corresponding software – for iOS (Apple) devices (which I will be using) the app is called WiThrottle, for Android devices the app is called Engine Driver.
There are two versions of the Apple app; WiThrottle Lite which is a free and basic version, and the full WiThrottle™ version, which you'll pay for on the App Store – the full version is required if you want to run consists and change points, and is the one I use.
Firstly with our smartphone connected to our normal Home WiFi network, we find and download the app:
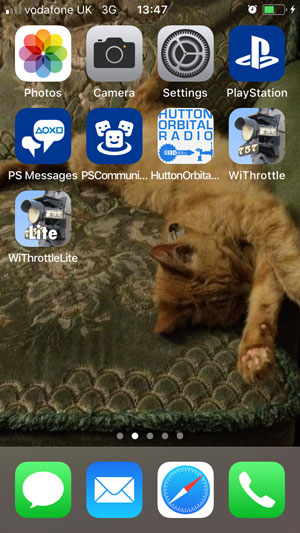
Here I have both versions on my home screen. Next we connect the WiFi box to the Prodigy base unit with the supplied cable – here I have connected it to our DCC11 Extension Plate as the Main base unit is hidden below the layout:
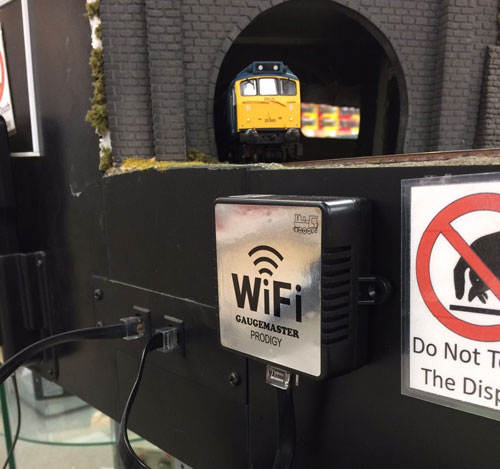
The lights on the unit will come on, and we will now need to connect our device to it – it will now show on the WiFi connections page in our settings menu:
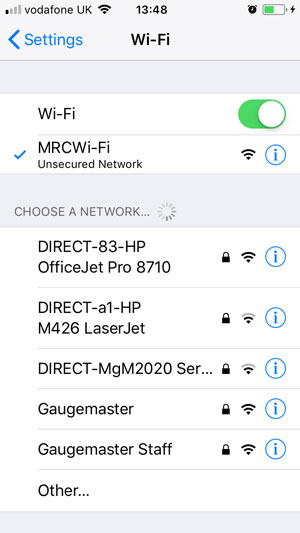
Once connected, we can return to the main screen – and tap on the app icon to get started. We will now see the address screen – the WiFi unit stores the last few locos you have been using, here we can see that we have been test running our locos before. At the top in red we can clearly see "not set" – to choose a loco we can either tap on "keypad" and type in a number:
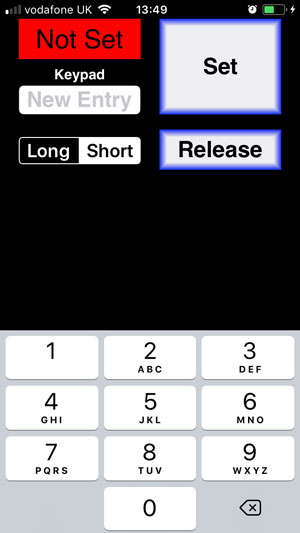
Or tap on a loco we have already been using, then tap on the "set" button – our icon now turns green to indicate we are in control of a loco – the "s" by the number 25 shows this loco is using a short address. Next we tap on "throttle" on the bottom left to see our loco control screen:
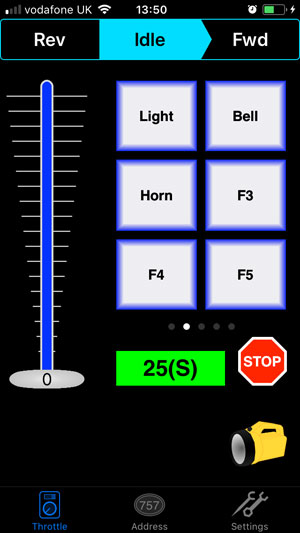
Our directional controls are at the top, functions on the right – to see more functions, swipe the function panel to the left:
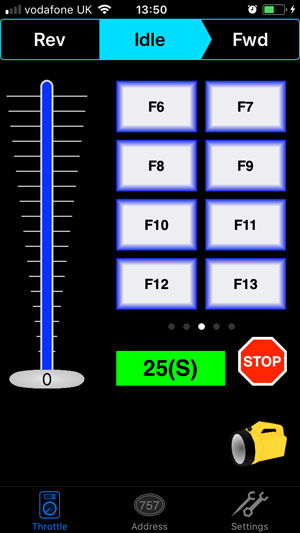
If we swipe right instead, we find the point controls – note that we need to add these first before this screen will appear.
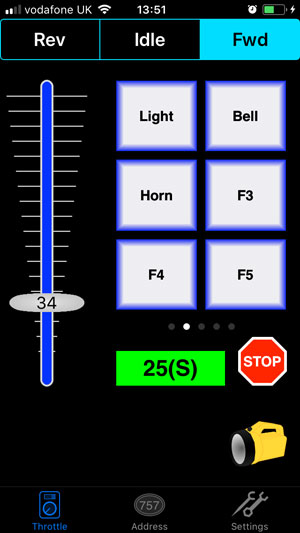
Swipe your finger up the slider to increase speed, or down to slow down – for finer control when pulling away or stopping, you can tap on the slider instead – tap the top half for one speed step higher, the bottom half for one speed step less:
Now let's take a look at the settings screen, bottom right – across the centre are the available throttle styles:
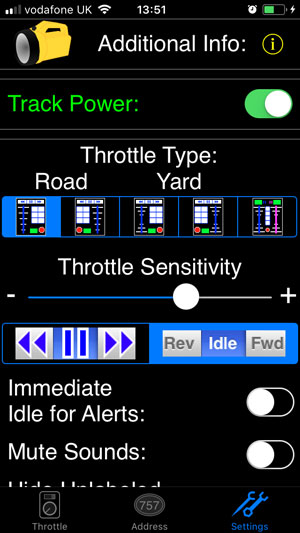
Tap the far right one to use a yard style throttle, with two throttles on screen at once:
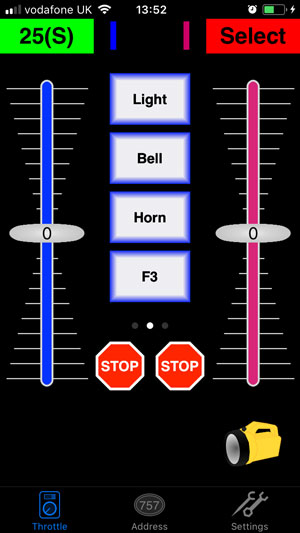
The functions here are colour coded to show which of the two locos they correspond to – here they are blue for the left loco, swipe across for pink functions for the right hand loco – swiping up and down takes us to the rest of the functions available.
Let's take another look at settings – tap settings in the bottom right, and scroll down the page to "MRC Wifi settings":
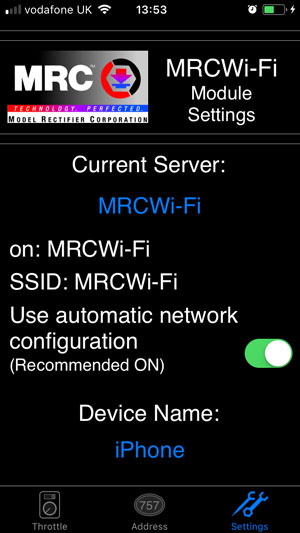
Tapping on it shows us the current cab number (change this if it conflicts with your existing Prodigy handset). Tap on "roster" to see the current loco list, then tap on a loco to see the settings for it. Here you can give it a name (sound 25 for example), and under that, you will see "Use default function labels" – tap on this to bring up a sub menu. This allows you to rename the functions to match the sound functions on sound equipped locos for example.
Point controls can be added and edited in the settings screen too:
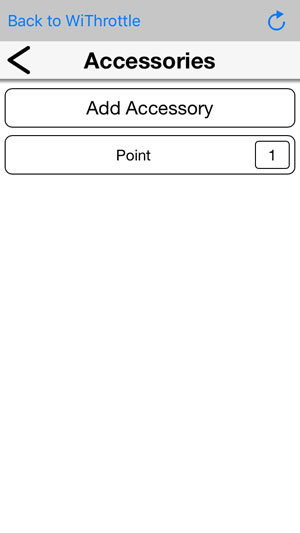
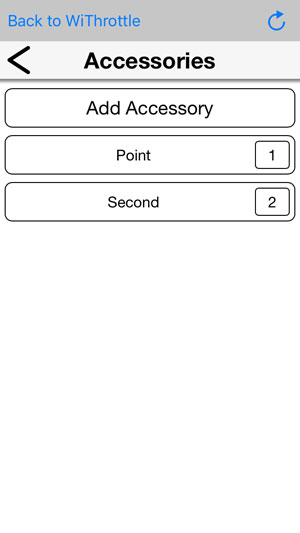
Tap on "add accessory" to add and name new points:
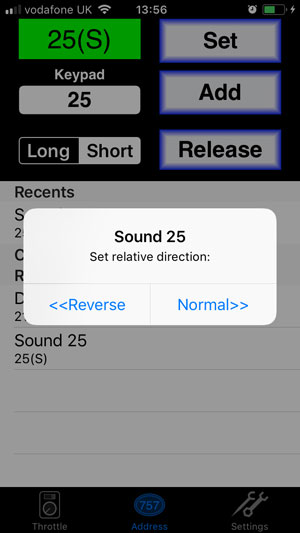
Finally, consisting or double heading – from the address screen, once we are in control of a loco, tap on a second loco, then tap "add" instead of "set" – you can then choose the direction of this loco, depending on the direction it is facing on your layout:
Now tap on "throttle" again, and we can see we now have a "+1" on our green address bar:
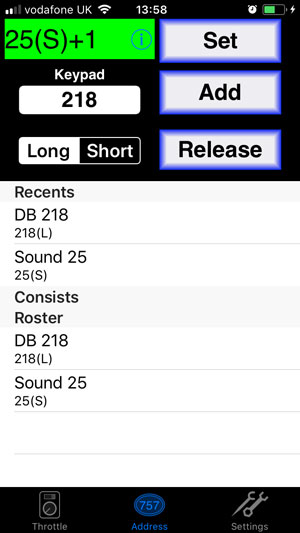
There is also a little blue information icon on the right hand end of the green bar – tap on this to see the locos running in the consist, and to release them if you want to:
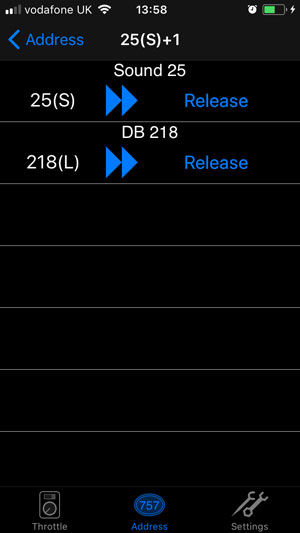
Simple!
If you have friends that will be joining in, once they have installed the app and connect to your Prodigy Wifi unit they will instantly be able to join in – the recent locos you have used are stored on the WiFi unit, not the app – so there is no need to transfer layout files etc.
We will soon take a look at the Android version of the app – there are a few minor differences in layout but the operation is essentially the same - after all, it is talking to the same WiFi unit.
I'm really chuffed with this addition to the Prodigy family – very simple to use, which has always been the hallmark of the Prodigy line, and less cable cluttering up the layout to boot!