
 JEFF WARE shows us how to repair a damaged Viessman Lamp.
We have all done it. We have finalised a part of our layout or model, fixed lights in place and then decided that we need to modify or rebuild that part of the layout. This means that the lights must be removed which can entail cutting wires to do so and separating the lights from the resistors and diodes in the process. If we have soldered the ends to a feed wire, or buried the feeds inside the scenery, there can be considerable difficulty separating or retrieving the resistors, especially if the wires have been wound round each other. We are then left with a light or lights separated from the resistors as seen here.
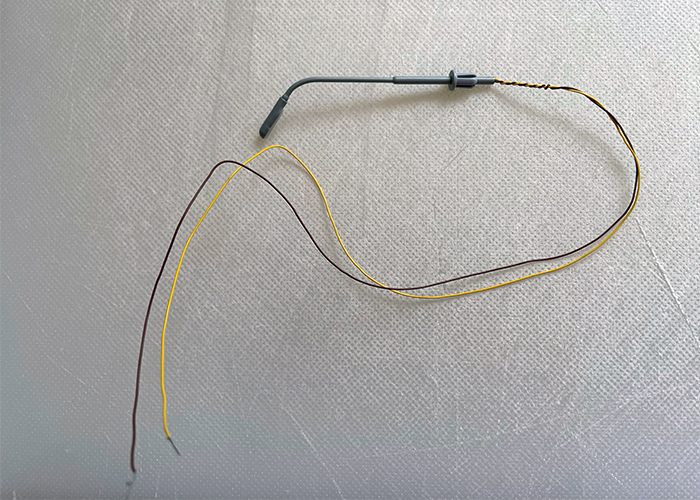
The light after it has been cut free from its surroundings.
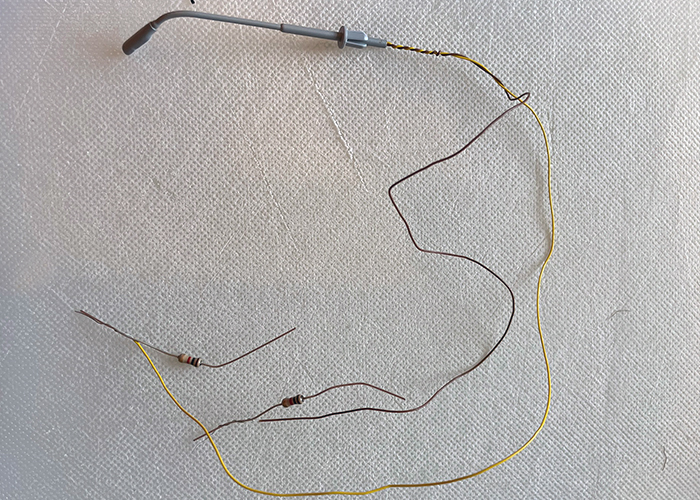
The bits that are normally left behind.
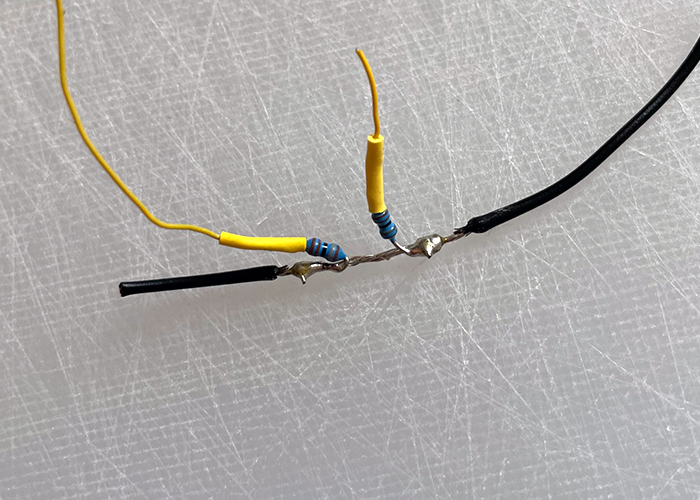
After some experimentation, and the loss of a couple of the lights (Whoops - Ed), I discovered that using two GM76 resistors provided the solution. A resistor was soldered to each of the wires from the light.
The GM76 resistors take the place of those that were lost.
To secure the new connections, the bare wires were covered with ordinary insulating tape, but heat shrink could be used too.
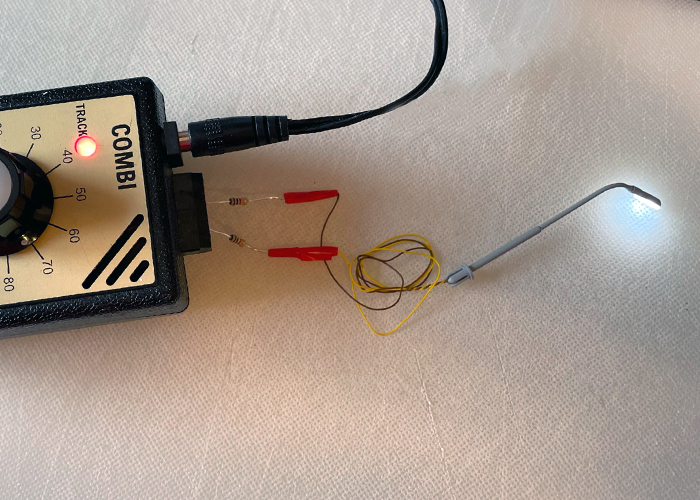
Now we see the light connected to the 16v AC output of a GMC-COMBI controller and in full working order.
This was a successful solution for the LED light shown; VN6490 and also for VN6464 as well as VN6472. This may be applicable to other LED lights in the Viessmann range, but this is not something that I have tested. Careful experimentation may give rise to other solutions, but this worked for me, and if you are in the same situation, hopefully for you to.