
 JAMES HICKMAN shows us how to install a smoke unit into a locomotive.
Following on from my previous article on Smoke Units, here is part 2. In this part, I will look at how to install a smoke unit in your locomotive. In case you missed this article, you can find it here.
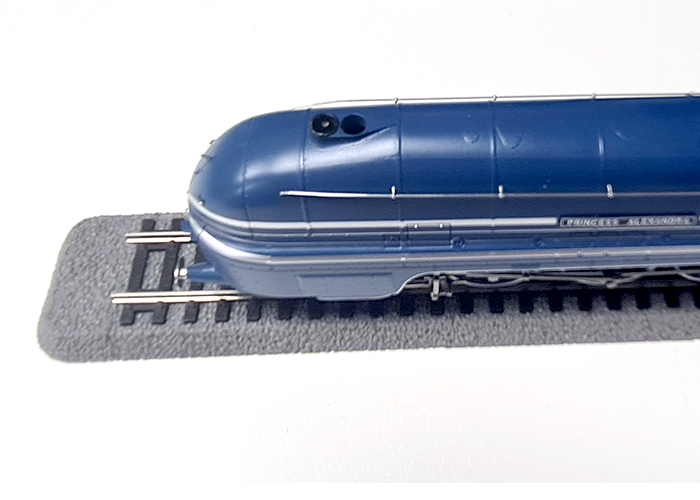
For this article i will be fitting the Seuthe No22 smoke unit to the Hornby LMS Princess Alexandra.
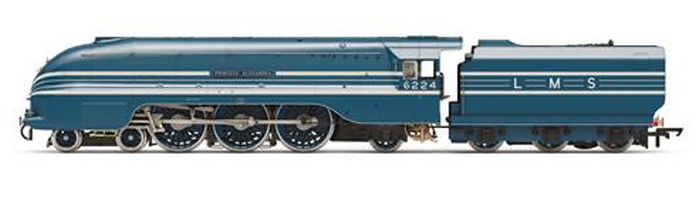
The locomotive that will be fitted.
Before you start it is good to look at which loco you want to fit the smoke unit to, as there are a couple of things to bear in mind. The first is what size the existing chimney is. You will need to compare this to the sizes of smoke units available, ideally using the chart shown in Part 1, which will allow you to work out what unit you need for the space available. The Princess locomotive I am using already has holes in the chimney, and these were the correct diameter for the unit, so was a perfect locomotive to retro-fit the unit to. From here, you will need to assess what space there is below the chimney, and if you will need to drill out the chimney or not. If you do, do this delicately as normally the chimney is moulded with the boiler and can be difficult to fix or replace if the drilling goes wrong. If in doubt, always drill a small hole as you can always remove more if required later.
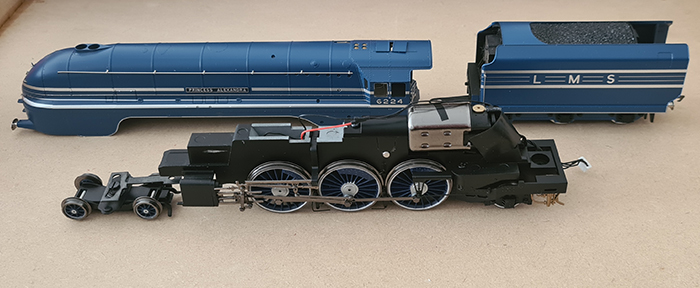
The locomotive ready to be sized up.
Once that is all considered, the first step in fitting the smoke unit is to take the locomotive. This is different for every locomotive, so I will not go into it how to do this here, if in doubt; consult the locomotive instructions or contact the manufacturer. Once it is apart, we can see what work needs to be done. In this instance, I had to remove some ballast weight from the chassis below the chimney. This was done with a rotary tool, and slitting and grinding disks.

An example of a rotary tool that comes with grinding tools and slitting disks
Once this section was removed, a bright silver area was left. From here, I again employed the grinding disk to smooth the area to ensure there were no sharp edges that could damage the cables. Although this can take a while, it is best not to rush this step, as it can be hard work on yourself and the rotary tool. I was undertaking this on a hot day anyway, but the friction of the cutting and grinding was enough to heat the complete chassis, so I would recommend taking regular breaks from the tools touching the chassis. To remove plastic parts, a sharp knife or razor saw maybe a better option. It is always advisable to wear safety glasses when using grinding and cutting disks.
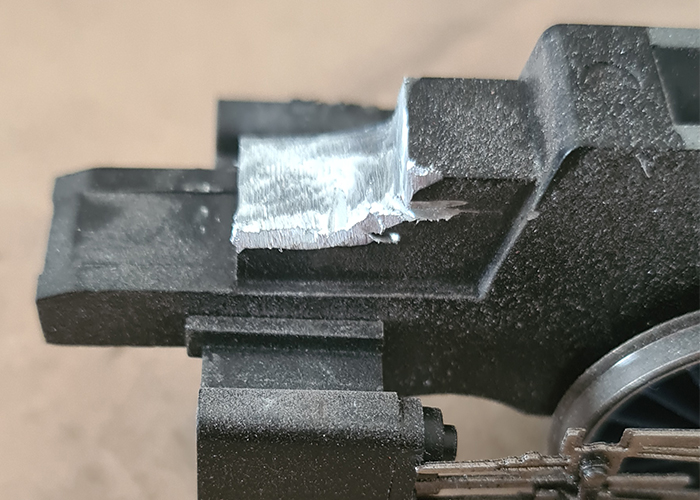
The locomotive needed a bit of a clean after all that grinding.
It is best to keep test fitting the unit as there is no point it wasting time removing weight you don't need to. Once it is done, it is simply a case of splicing into the existing cabling. The wires to the motor are perfect for this as they are located to close to the sight of the installation. For DCC Users, the connections can be made to the relevant colours of cables from your decoder. In this loco it would require additional wires between the locomotive and tender. I have extended the wiring from the smoke unit using finer wire inkeeping with what is already there, and this can be used to jump between locomotive and tender. Please check with the decoder manufacture instruction on how to connect your smoke unit here to make sure you connect to the correct wires as some decoders may differ.
Once the wires are connected, the joints are sealed using heat shrink to stop them shorting on each other or the chassis. For analogue users, I would recommend also including a small switch in the circuit to allow the unit to be turned on and off to stop it burning out when no fluid is present. The switch could be disguised in the cab, or under the locomotive tender.
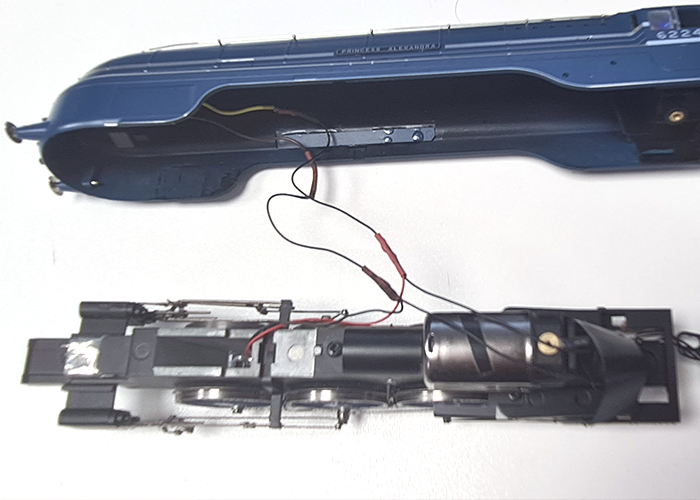
The Smoke unit is installed and ready for re-asembly.
From here it is just a case of reassembling the locomotive, filling it up with fluid and enjoying the fruits of your labour.
The Loco is back together and ready for a run.
It can be very easy to install a smoke unit when the correct one is selected. This project took less than an hour and a half to complete, and gives a satisfactory visual result at the end. For added effect the Deluxe Materials Living Steam can be used in these units to add that realistic smell too!
Well, that's it for now, keep an eye out in a future article where we will steam ahead into part three, looking at scenic uses for smoke units.