
Product Spotlight - Superquick Red Brick Embankment Kit
 MATT LOVELL builds this versatile new card kit from Superquick.
The latest kit produced from Superquick is the SQC08.0 Red Brick Embankment Arches kit. When I saw it, I wanted to explore the possibilities of what could be done with the kit.
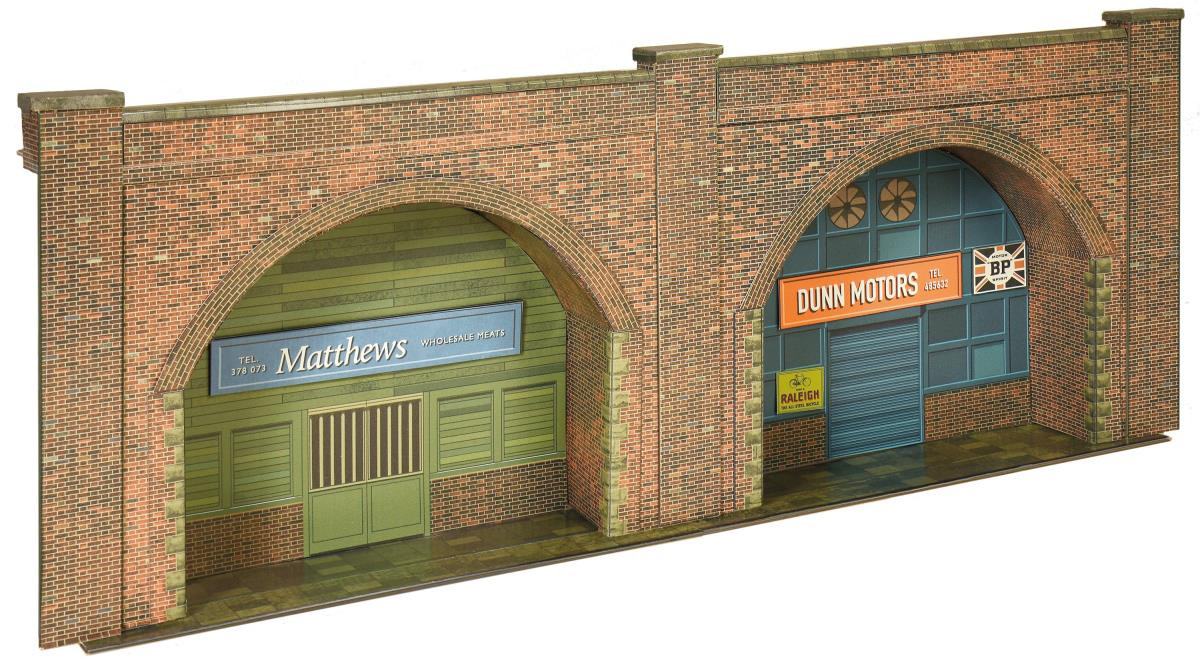
The SQC08.0 Red Brick Embankment Arches kit
The construction of this kit was quite straight forward, but it does require a bit of concentration and time to put it together. Once built this kit can be used as a backdrop item or as part of a foreground structure. I will now take you through the construction of this kit.
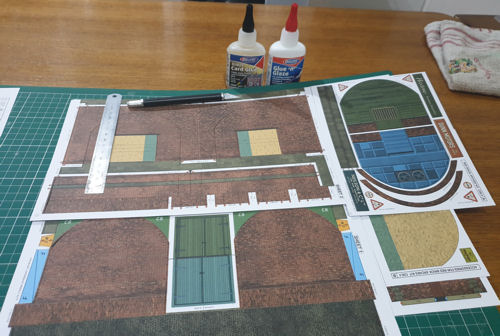
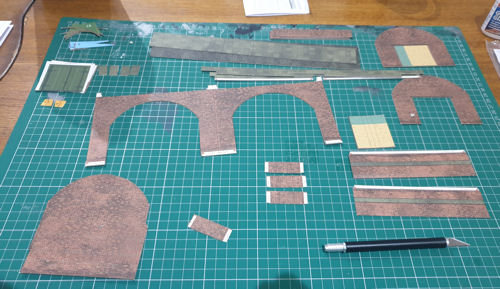
To begin, cut out all the sections from the sheets and place them to one side. Using a Scalpel and a Steel Rule on an A2 Cutting Mat to cut out the main arches and decide which inner you wish to insert. A choice of four different inserts are available in this kit and each one gives lots of potential for customising.
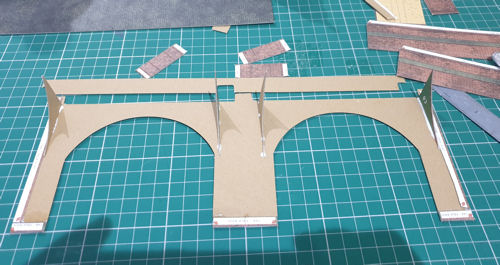
Glue the corner brackets in place, evenly spacing them at the top of the arches.
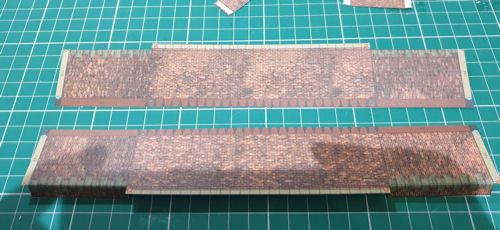
Next, I moved on to forming the inner interior for the arch. I started by carefully folding the tabs in the required directions and then cutting the desired slits in the edging.
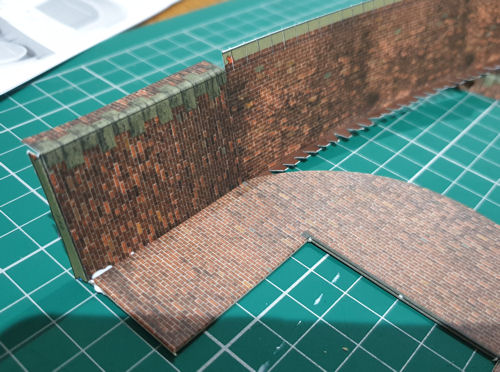
After all the slits had been cut, I glued the brown tab onto the back of the arch inner wall. For fixing the sections of card together I used DLAD-57 Roket Card Glue from Deluxe Materials as it is fast acting and dries clear.
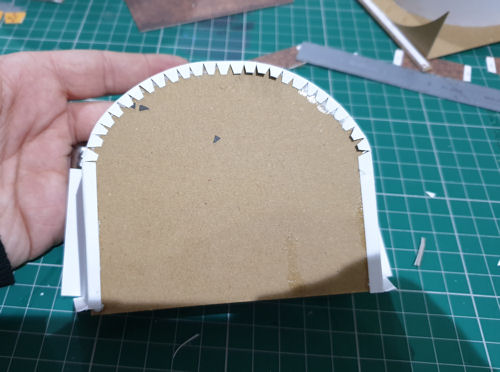
Once the tab was dry, I carefully folded the inner around the rear wall and glued the triangle shape tips to the back of it. The other brown tab was also secured to the rear of the inner wall.
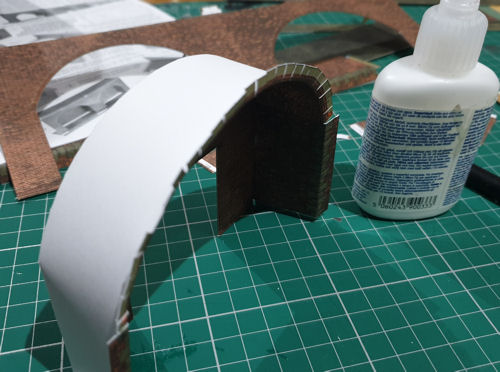
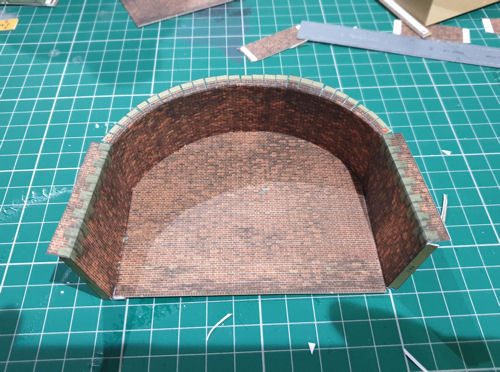
This process was repeated for the other inner wall to complete the internal arch walls. The square (outer) tabs were then carefully positioned to form a right angle ready for gluing to the outer wall of the arch.
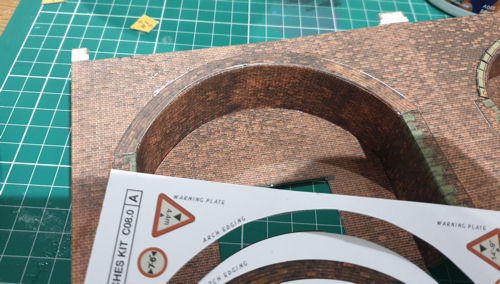
When the glue from the inner walls was completely dry, I secured the outer tabs to the outer wall on the arch and attached the outer arch edging and left it to dry.
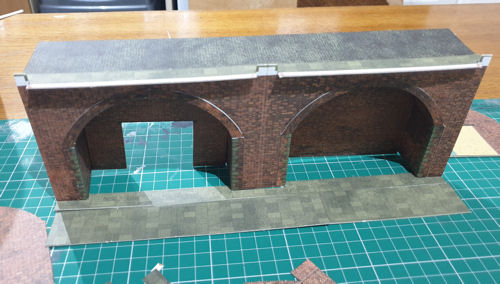
I was then able to start work on the upper level of the kit, mainly the road and the walls. The road section was placed on top of the corner brackets and glued in place. The thin pavement was then attached to the top of the road and using the cutouts secured to the arch upper wall pillars. This also gave the arches a bit of extra stability and strength as it squared the kit up.
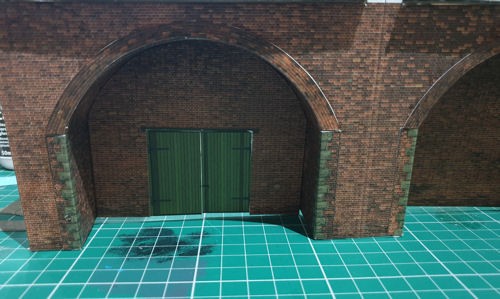
After the glue had dried, attention was turned to the inner walls again to affix the doors to the cut out.
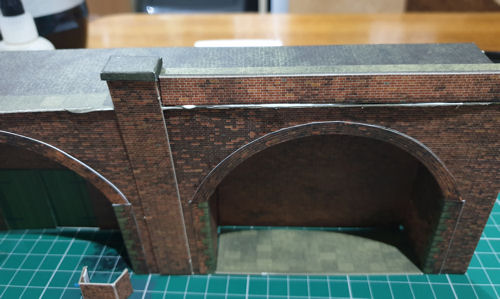
The walls took a bit of time to get right as the small wall formers were needed to shape them, but after a bit of practice they went together. After they were dry, I fixed them to the top of the arches along with loosely placing the columns and column caps.

Once the walls were dry, I started to add the floor sections under the arches. I also took this opportunity to add a few of the detailing signs included with the kit to various sections. Of course, these can be placed anywhere but I decided to place them in what I thought were relevant places.
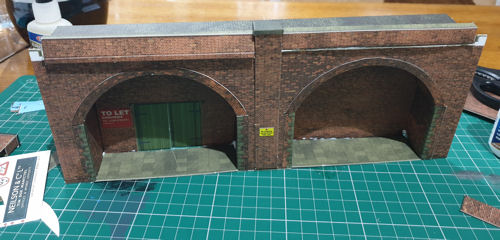
Finally, as the floor was dry, I glued on the pillars and secured the pillar caps to the tops. These required a bit of folding and gluing but in the end, they were all set in place.
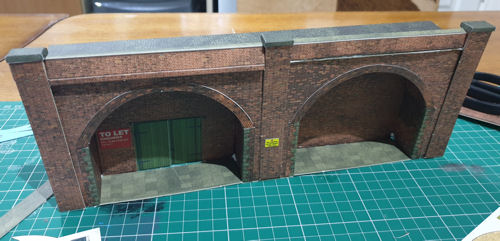
All in all, I think this kit was quite a straightforward one to build but as I said in the beginning care and patience is a must and a good reading of the instructions before undertaking the construction will be a huge benefit.
This kit will look great as part of a sequence of arches to create a strong backscene item, or could be used to break up two sections of your layout.