

 MATT LOVELL looks at these easy to build OO Scale signal kits from Train-Tech, and how to fit them on to your layout.
In the Previous Article we looked at installing a DCC signal and programming it up to a DCC railway. In this article I will show you how to construct, install and wire up a Train Tech Analogue signal. For operating the signal I have used a Gaugemaster SEEP GMC-PM1 Point Motor purely because this motor has an in-built accessory switch which will enable the signal to change with the point.
To start with let’s look at constructing the signal. Here are the parts in the kit as they come out of the pack:
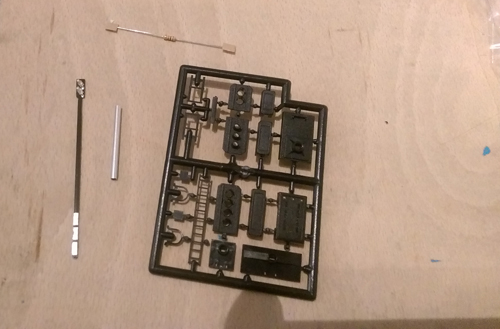
The construction of these signals is very straight forward. All you need to do is insert the signal PCB through the ladder platform and through the signal post. The base can then be attached to form the majority of the signal.
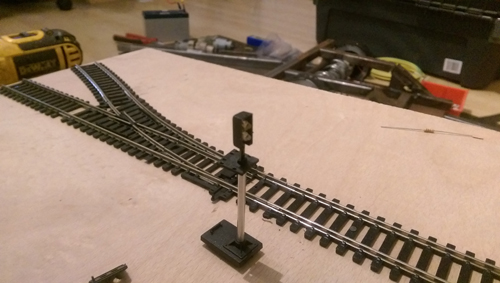
Next you can build the head of the signal, this is done by attaching the relay box to the back of the LED PCB and using plastic glue attach the face plate.
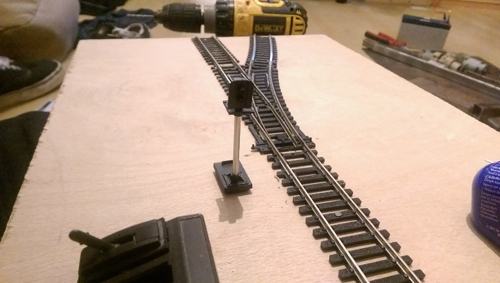
The next step is to drill a hole. Using a GM647 2mm drill bit, drill a hole where you would want the signal to go - I drilled 25mm away from the sleepers which gives plenty of clearance from the coaches.
Insert the PCB from the completed signal into the hole. A small spot of glue can be applied to the base of the signal at this stage to hold it in place. We can now start looking at the wiring the point motor ready to attach the signal.
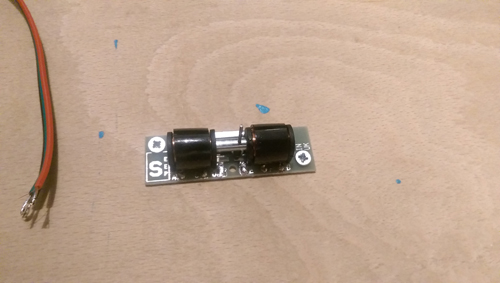
The first thing to do is install the point motor under the point you wish to control.
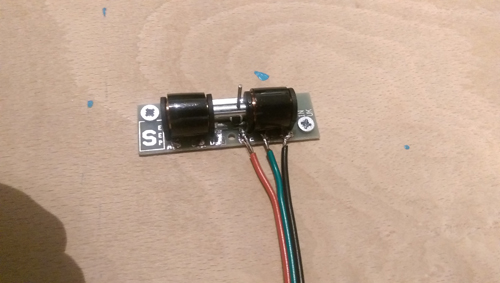
Add a small amount of solder to all the contacts A though F, and add a small amount to the wire ready for attaching to the contacts on the point motor. The wire I used for this project is the GMC-PM51 3 Core Tripled Wire. Solder the wires one by one to the contacts on the point motor.
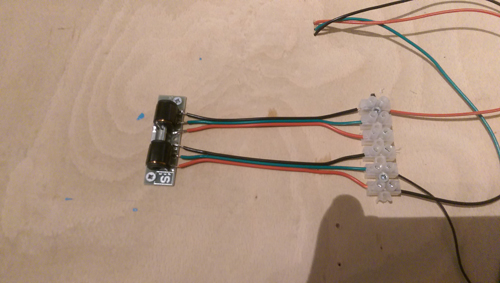
Repeat this until all the contacts have wires attached. I found that attaching the wires to a terminal strip helps as you can then correct any errors by unscrewing rather than unsoldering.
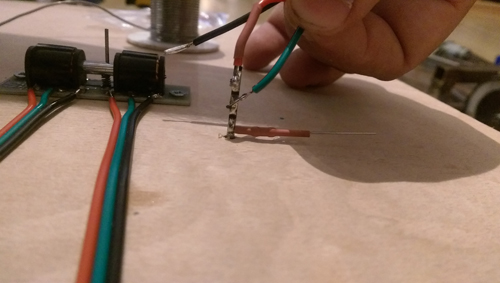
Apply a small amount of solder to the contacts on the Signal PCB (under the board). Take care to read the instructions from Train Tech provided in the kit, as you will need to add the resistor to the correct contact.
Solder the resistor to the contact closest to the LEDs as this is the common contact. Then solder the GREEN wire to the middle contact and the RED wire to the remaining contact.
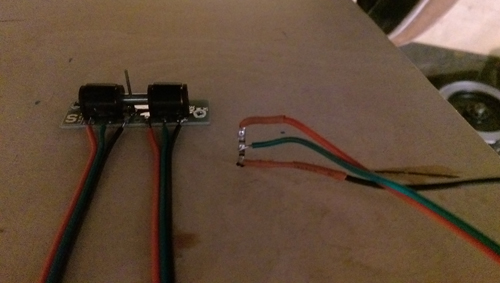
You should now be ready to connect the signal to the point motor.
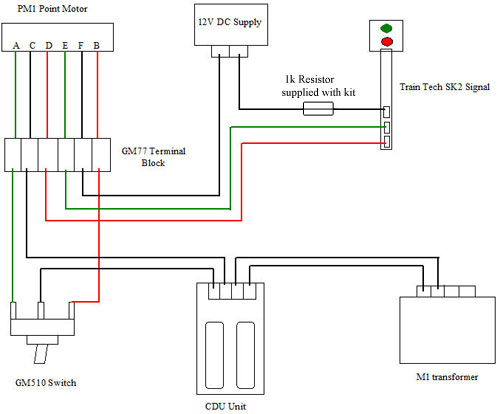
Using the diagram above as a guide you should be able to connect all the wires to the correct places.
Start by soldering one wire to the resistor on the LED PCB and connect it to one side of a GMC-WM4 12V DC Supply this will feed the signal with the correct power for the LEDs.
Connect the F Terminal on the point motor to the other side of the 12V DC Supply.
Next, using the RED Wire on the LED PCB, connect this wire to the D Terminal on the Point Motor or Terminal block. Lastly, using the GREEN Wire on the LED PCB, connect this wire to the E Terminal on the Point Motor or Terminal block.
You can now wire up the point motor to the GM510 SPDT Centre-Off Momentary (non-latching) Mini-Toggle Switch which will allow you to control the direction of the point and change the signal at the same time.
After the point motor is wired to the switch and the 16V AC Supply (either a GMC-M1 or a GMC-WM1) you will now be able to operate the point motor to change the signal.
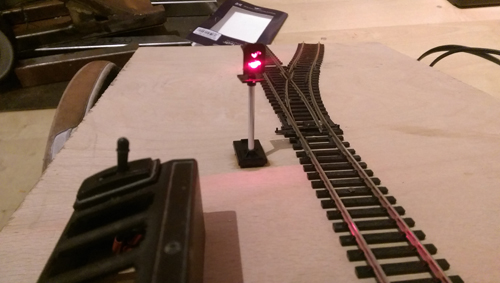
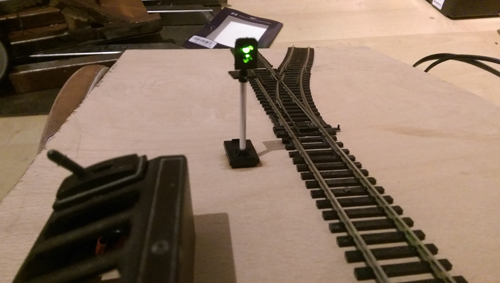
CLICK HERE to view the full Train-Tech Signal Kit range.