
 WARREN KERFOOT shows how to add figures and weathering to a bus to add life to the model.
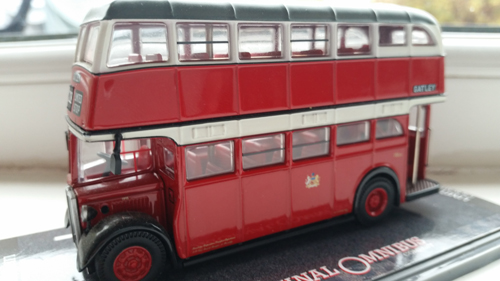
A quick and simple project I did the other night to lift the slightly toy-like looks of a diecast bus involving some easy to use items from the range...

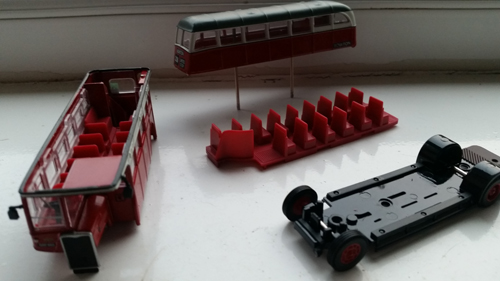
I dismantled the bus, in this case it’s a Manchester Crossley from the Corgi range. A bit of a nuisance as they’re not designed with being pulled apart later in mind, but easily achieved as long as you accept the original fixings will be destroyed most likely.

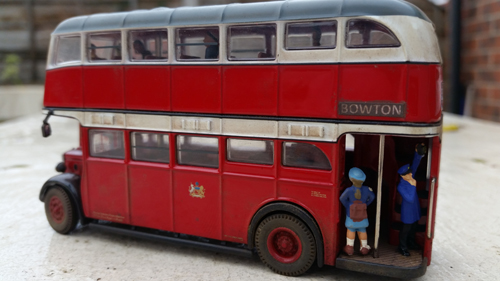
A run over the seating and walkway areas with some matt enamels to take away the uniformity of the interior’s colour and then add some figures in HO. Here I used some Dapol ones and some Preiser and Noch examples. For vehicles, you’ll find HO characters fit better as they’re not as tall or as bulky, you can also find some brilliant examples without legs which are an obvious choice for this job.
The driver is a Preiser German railway figure, his pose being perfect for the driver of this bus as he’s out of his seat to turn the steering wheel, no power steering on those old DD42s!?
Change the route number and destination boards, my attempt is a bit crude to be honest on this occasion. With a bit more effort excellent results can be achieved with just a standard printer. I used some long nose pliers to tweek the front axles - remember the driver’s putting in the effort up top. Don’t overdo this bend though or your tyres end up buried too deeply into the wings.
Then, reassemble using your trusty Deluxe Materials DLAD-62 Roket Plastic Glue where the original fixings were.

To create the look of the vehicle being in service on some bleak Manchester workings all week, I used the fantastic PanPastel range to dull off the overly glossy enamel paint and make the tyres look like they worked for a living. The PanPastels deliver tons and tons of modelling material in the trays and the clever shaped tools they supply are excellent. I used three colours on this model...you can even create the ‘clean sweep’ of the windscreen wiper.
To add more build of tones I used the DCC Concepts weathering powders. These are pure pigments and are great to give real texture to weathering build up. Given the high gloss of the model out of the box, the Pan Pastel coat helped the DCC product adhere, another way round it would have been to satin coat the bus first but the aim was to go from start to finish in an hour or so paint would take too long to dry!