

As mentioned in a previous article I am a fan of Industrial Modelling, especially when it comes to narrow gauge railways. My passion for this started when my father (Martin) and I visited the Amberley Chalk Pits Museum. Seeing an untidy, dirty railway really inspired me, as I could see not all railways are clean tidy pristine places where railway staff all wear matching uniforms. It also came to light that with industrial modelling you can use lots of artistic licence and create your own model railway in a very small space.
The layout started life as a bet my father had with one of his friends while a part of the Rail Group at Amberley. The bet was that my father could not design a dirty railway as most layouts look "too clean". After about nine months the Weltitt & Hope Engineering Company Railway was built and was exhibited for the first time at Amberley Railway Gala Weekend in 1989.
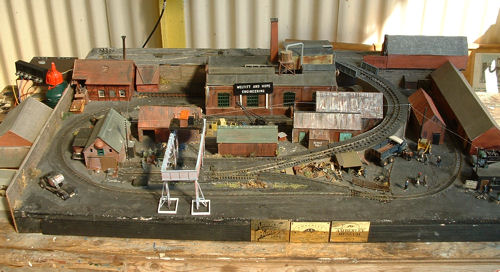
Original Railway Design - Image supplied by Gerry Cork from the Amberley Chalk Pits Museum.
The railway is a 3ft x 2ft representation of an engineering works where Health and Safety has not quite taken hold. The rails are embedded into the road to allow vehicles to cross with ease. This was done by laying the track on GM130 1⁄16th Cork Sheets and then using a mix of black powder paint and GM119 Plaster of Paris to cover the sleepers, and carefully placing some on the inside of the track. The rest of the baseboard was covered in the same way to keep the level correct.
The track plan was designed so it ran tightly next to buildings with minimal clearance thus forming a industrial scene where locomotive pop in and out of buildings. This system was used quite a lot in factories as heavy loads could be passed from one building to another with ease.
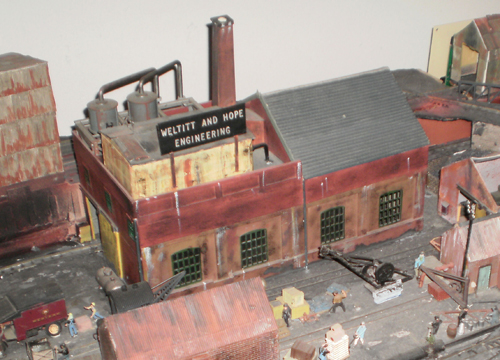
The main building on the layout is the large engineering building in the middle. It was constructed using a couple of Dapol DAC007 Engine Shed kits and various pieces of Plasticard. The top water tank was built using the Dapol DAC005 Water Tower and the sign was made with the white Lettering by Slaters. This building is fitted with a Train Tech TTLFX5 Welding Light which gives off pulses of blue, white and red flashes to give the illusion that work is being carried out in the building.
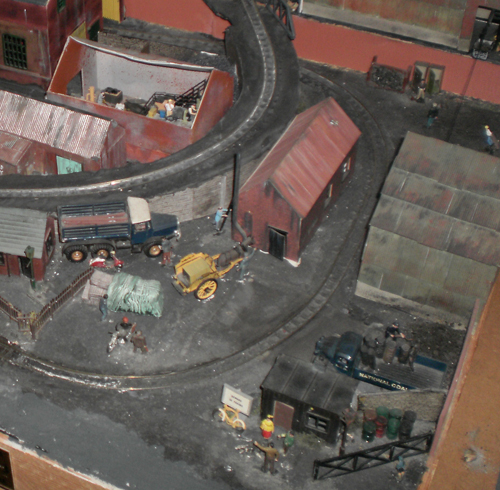
One of the main features of the railway are the tight curves all made from Peco Flexible Track. These allow for a continuous loop on a small board which enables the operator to talk to viewers of the railway without worrying about a locomotive stopping or hitting the end of the layout.
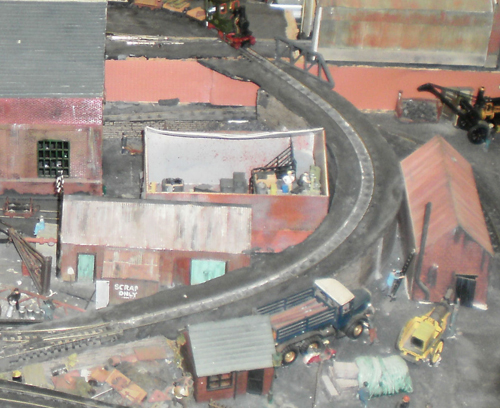
Another feature is the incline. This is a very tight radius incline which crosses the lower loop via a bridge and feeds the upper shunting section. A locomotive can transfer a small amount of wagons from the lower loop to the upper shunting yard. This adds another level to the railway so that it is not just a loop of track going round and round.
The plan of the railway has changed over the years and various things have been added, taken away and remodelled.
In 2004 on our way back from the Amberley show, the metal stand which had been supporting the layout all weekend slid off the parcel shelf and landed through the centre of the railway.
This led to a complete redesign and allowed me to add lots of new and exciting items.
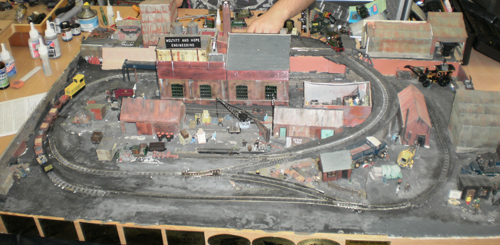
Railway MkII
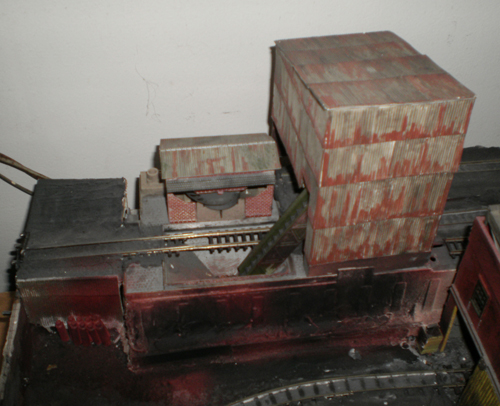
One of the items added was an Arnold N Scale wagon tipping area. This item allows tipper wagon to be loaded off the scene, shunted up to the tipper and unloaded at the push of a button. A conveyor then takes the unloaded items and transports them into a building ready for the process to be repeated.
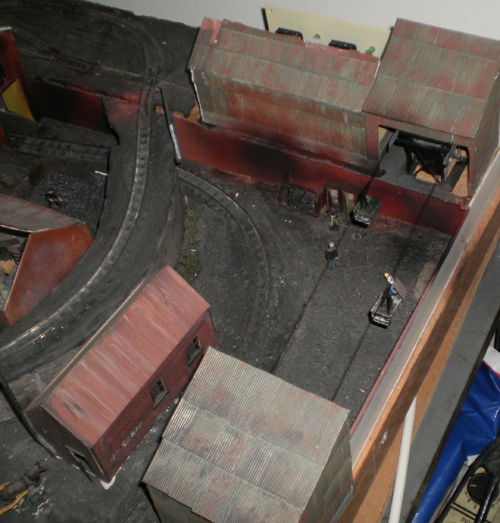
Another key item which I included on the new design is the coal lift. This was originally an N Scale cable lift which transported passengers up mountains. The coaches were taken off and some Roco RC34601 Cement Tubs were put in their place. I added a bit of coal, weathered them down and now they move from the lower section to the top on a continuous cycle.
There are lots of small scenes on the layout and all of them are based on life in industrial areas.
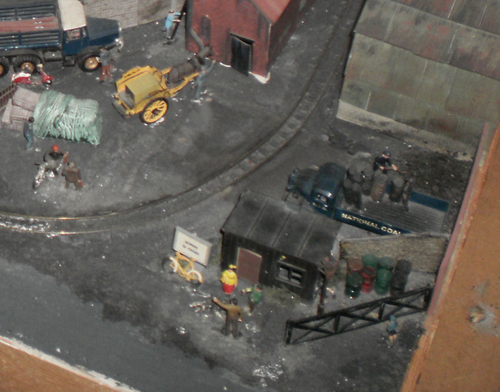
Entering the site.
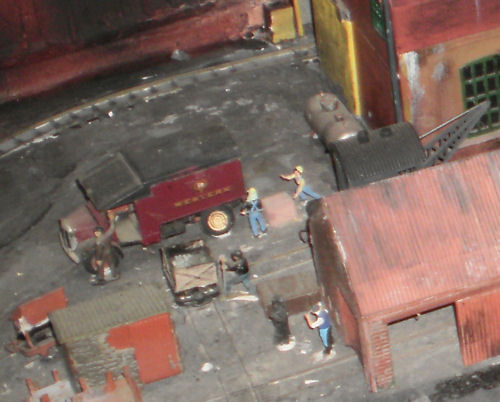
Loading and unloading goods.
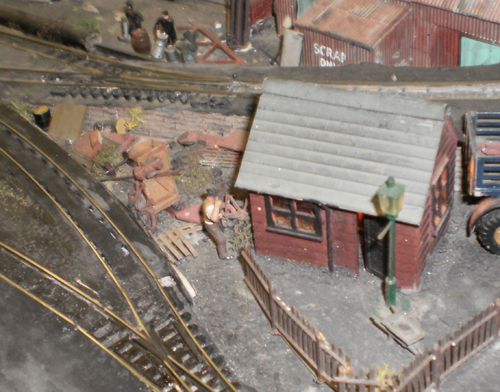
Scrap Metal Area.
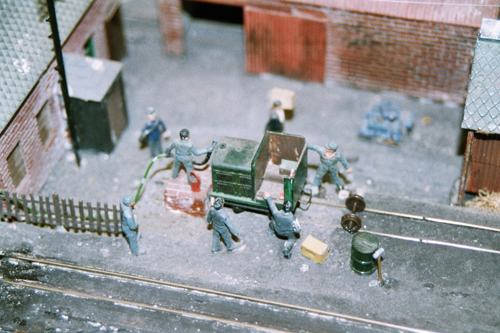
Maintaining Locomotives in the sidings.
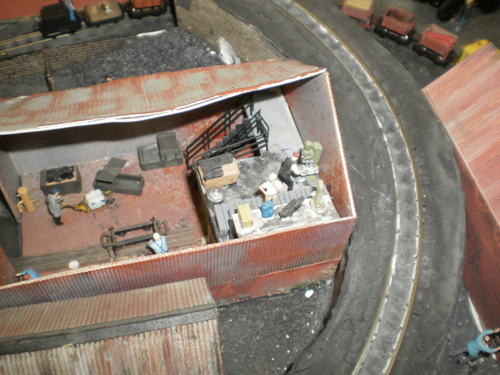
Working on wagons in the workshop.
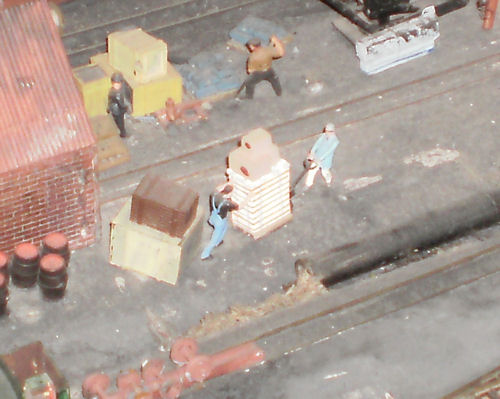
Moving goods on site using the Noch N15038 Warehouse Team.
The controller used on the railway is a model GMC-UQ Four Track Controller powered by two model GMC-T1 Transformers. I required this controller to power the lower loop, the top section and the cable lift. The fourth output I use for testing locomotives off the layout.
The points have been fitted with SEEP GMC-PM1 Point Motors and are operated by Gaugemaster GM510 Switches via a Seep GMC-CDU Capacitor Discharge Unit.
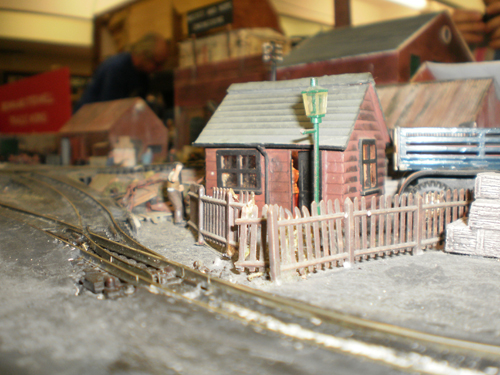
Many of the building has lights fitted to them. I used the Faller FA180670 Screw-In Bulbs type as you get a holder with them so you can just pin them to the board and run the wires underneath.
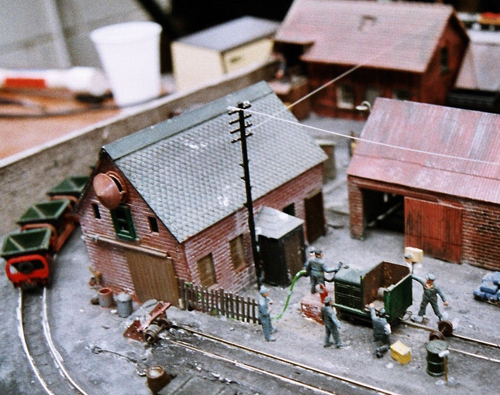
Wires have been added to the telephone poles to add realism to the railway. This can be done by melting bits of sprue with a lighter and stretching it to form thin wires. Care must be taken doing this.
The locomotives I use on the railway are a mixture of Roco, Minitrains, Peco, and various white metal kits that I have bought over the years.
The same goes for the wagons Roco, Minitrains, Peco, and Dundas Models.
This layout is often a favourite at shows and gains lots of interest from all modellers.