

Is autumn the most overlooked season in modelling? We often see layouts with full green trees or even young farm animals at the side of the railway tracks, representing spring. Summer scenes are also popular, thanks to products like the Graham Farish Scenecraft Beach Huts Noch and Preiser Bathing Figures with their brightly coloured sun loungers and deck chairs. And of course, the Christmassy scenes of winter featuring the iconic Hornby Coca Cola Christmas Train Set and even Santa Claus himself hold a special place in the heart of many model railway enthusiasts.
But it’s a fact that you don’t see as many autumnal scenes, and we think that’s a real shame. There’s a certain Gothic romanticism attached to this time of year, and some simply stunning colours. With this in mind, we’re going to talk you through how to add some autumn colour to your railway layout, so you can enjoy this beautiful season in model form.
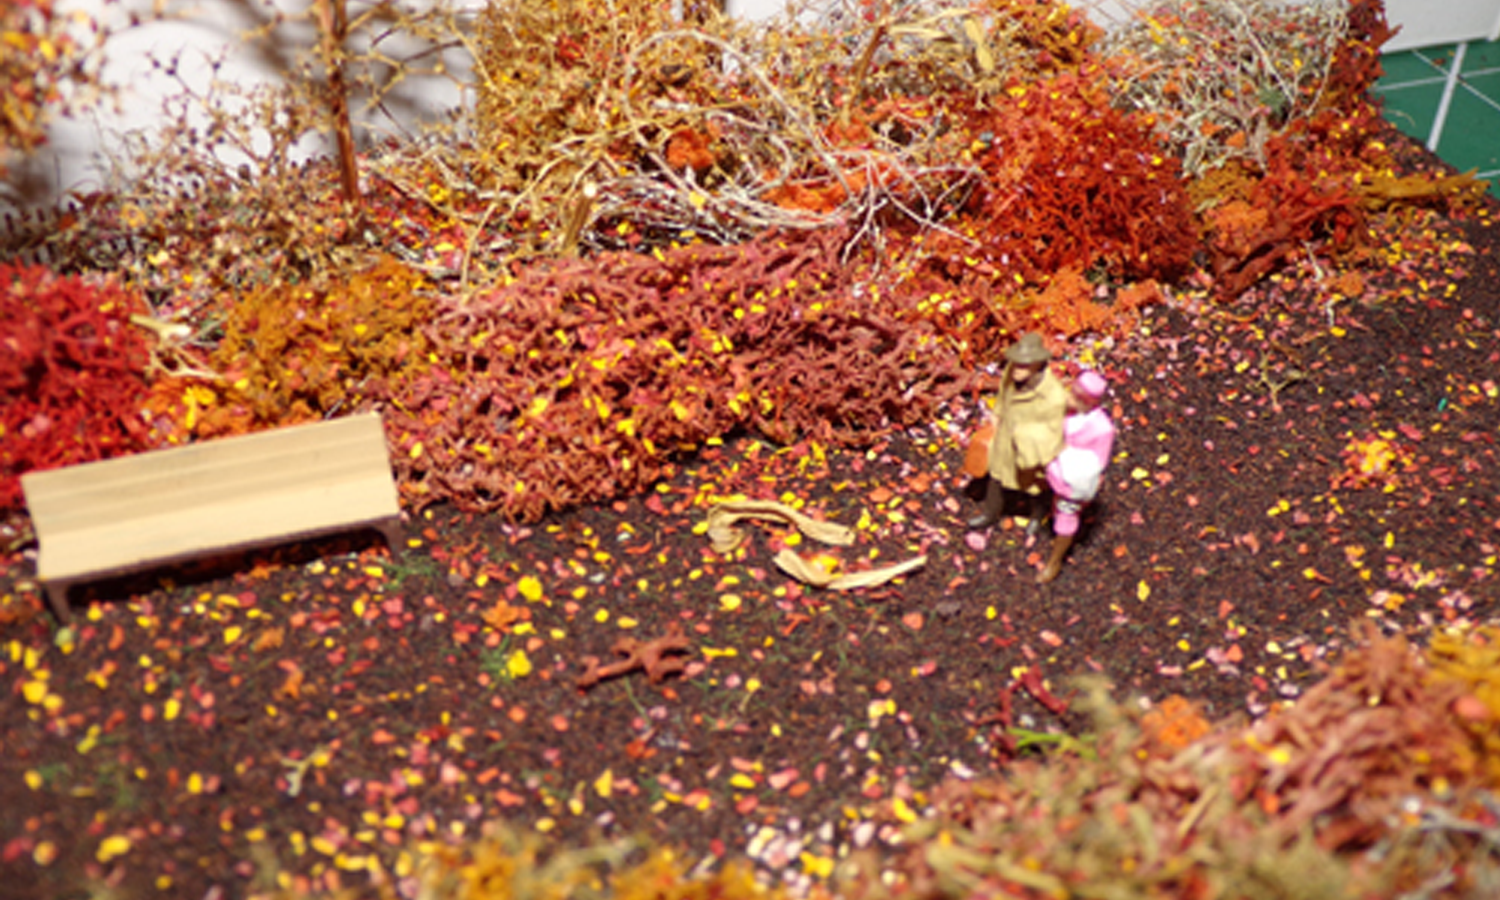
A model couple stroll side by side through an autumnal scene, surrounded by rust-coloured foliage.
Follow the instructions below to create your own autumnal model scene, perfect for adding seasonal detail to your model railway.
The first stage is to paint the area that you want to ‘autumnise’ with a dark colour. When doing grassy areas or hillsides, a green is usually a good choice for a base coat, but for an autumnal scene, go for brown or black - this will create a great contrast with the other autumnal colours.
Although there are a lot of products on the market for scenery, it can be tricky to find one that really simulates a muddy/woody floor, so you may need to get creative - and possibly a little messy! Loose leaf tea (or even a split teabag with the tea shaken out of it) is ideal for creating a muddy effect that looks just like leafy, churned up ground.
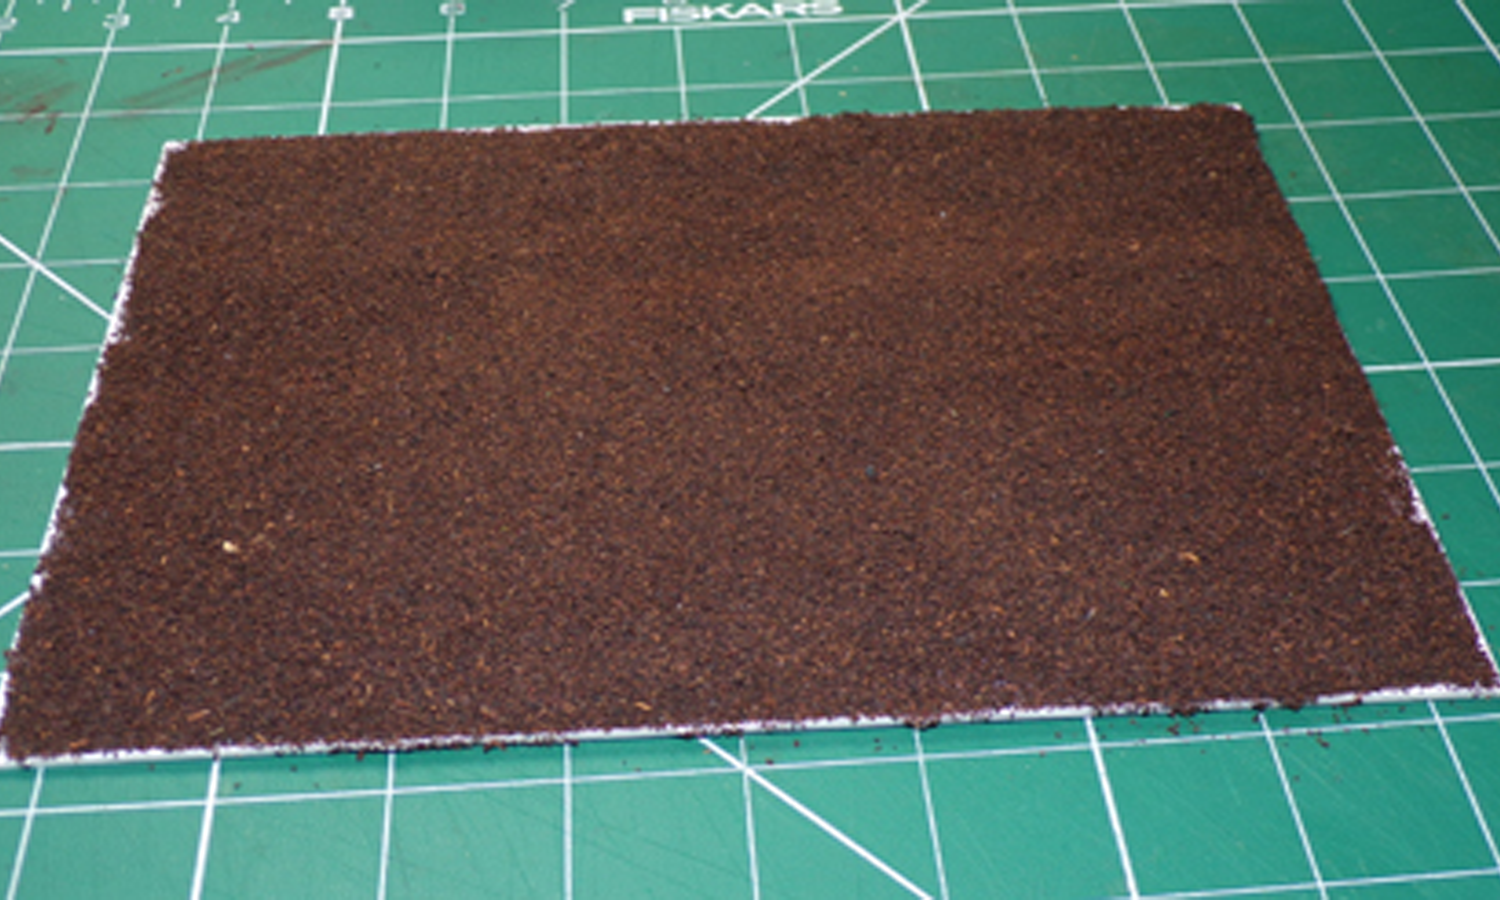
Used tea leaves strewn over a model base to create a muddy, autumn flooring effect.
In the picture above, you can see the ground work after being given a coat of loose tea scattered on top of Deluxe Materials Speed Bond. We even found that tea from a used teabag is actually darker than tea from an unused bag (we always do our research!), so here we’ve chosen used tea leaves.
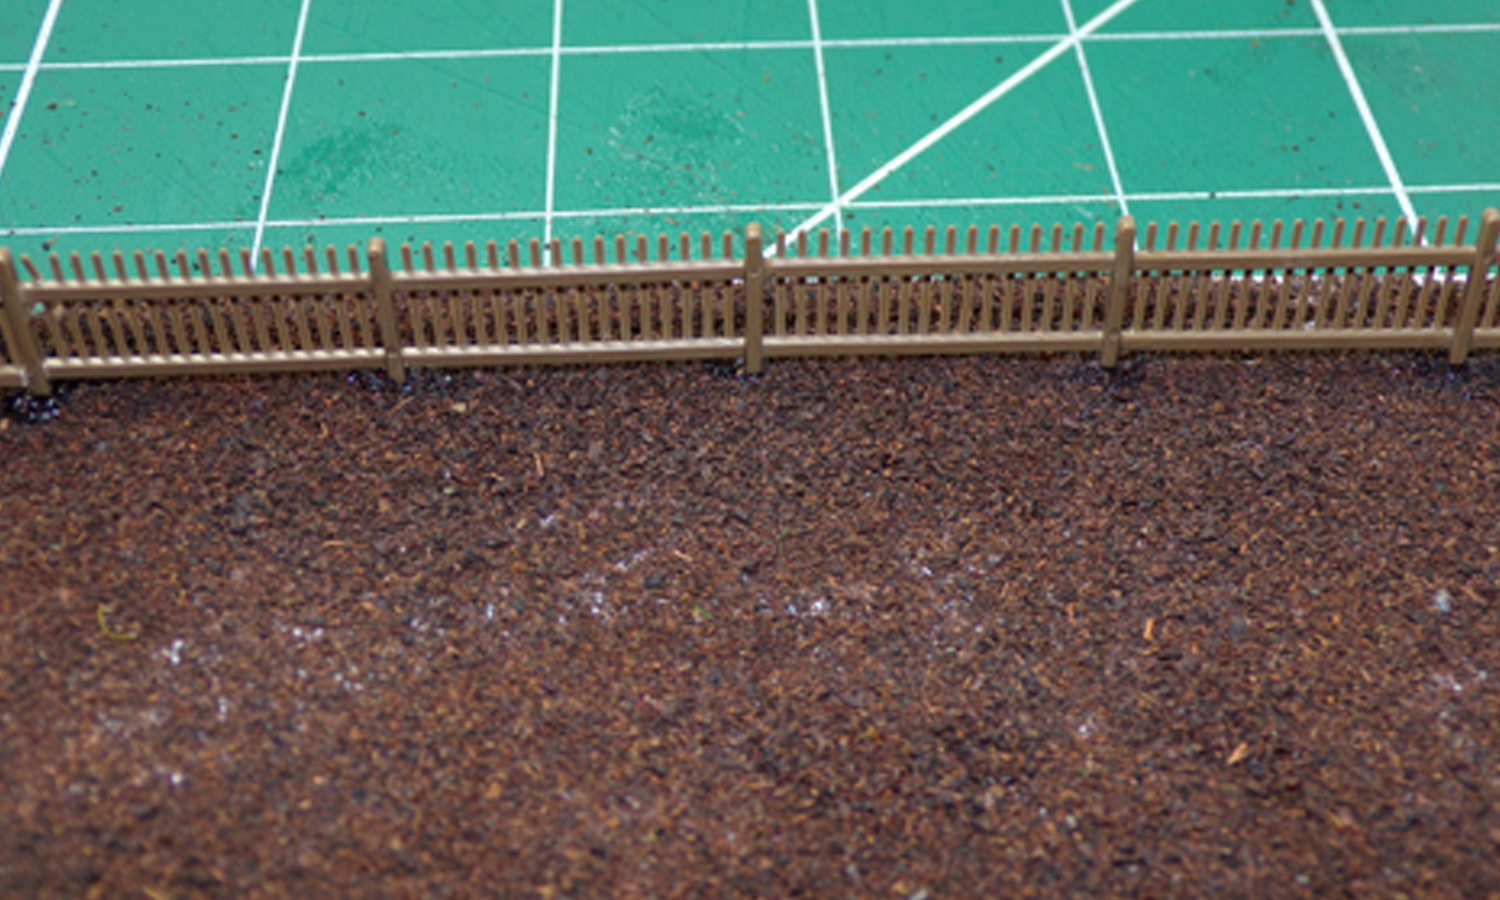
A close-up of a model fence around the edge of the base of tea leaves.
We’ve then installed some manmade objects, such as a fence. Doing this at this stage adds a more realistic effect - as soon as something is put outside in the real world nature starts to take its effect upon it. Plonking the fence down after all the foliage was added just wouldn't look right!
Then, we added some rubberised horsehair, which can be found in craft shops. You don't have to use this - you can also use lichen, which works just as well. However, the horsehair does give a slightly wilder look to the final model.
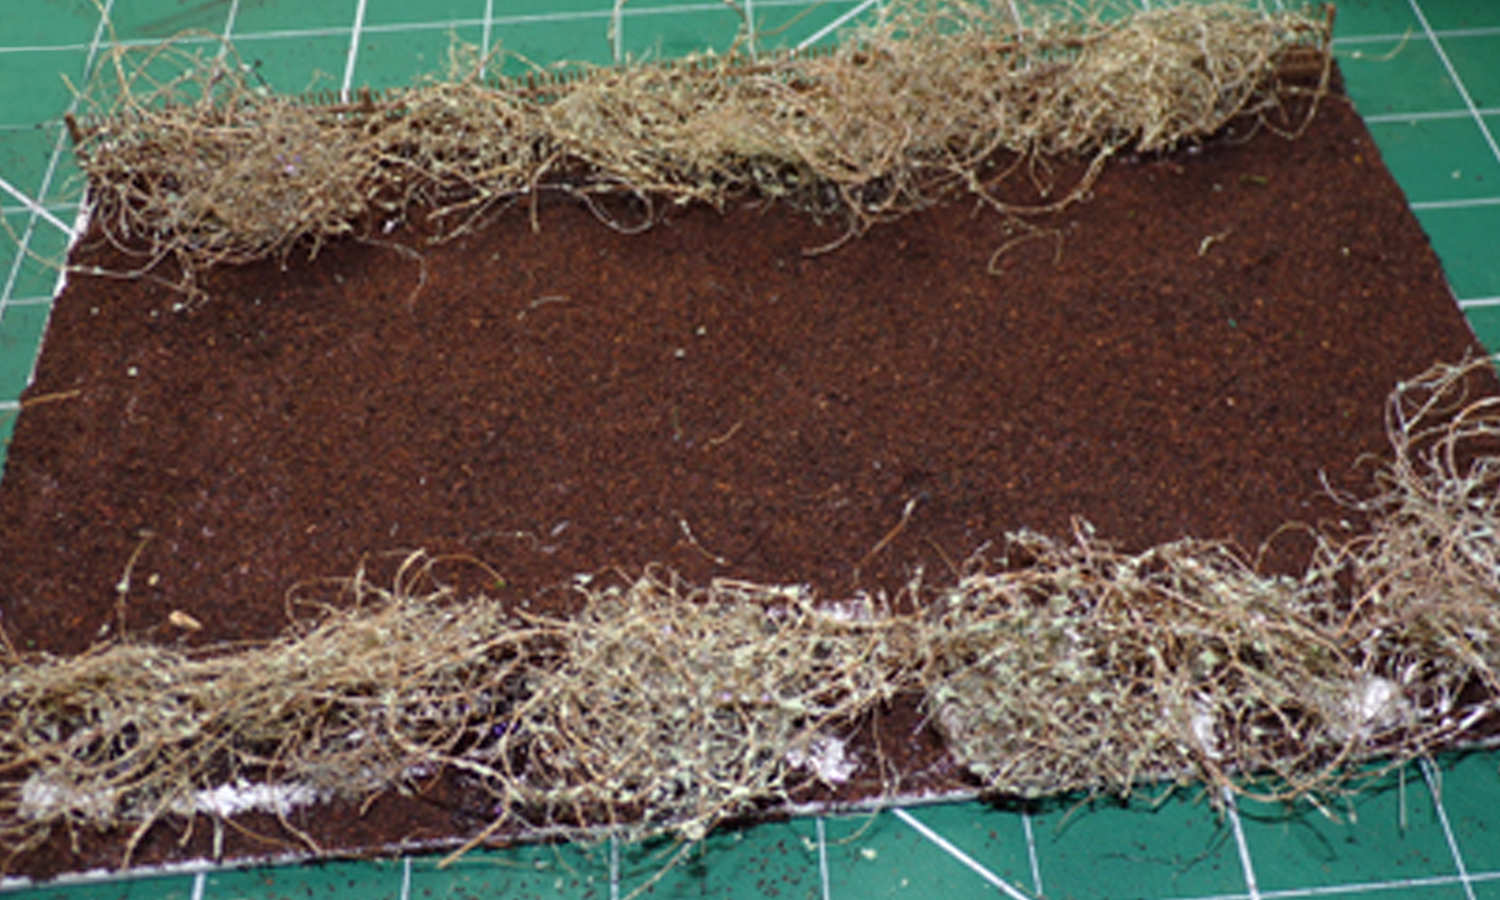
Rubberised horsehair lines two sides of the tea leaf base to create a pathway in between.
Next, we added a covering of Deluxe Materials Roket Blaster Spray Glue to the bush, and covered it with scatter. Here, we used the Noch Autumn Foliage Set in varying amounts, as well as a sprinkle of Static Grass to give that slight bit of greenery clutching on to summer.
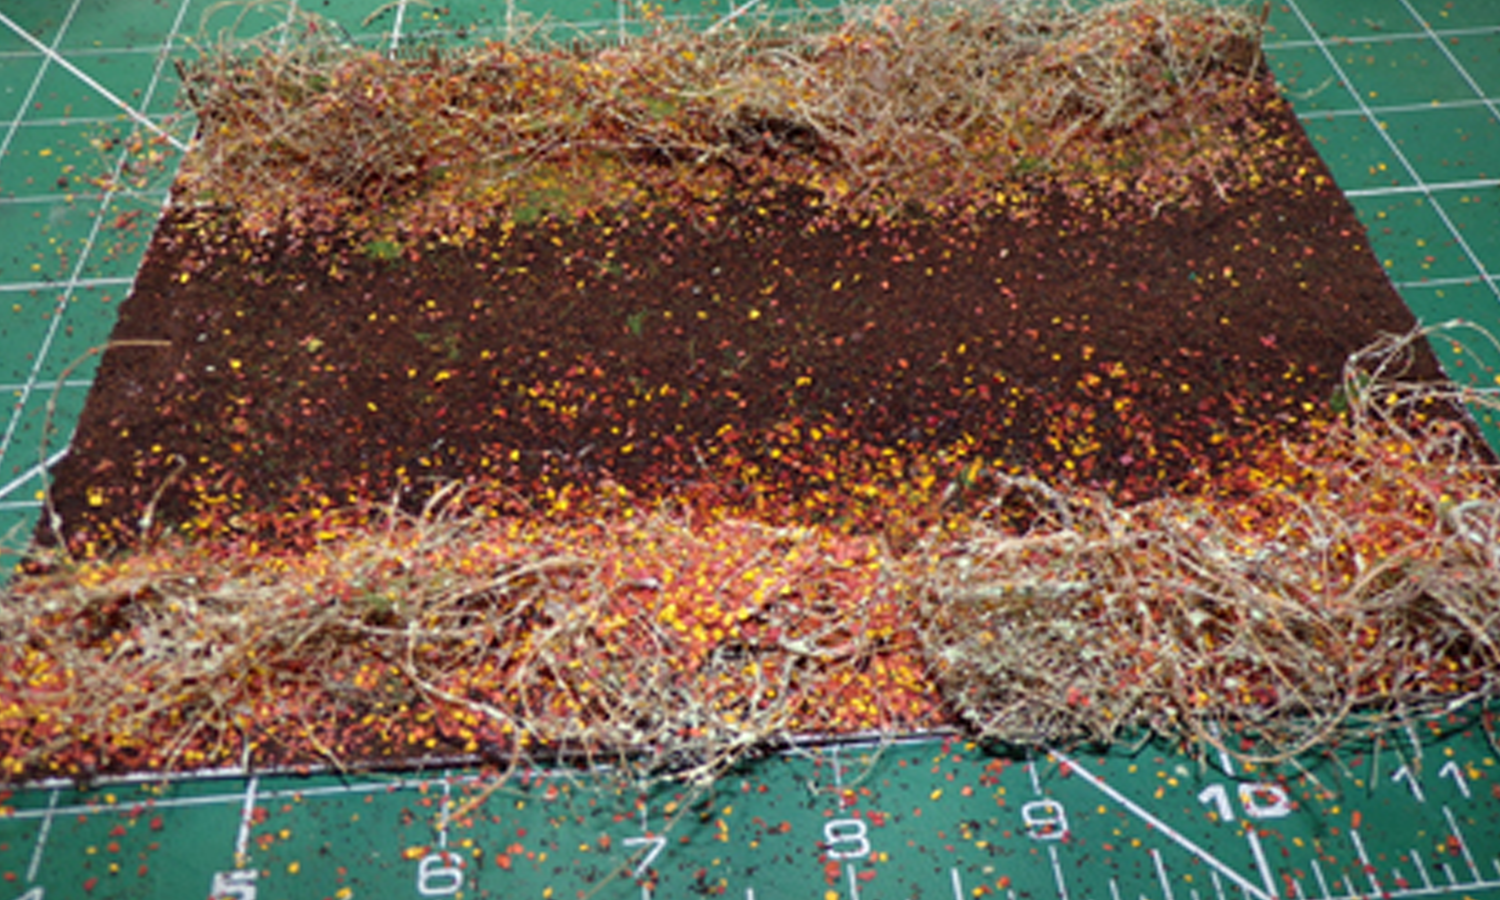
Orange, yellow and red autumn foliage are scattered across the horsehair and into the pathway to mimic authentic autumn leaves.
Be careful not to overdo the scatter. Remember that the wind will drag leaves to less open spaces, so anywhere that would be open, add only a few leaves for an authentic touch.
It’s now time to add some lichen in strategic places - basically anywhere the horsehair had left a larger hole. This adds to the breath of autumnal colour and makes the scenery more varied. Real-life foliage is never one uniform colour, so any variety adds to the realism. Again, this was given a coating of spray glue and autumn leaves, before we applied a coat of Humbrol Acrylic Varnish to lock in any leaves not already held by the spray glue.
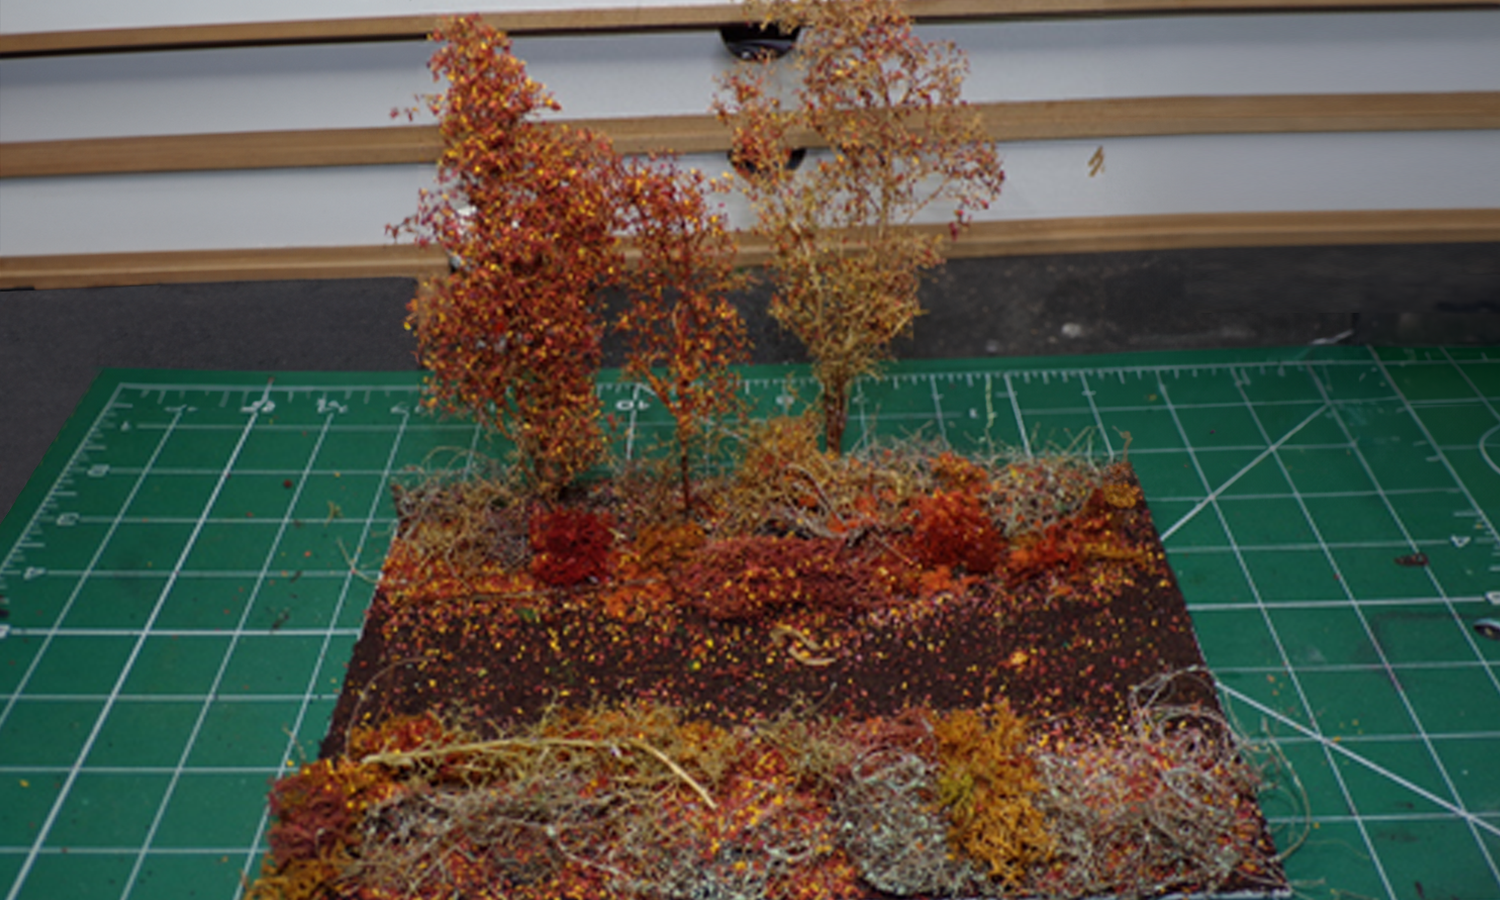
Autumnal Seafoam trees in different heights frame the model scene. Broken trees have been placed on top of the horsehair and lichen to add more natural detail.
Seafoam Trees were then added to give some height to the scene, and we added light coatings of the autumn leaves. They were given light coatings of the spray glue followed by a mix of the autumn leaves. Remember, the more leaves you have on the ground, the less there are on the trees! Within our box of trees, we had a couple of smaller trees which we snapped and added to the undergrowth to give it additional texture, simulating fallen branches.
The final stage is all about adding those all-important finishing touches to the scene. Whether you choose to add a model bench and strolling couple, a Brown Bear settling in for their winter hibernation or even a group of fairies gathering in the autumn sun, there are so many possibilities for creating a truly unique autumn model scene.
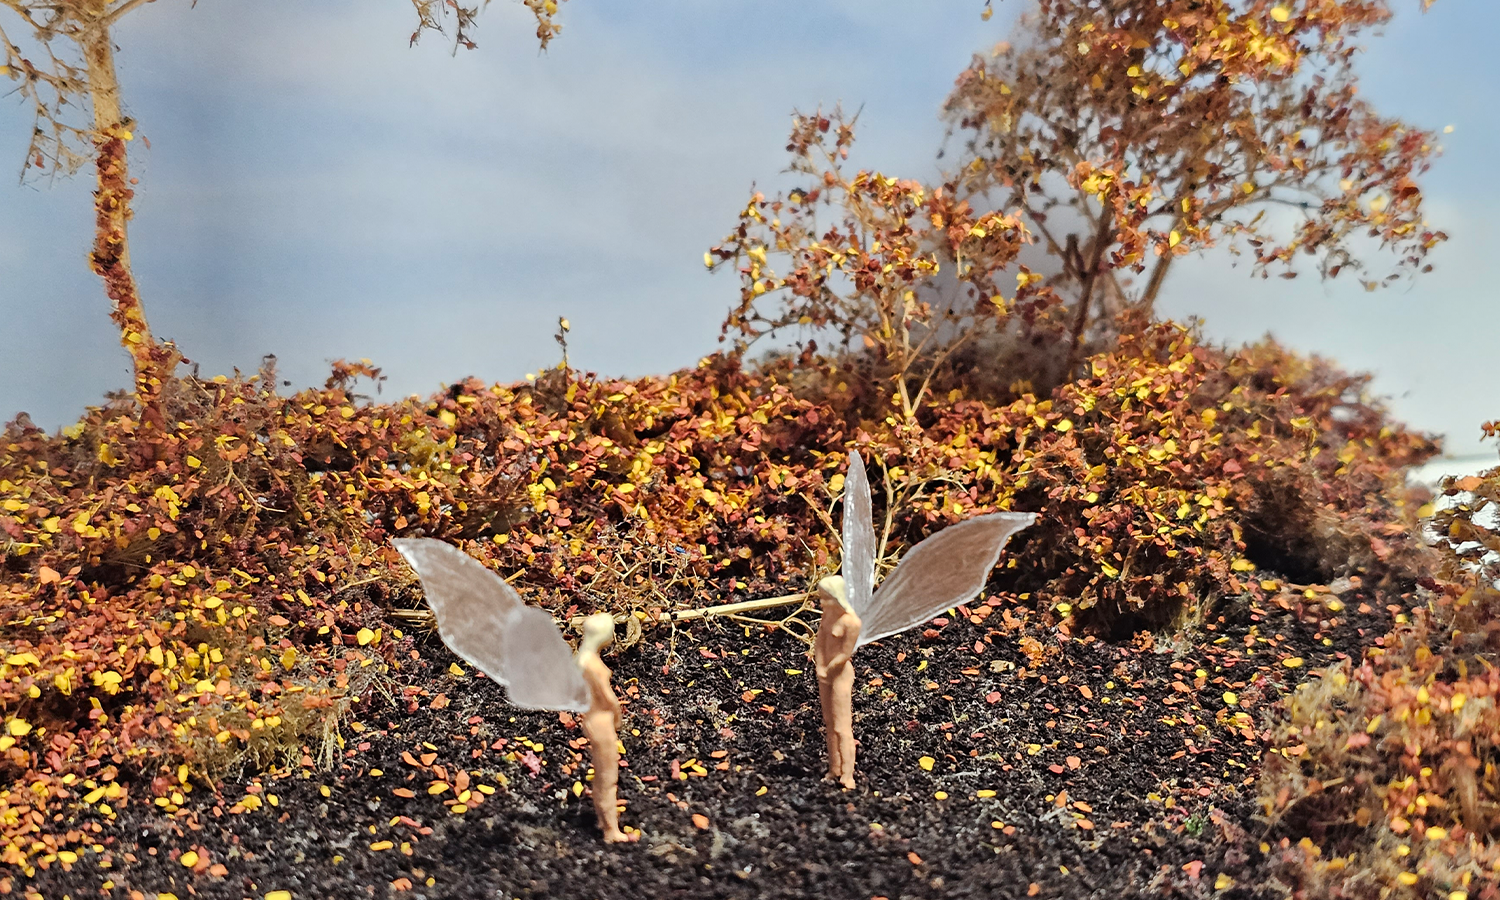
Two model fairy figures with translucent wings stand in the middle of the model woodland scene, surrounded by autumn foliage.
You can even add an additional autumn feel to your layout with Living Steam Smoke Oil from Deluxe Materials. This product gives off a brilliantly realistic scent, which can also be used to simulate the smell of bonfires - what could be more magical than that?
Autumn is the perfect time of year to stay indoors and indulge in some modelling. Whether you’re into model railways, building model kits or collectables, you’ll find everything you need to create exciting scenes at Gaugemaster, the model shop for big imaginations. Got a question about any of our products? Contact us today.
This article has been written by our staff here at Gaugemaster, drawing on thousands of hours of modelling experience. Each article has been written to make it easy for everyone from beginner to expert to learn and expand their own knowledge base. If there is something you would like to see covered, feel free to contact us to suggest a topic - we’d love to hear from you.
For more articles like this, and many others; don't forget to check out the Gaugemaster Knowledge Base.