

 PAT PETTETT shows us how he has adapted US building kits for use on our UK shop layout.
Our shop layout has always been a work in progress – like most layouts it is never truly finished...
After starting out as a Marklin/Faller factory layout in the 1990s, we decided to anglicise it some years back – since then it has been a useful test bed for models of all kinds, not just locos and rolling stock. We also use it for testing out new scenic items and that of course includes buildings.
As we distribute the Walthers Cornerstone range of structures, I’ve come to acquire a few of my own. When it came to updating the main street on the layout my thoughts turned to Walthers – here we take a look at building a couple of the kits, and see how they have transformed the high street. A quick note about scale – the Cornerstone kits are indeed to HO scale, not OO – in our experience this doesn’t make much difference with these kits – yes they are smaller in scale, but this is compensated by the fact that everything in America is bigger (I have one of their diesel depot kits, even in HO scale it dwarfs most OO diesels).
First off is the Jewellery store, WH933-3476. Opening the box and perusing the instructions shows the kit is well thought out – rather than the "construction sequence" of many other kits, this has an exploded view showing where all the numbered main parts go.
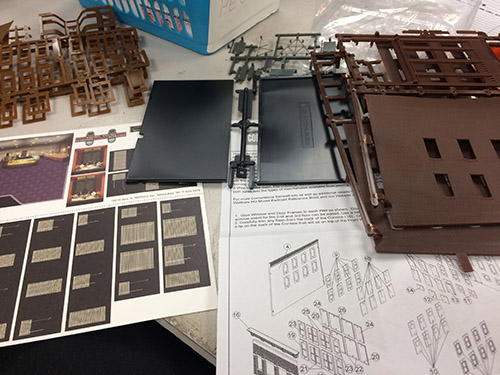
Windows are very well thought out – once removed from the sprue, each has locating lugs that push over little spigots on the backs of the walls- very neat and tidy.
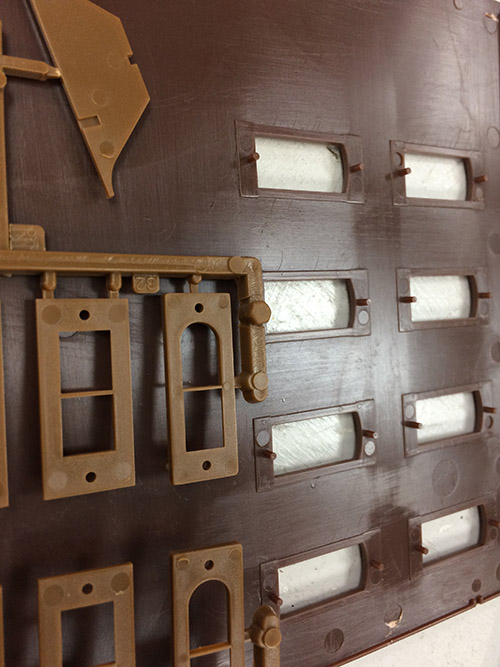
The glazing itself is the same – little holes engage them in precisely the right place – no more tedious efforts at getting the size right with scissors! It also speeds up the construction enormously.
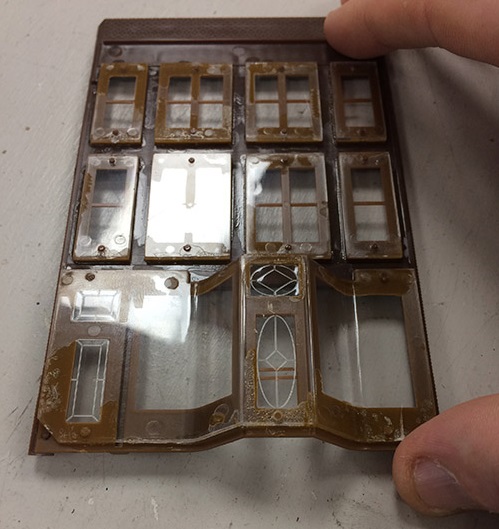
The recessed front door area also has pre-moulded windows, with graceful etching on the front door.
I now fitted the blinds – these are ideal if you are not fitting interior lights, and from the outside are very effective.
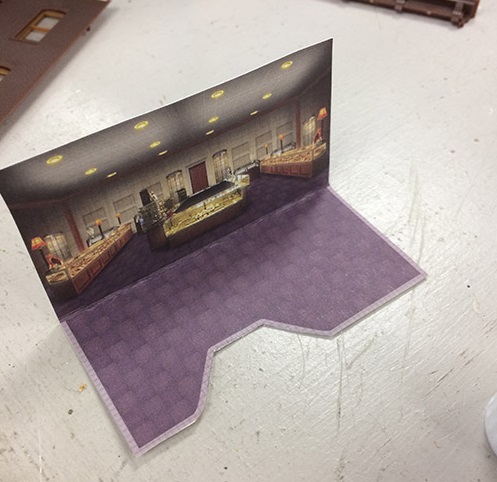
A shop floor is folded up from the included card – this is far more convincing than I thought it would be!
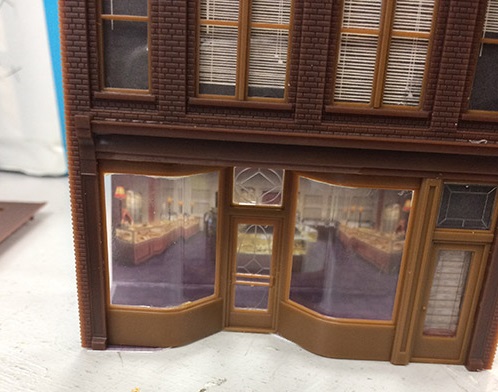
With all windows and doors fitted, the box like structure simply glues together – the flat roof slides in from the back and the lower walls fit snugly on the base plate.
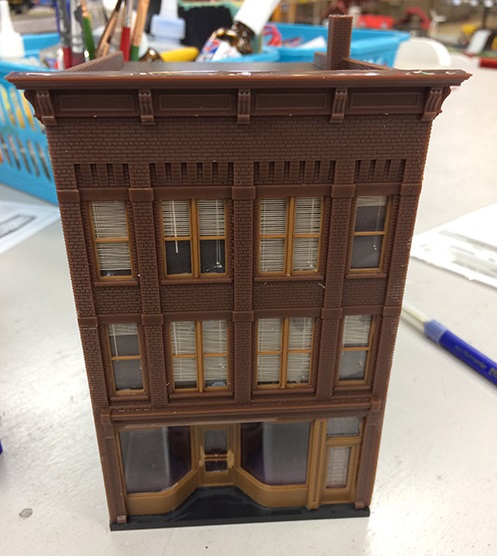
Still doesn’t exactly look British yet though does it? Painting makes a world of difference – I started by picking out some of the stonework on the front of the building in a light beige.
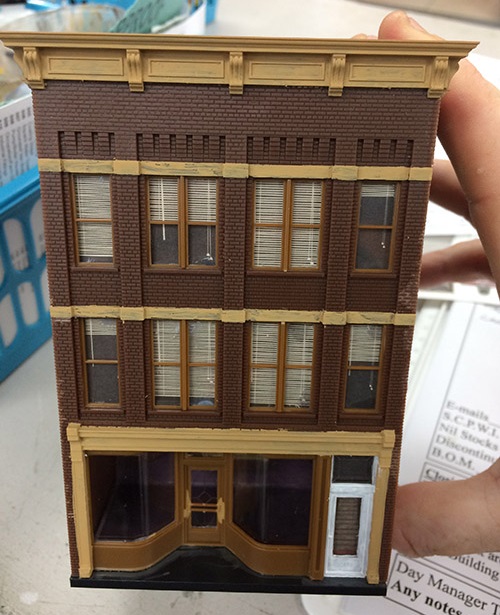
Still not quite right though... Window frames! These are normally (to start with) white in the UK – picking these out with a thin brush brightens up the whole building.
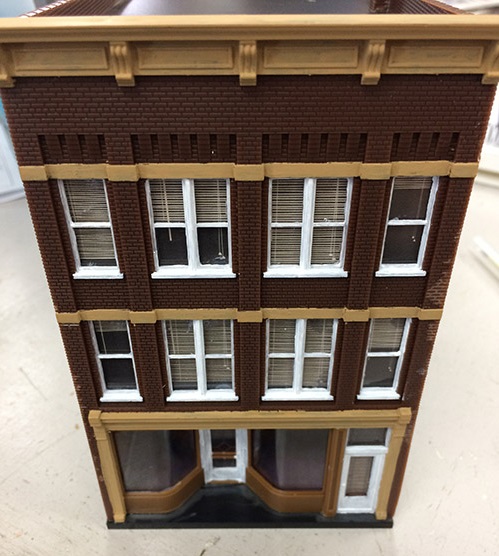
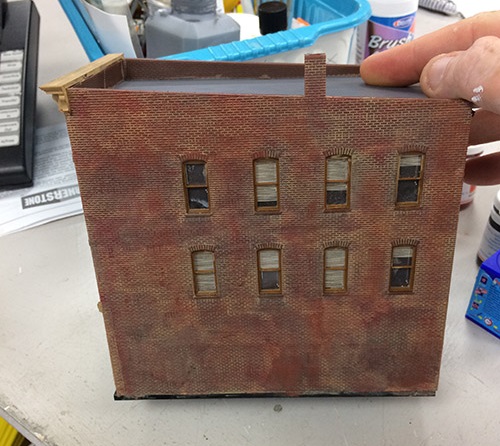
I now moved on to the brickwork – this kit is moulded in very dark, old looking brick colour. Using the same beige as before, I thinned it down and worked it into the mortar – crudely wiping the excess off as I went.

At this point it looks rather blotchy, but that doesn’t matter as the next step was drybrushing the brickwork. For this, I used a stiff flat brush so I could cover the large area quickly. Paint used is Railmatch acrylic, a mixture of dark brick and dark rust. I hadn’t done the white window frames on the sides of the building yet as this stage is naturally quite messy, and as these would be at the rear of the building I wanted to see if I could get a grimy urban look by leaving them in the moulded colour. As I made more of the high street, I found it looked more unified if I painted these white as well.
With this done, I plonked it on the layout next to the Rivoli Theatre, another Walthers kit WH933-3771. To the right is another Walthers structure underway (Perfect Perk Café, WH933-3468) which is also being anglicised! The low building to the right of that was one of the previous test buildings, used to see what would fit in our available space.
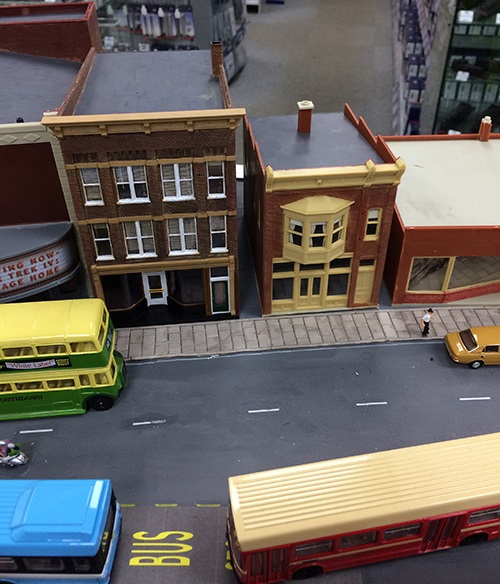
A couple of days later, and the café is looking better too – we have left an alleyway for access to the rear (to get the bins out) and the next building is a Red Owl food store, WH933-3472. The front of this has been divided up into different shops by colour – we will add the shop signs later...
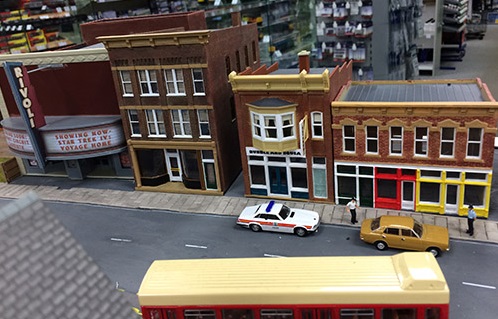
As we moved along the high street, we decided that we would like an urban pub – many of the models we see are more country or suburban, we wanted something bigger to match the rest of the growing street. Discussion amongst the shop staff had inevitably turned to local pubs at this point – opposite Worthing station is the Grand Victorian Hotel pub – three stories high with a tower in the corner...
Thompson Brothers Paint Store (WH933-3460) may not seem like the most likely donor building for making a pub, but the more we looked at it the more we thought it could be our urban pub – the single large window would be ideal for a bar area, and the side door made us think of a nightclub entrance.
The instructions are the same straightforward numbered exploded view as before, and the windows feature the same lug system for easy location – these were all glued in.
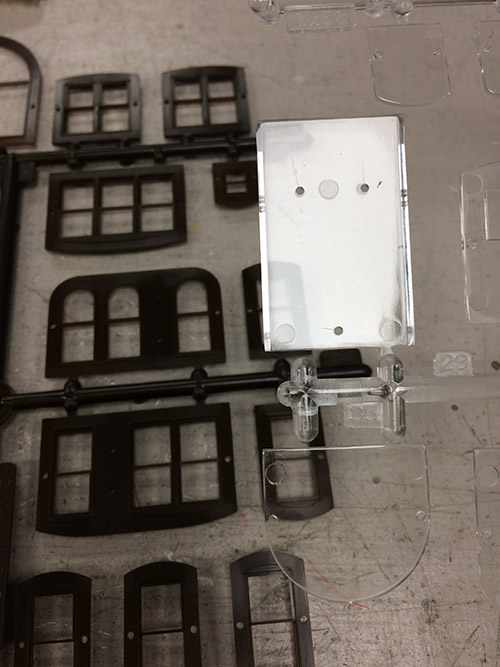
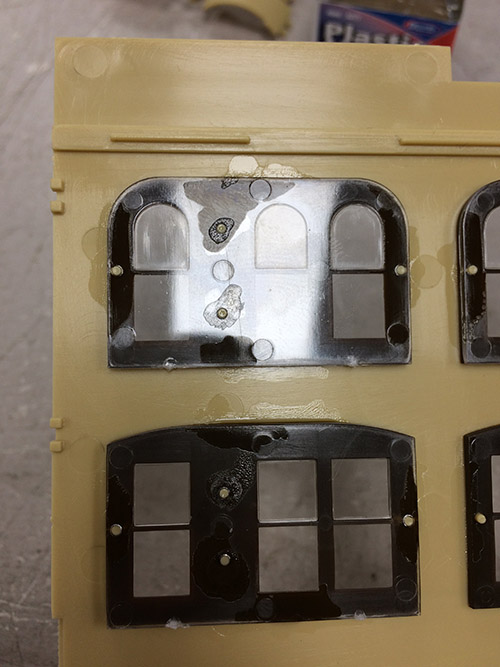
The tower is made from three curved sections, these all fit together with locating lugs – the windows were all glued in once this had dried.
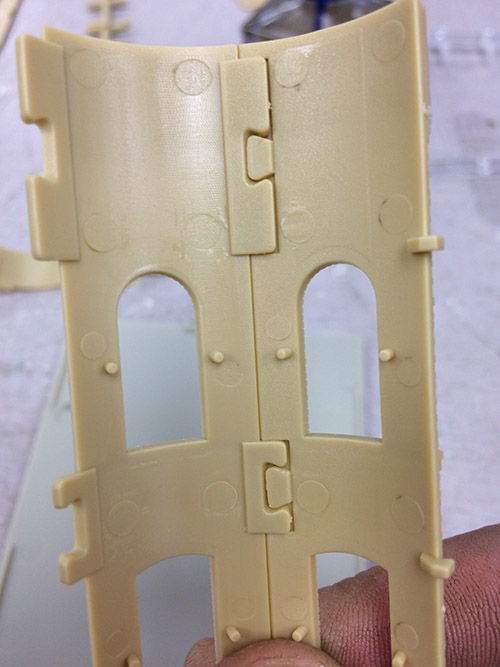
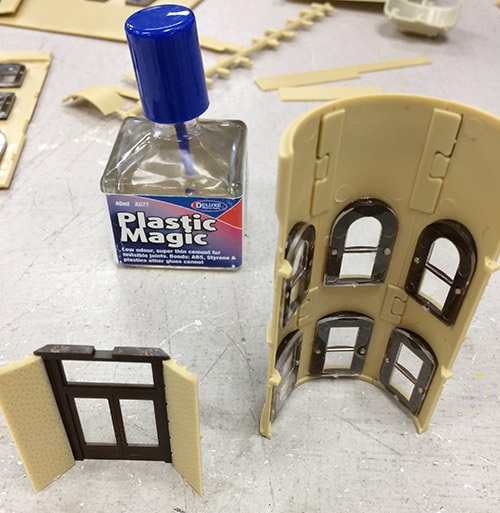
The bottom of the tower was then glued to the triple section, and we started to assemble the walls.

The base plate can be seen here, but at this point we decided that we would fit one of the new Train Tech Smart Lights units (as this had worked so well on the village hall disco at the other end of the layout). As a result we decided that we would need access for servicing should the need arise, so we glued the base plate to the baseboard so the building could sit on it.

The main walls and tower were glued together, then the roof and front door fitted.
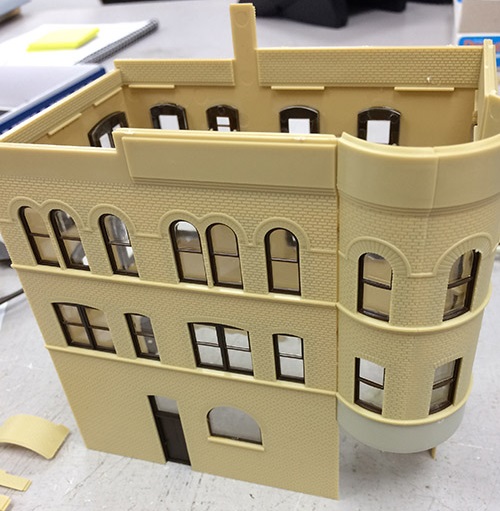
Once again the building was test placed on the layout so we could get more of an idea as to the eventual look – the bank to the left of it here was also being replaced.

The roof was now glued in, and the tower top assembled before we moved on to painting.

The same colours were used, Railmatch dark rust and dark brick – here Martin starts applying the first coats.
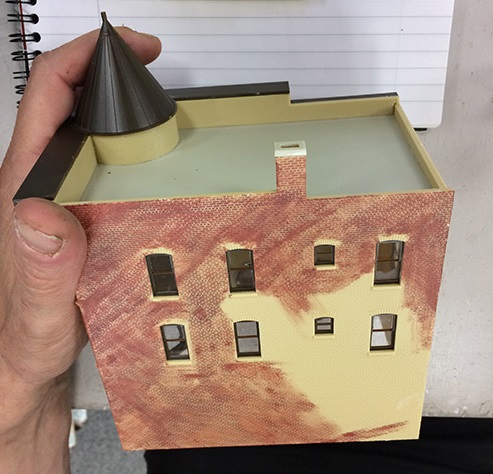
A few coats later and it is back to the layout – we have chosen to paint the rear window frames white again, but we are leaving the street side windows dark as this is how we remember dark and moody nightclubs... we have also painted the inside of the upper floor windows black to prevent the disco light from being visible all round – considering the interior layout of the building, it seemed sensible that the small upper windows would be a corridor leading to the toilets, so we left those clear to allow the light out.
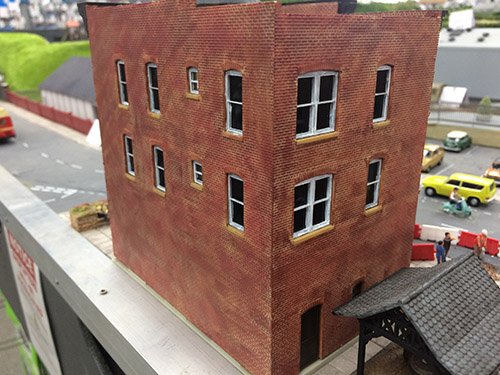
The addition of the light presented us with another problem – power! The main track loops underneath the layout at this point, so we could not simply drill down – any wires we added would be fouled by trains running underneath. The only option was to bring the power feed up near the road, and then dig across – not the ideal solution, but it did give us the opportunity to add another little cameo scene, the roadworks!
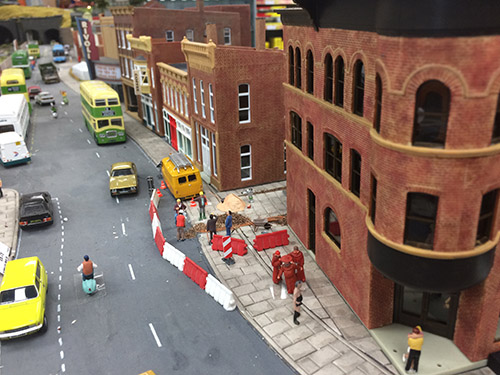
The wires were painted a dull orange to look like pipes in the process of being laid, then a Noch figure set gave us the piles of soil, workers and tools.
The rear area of the high street is being kept suitably grubby – dustbins have been added, we will add more rubbish and perhaps an errant shopping trolley from the new supermarket over the road – the effect is building up nicely though!
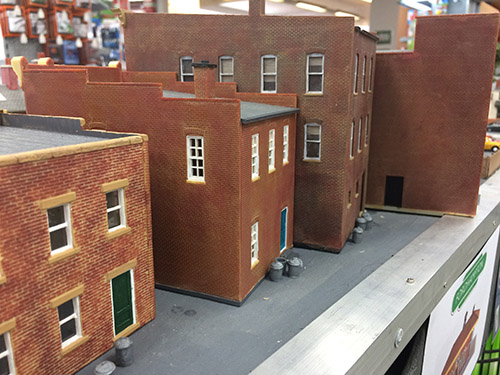

In terms of structures, we have pretty much finished our street for now – we will next be moving onto all the little details to finish it off. Shops signs will be added, the little A shape boards you see outside newsagents advertising the local paper, rubbish bins, then finally on to street lights etc.
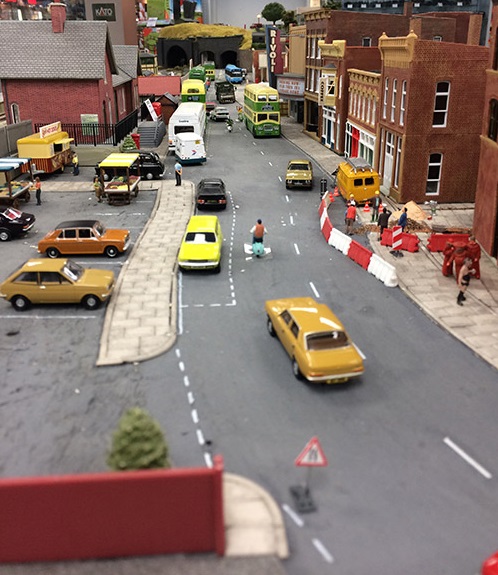
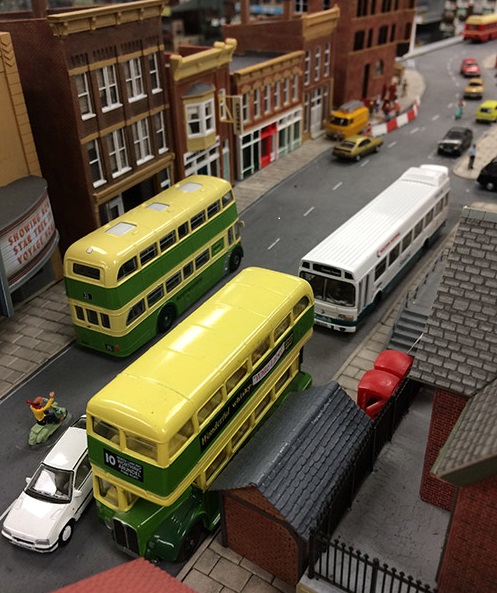
At first we thought the height of the buildings would be too imposing, but a quick look down the street at ground level show none of them are taller than the station building opposite – if anything the extra height compared to the previous buildings has made the world more three dimensional, more alive, and it is now a street I can see myself walking down...