

 MATT LOVELL looks at these easy to use signals from Train-Tech, and how to fit them on your DCC Layout.
One of the most important systems on any railway is the signalling. Sometimes this gets overlooked on model layouts, and can make even the most beautiful scene look out of place. For this article I will be taking you though how to install signals developed by Train-Tech.
Train-Tech supply two different types of colour light signals; DCC Fitted and Kit Built. The DCC ones are ready made and just need installing on the railway, the advantage being that external accessory decoders are not required. The Kit Built ones (as the name suggests) require some assembly but this is quite straight forward and does not require much skill apart from the soldering. Let's start looking and the setting up of the DCC signals, and I will move onto the Signal Kits in the Next Article.
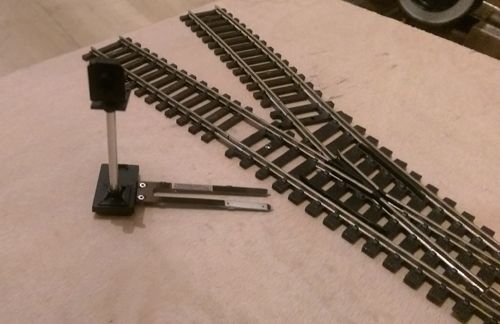
Start by unpacking the signal (I used the TTDS1 2 Aspect Home), you will notice that it has two long legs attached to it. These are designed to just slide under the sleepers just like a Hornby power clip.
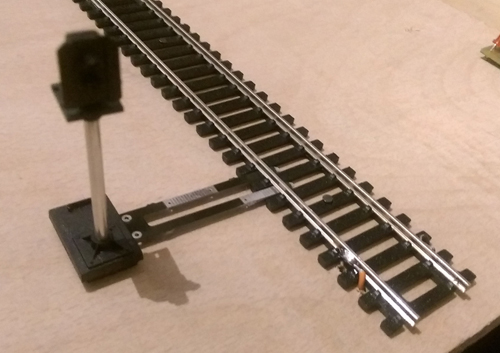
Check if your track has two slots in the sleepers where the legs can slide between (Peco and Hornby usually do). If there are no slots in the track, you can still install the signals - they just need the legs cutting off and two wires attached from the signal to your bus wire.
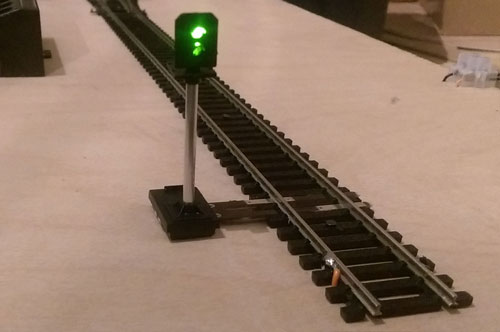
After installation you will notice that the light comes on (if the track is powered), but you will not be able to control it. This is where the easy programming comes in.
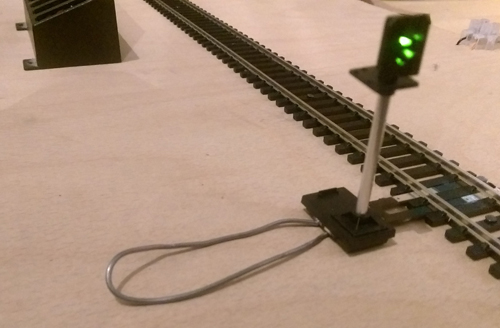
On the opposite side to the legs you will see two silver contacts. You will need to get a section of wire and gently touch the two contacts with the same bit of wire. This will short the signal out but it will also enable the module to enter programming mode.
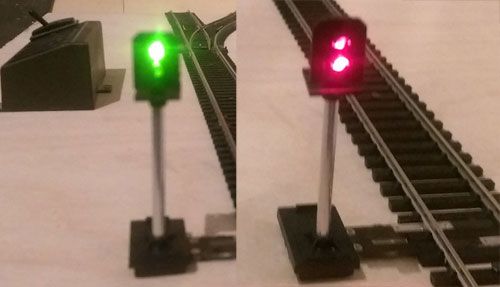
You will notice that the signal lights start flashing; alternating between Red and Green.
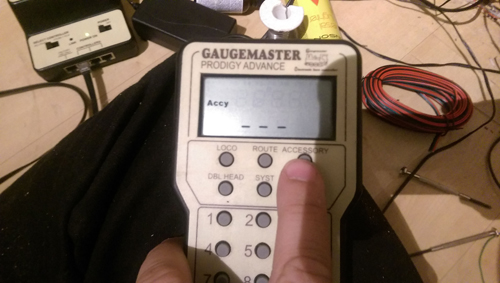
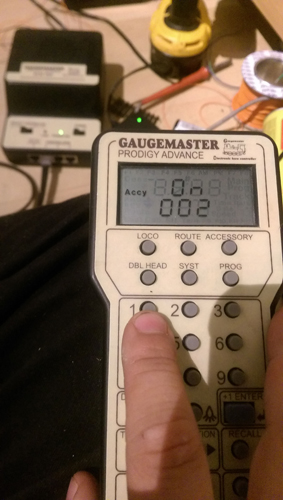
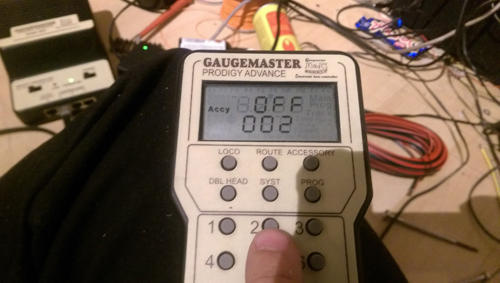
While the signal is flashing grab your DCC controller (in this case a Gaugemaster Prodigy) and open the accessory function mode.
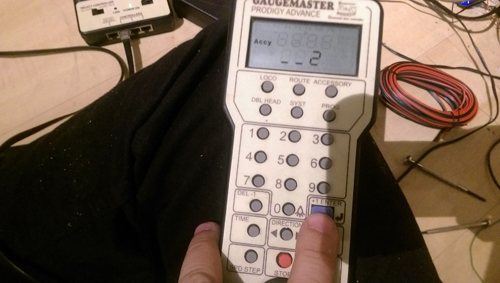
Key in the accessory number you want to assign to the signal, and press the enter key.
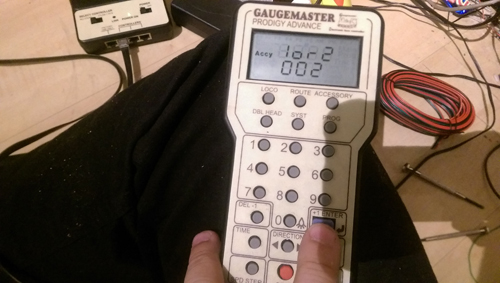
After the number has been entered toggle the switch left and right (1 or 2 on the Prodigy) and this will send the programming to the signal.
You can now switch between Red and Green on the signal by simply toggling between them.
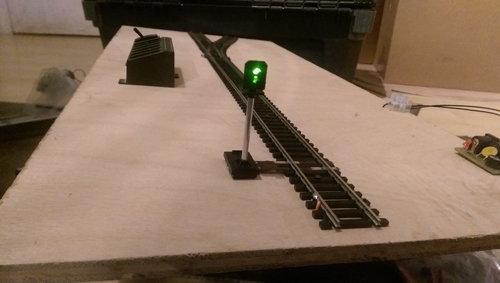
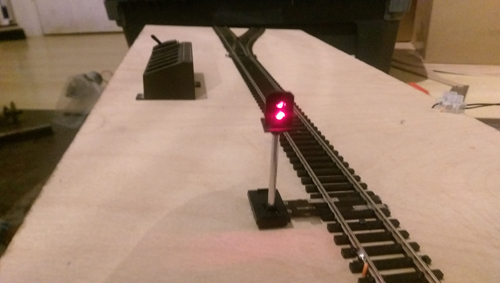
You have now successfully installed the DCC signal. You can also install a distant signal to the same number so it operates simultaneously.
In the Next Article we will look at installing a Train-Tech Analogue signal and linking it to a Seep GMC-PM1 point motor.