
Expanding Your O Scale Layout - Part 3
 TERRY SMITH looks at track laying, in the next installment of his series.
So, in the first instalment we saw how I got the inspiration to undertake the project with a wardrobe door, and in the second part how I had to build a vital piece of lineside infrastructure before the final track plan could be finalised. Now it's time to start laying the track.
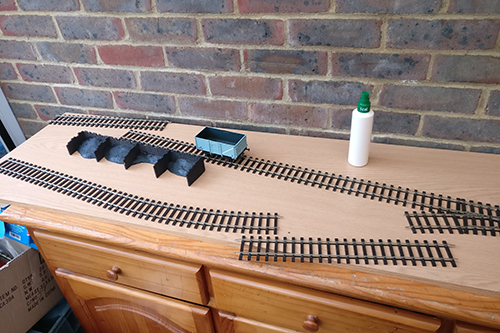
Getting the feel again for where everything should go. Cutting some of the Peco Setrack pieces was always on the cards.
We are at the point of getting the track laid down on our narrow wardrobe door baseboard. I have always been a fan of using as much space as possible on a baseboard for the track and in this instance it means running the sidings right up to the edge to give them maximum length. When I loosely placed the Peco SETRACK down on the door in my first article, it was obvious I would be needing to cut some pieces of track to give me the layout I wanted. Now I had to start cutting.
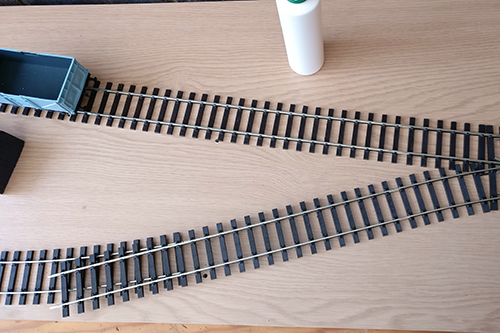
The straight track was laid over the curve to ascertain where the straight should be cut.
The position of the point is critical, so the first thing to do was to cut down a standard straight to fit between the toe end of the point and the edge of the baseboard where the trains would emerge. I would like to add at this stage that I will be using an additional board as a fiddle yard and this will allow the locos to do some effective shunting – something they would not have been able to do if we had just the scenic baseboard to run trains on. We will cover the fiddle yard in the next article.
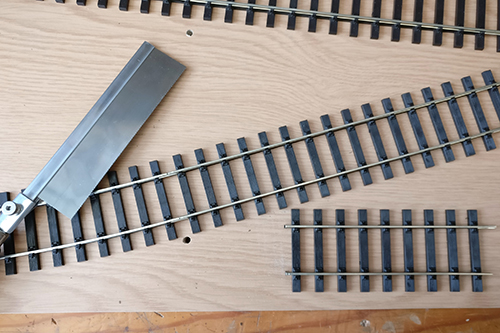
The GM671 Saw made light work of cutting through the nickel silver rails, I just held a small piece of wood across the track to make sure the saw cut was level.
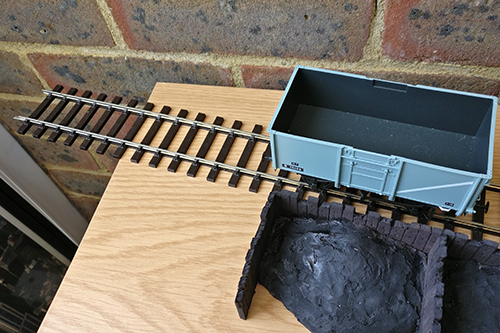
The end of the line? This will also need cutting back just a few mm from the edge to allow the maximum siding length in the short space we have.
The crucial thing about this cut-down piece of track is that it needs to be set completely flush at 90 degrees where the two boards will join. However, you may notice that the track layout is at a slight angle to create a little deviation, which means that this piece will need to have a slight curve in it. As modellers we are often solving these little problems that come our way and the best way to create what we need it to do is to turn this section of track over. You will see that each sleeper is joined to the next by a pair of plastic bridging pieces in the track moulding. If you cut these and remove maybe millimeter or two on one side, you will able to bend the straight to the radius you need. It is like making a small piece of flex-track.
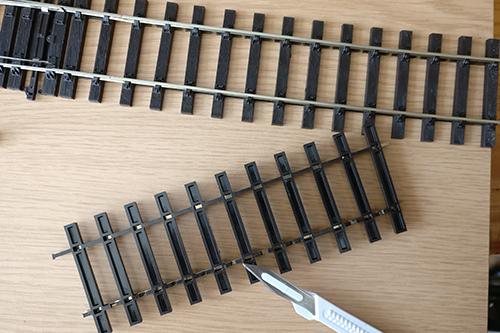
At the other end close to the toe of the point, a small curve section had to be created. This was achieved by cutting out small sections of the moulding on one side only on the shortened straight.
Resisting the urge to use tacks to pin the track down, after lining up the final sleeper with the edge of the board, liberal amounts of DLAD-45 Roket Max glue was used along with the DLAD-17 Rocket Blaster accelerant to hold this sleeper in place – this isn't going anywhere once set! The glue was then used at the other end to maintain the correct line of the curve. Hooray! First piece laid!
While we are now on our way, don't put you saw away just yet. On the straight ahead section of siding I had to cut down the final straight, so it finished just a few millimeter before the edge, while on the turnout siding I cut down another straight that went before the curve giving me as much space between the two sidings for the coal staithes and a bit of room for coal lorries, etc.
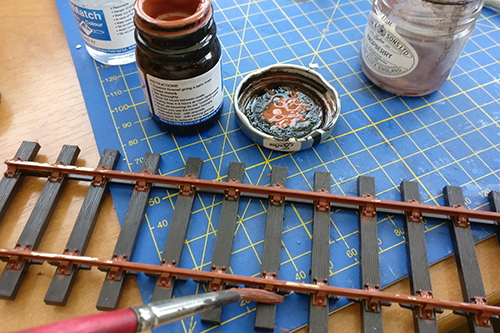
Paint! Splash it on all over! Well not quite but do paint the chairs as well as the whole of the rail.
Now while it's up to you if you are going to paint the sides of your rails a rust colour. I strongly urge you to do so. You might just get away with it in the smaller scales but in 1/43rd scale modelling it just won't do! I would like to tell you a little tip, PAINT THE RAILS BEFORE YOU LAY ANY TRACK. Seriously, you can paint them more easily holding the track pieces in your hand than once they are stuck down on a layout.
Another tip is to get the constancy of the paint right, too thick I it will take forever to do, too runny and the paint won't cover the nickel silver rail properly and you will have to do it all over again. I use RailMatch RM405 Dark Rust which is an enamel paint. Using a small jam pot lid, I mix in thinners as I go. With a medium sized brush drag the paint along the rail sides making sure you also cover the chairs that hold the rails to the sleepers.
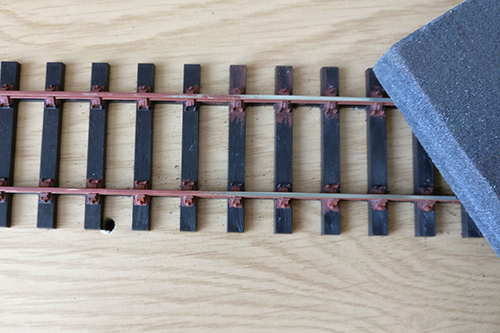
The GM27 Track Rubber makes light work of bringing back just the tops of the rails shiny. Remember, if you are using buffer-stops don’t clean the rails underneath where they will be positioned.
While you don't want the rust to go everywhere don't worry if a little of this paint does end up on the sleepers themselves as over time the rust did bleed through to the wood underneath it. Make sure you do cover all the rail and don't try to keep the tops clean or you may miss getting paint on the side of the top part of the Bullhead section. Once dry, rub the top of the rails clean with a GM27 Track Rubber and stand back and be amazed on how much more realistic your track has become.
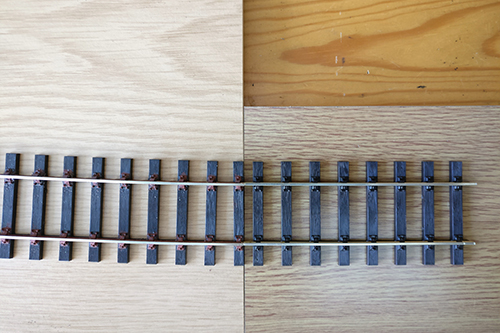
No, the fiddle yard will be just a little bit bigger than this. The last sleeper on the layout board was stuck down once nice and level with the edge using DLAD-45 Roket Max glue.
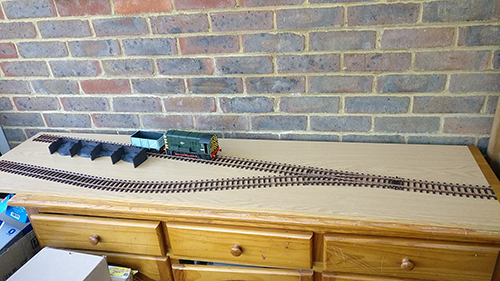
Track laid!
Next step is the ballasting and how the ground of the yard will be modelled.