
 JAMES HICKMAN takes us through the beginnings of layout planning and design.
When starting the model railway hobby, many of us would have started out with a starter set. Traditionally this comprises a locomotive, controller, track, and a couple of coaches or wagons. Whether we ultimately keep any of this differs from person to person, but the one thing it does do is to inspire. That said, it can be overwhelming as well. What do you buy next? Where do you go from here? Well, the first thing not to do is jump in and buy a new locomotive. Although this is very tempting, it is best to come up with a plan before committing. But, by all means, buy your locomotive after that!
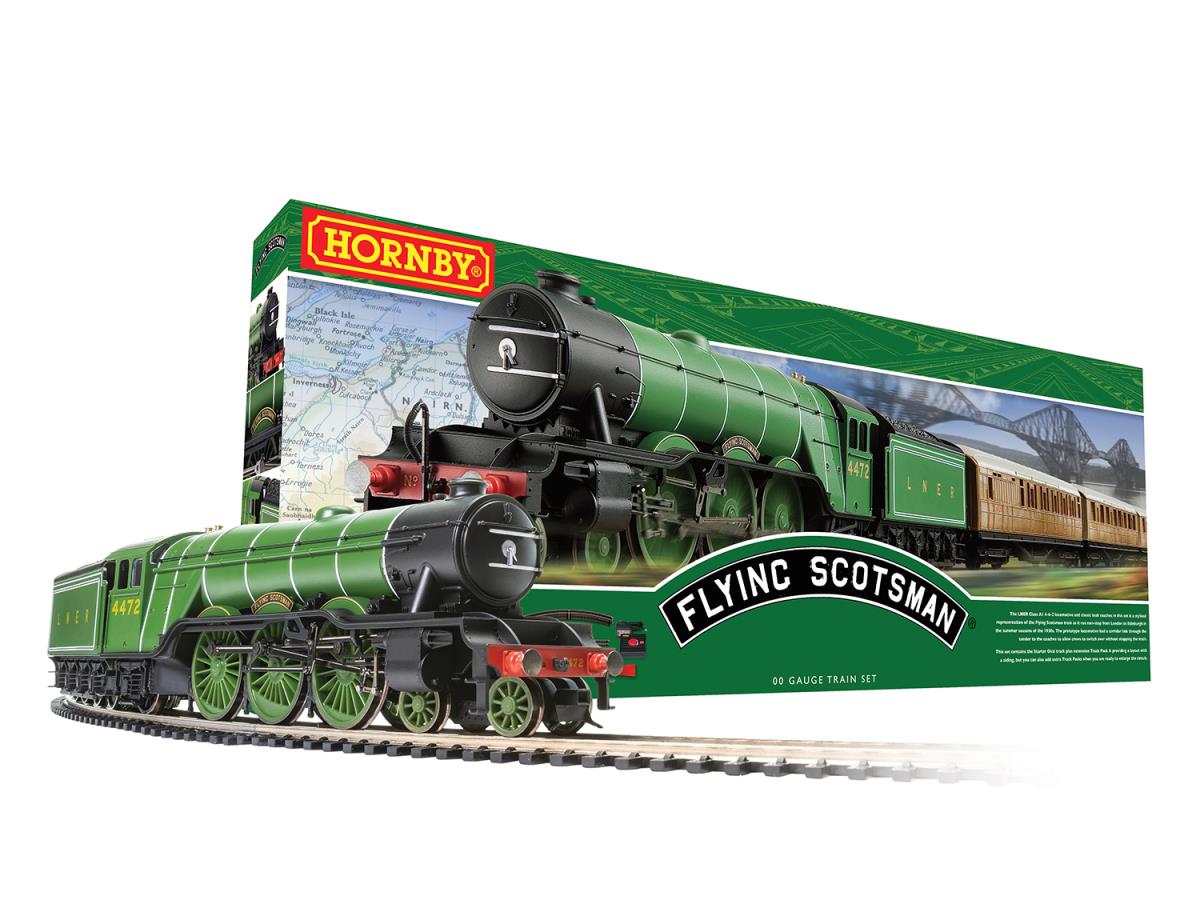
The contents of a standard Hornby Starter set usually contain a selection of track, rolling stock and controller. See it here: R1255M
So, where do you start when it comes to planning a layout? The first thing to do is to decide what it is that you want to model. Will you take inspiration from the set you started with? Do you want to recreate an actual location? Or, do you just want to run what you want and throw out the rulebook? Whichever way, the choice is yours. Be mindful though as if you want to recreate a specific location you will need to do some research, as some locations pivot around a specific element; whether that be a curved platform, a certain signal box, or a certain track arrangement. You want to make sure you have the space available to do what you want to do.
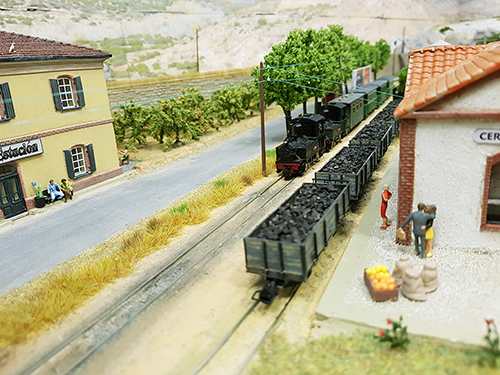
This is a photo of Ferrocarril San Maria Gandia, a HO/Hoe Scale Spanish layout. The theme dictated a simpler track plan, that focuses more on the scenery around it.
That takes us nicely onto where to put the layout. The location available can determine the size of the layout too. A coffee table layout is just that; a layout in or on a coffee table. This certainly constrains the working area. Although lofts can be the holy land of locations, in reality, without a lot of work and potential cost, this isn’t ideal for a first layout. Take it slow, and start off small. You can always expand a layout later. By starting smaller it gives you the chance to progress quicker and see results sooner, and actually enjoy the process rather than having to spend hours ballasting miles of track before you notice any real change. After all, a hobby is meant to be, more than anything, something fun and to be enjoyed!
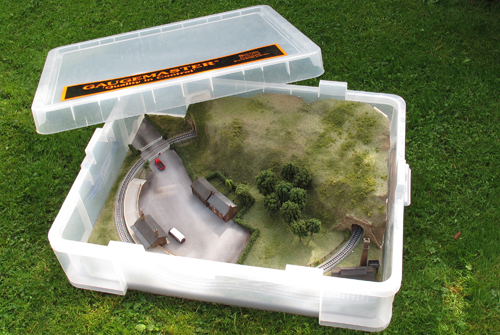
Here we see Phil Parker's Layout that was built in a weekend. This layout shows how a small project like this can give almost instant results and that feeling of accomplishment.
Once you have decided on what you are modelling and where it’s going to go, taking care not to invoke the wrath of any of the domestic authorities of course, it's time to start planning out the layout. Some people prefer to start with a sketch, some prefer to jump right into a track planning software. Either way is fine, and both have their advantages. Planning it out in a software package can be more accurate and give you the sense of the space, whereas the tried and tested pencil and paper brings with it the organic flow of thought and consciousness right onto the page in front of you. Do think about what you want from the layout here too. Do you want an end-to-end layout to run the trains up and down, or a circular layout you can just leave running, or a mixture of both?
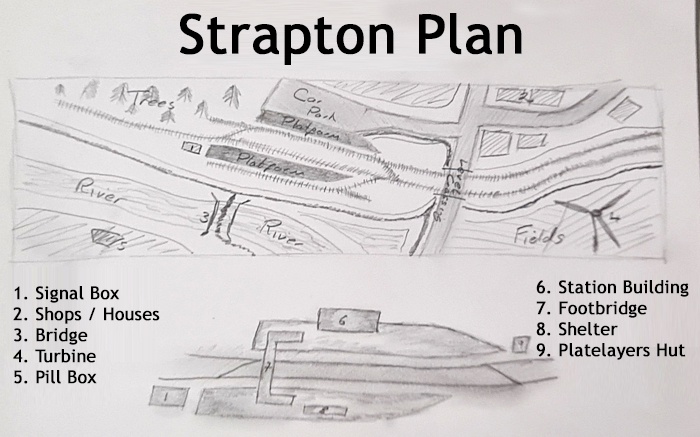
The first plan of Strapton Halt.
For my latest project; ‘Strapton Halt’, I did both. I started off with a sketch, taking my ideas from mind to paper. I also jotted down a list of everything I wanted to include, and worked these into the design. From here I took the plan and used a track planning program to produce a plan and list of required sections. One helpful thing here is that these plans can be printed at a 1:1 scale so can even give you a full sense of the finished size.
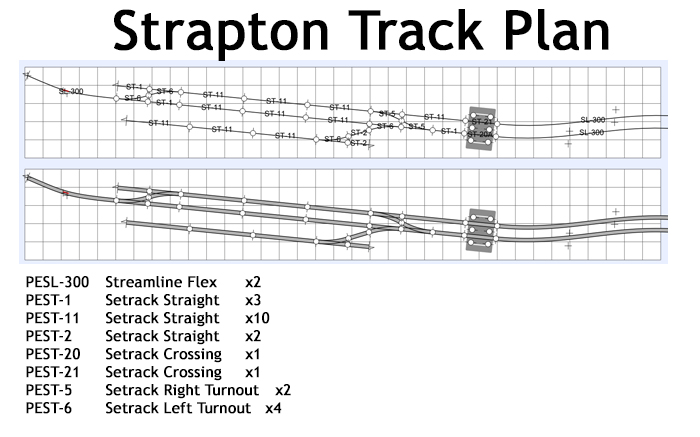
Here is the digital track plan for the layout. The program used also gives a list of sections required and allow you to use different manufacturers' track ranges.
With Strapton Halt I wanted to include a bay platform (similar to the one that was once found at Ford next to Gaugemaster HQ), a river, some form of industry, and roadway infrastructure. As many of you will be aware from previous articles, I am a bit of an LMS fan, but I wanted to try something a little different. I can't recall which line it was, but in my younger days I remember visiting a preserved railway in which we pulled into a station, disembarked and the locomotive disappeared into the distant trees to run around. I wanted to recreate that with this layout too, so the extra-long run around was also incorporated into the design, and the theme of a preserved line opened up.
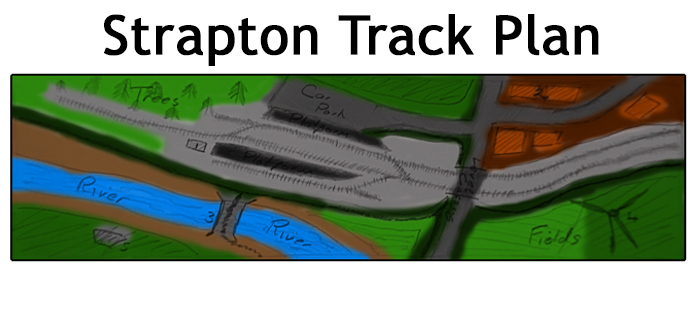
The finished sketch gives us an idea of how the layout will look and feel.
The finished design was coloured to give a sense of the space and how much of the layout is devoted to railway infrastructure and how much is the surroundings. The most realistic layouts always consider both, and ultimately you start to realise that the buildings around a station do tend to take up more space than the railway infrastructure. The other thing you will notice is that my track does not run parallel to the board's edge. When I look at a lot of layouts I found that the shape of the layout is derived from the shape of the track. I wanted to be a little different and inject a different view to that, so designed my layout in a way that the viewer would look into the platform as well as along.
For this project, inclines were avoided. Although useful in a lot of situations, they can be harder to construct and design effectively on a first layout. There are other ways that we can bring highs and lows into our layout without using inclines, especially when it comes to baseboard design.
An incline as seen on Matt Lovell's layout Weltitt & Hope. These are best avoided on your first layout.
Which ever way you are designing your layout it is always best to think about the end product first. What is it you really want to achieve? If you work back from there, the design work comes easily. Of course, once the design work is complete then it's time to think about baseboards, but that is a subject for another article.
If you need any further inspiration a Plan Book is sometimes a good starting point as you can use one of these plans, or adapt them to fit your requirements.