
How To: Install An Atlas Turntable Motor Drive

How to Install the Atlas Turntable Motor Drive
The Atlas OO/HO and N Scale Turntables are a compact and highly practical solution for realistic steam and diesel-era model railways. Designed as a fully assembled turntable, it allows locomotives to be rotated and aligned precisely with multiple stall tracks or a roundhouse, making it an essential feature for any serious model railway yard or engine depot scene. A key strength of these turntables is their flexibility. They can be operated manually using the included crank or upgraded with a motor drive unit for electrically controlled operation, making them suitable for both Analogue and DCC layouts.
Installing the Atlas Motor Drive on OO/HO Scale Turntables
Fitting the motor is quite straightforward; all you need is the Turntable (AL305), the motor (AL304) and a Phillips screwdriver.
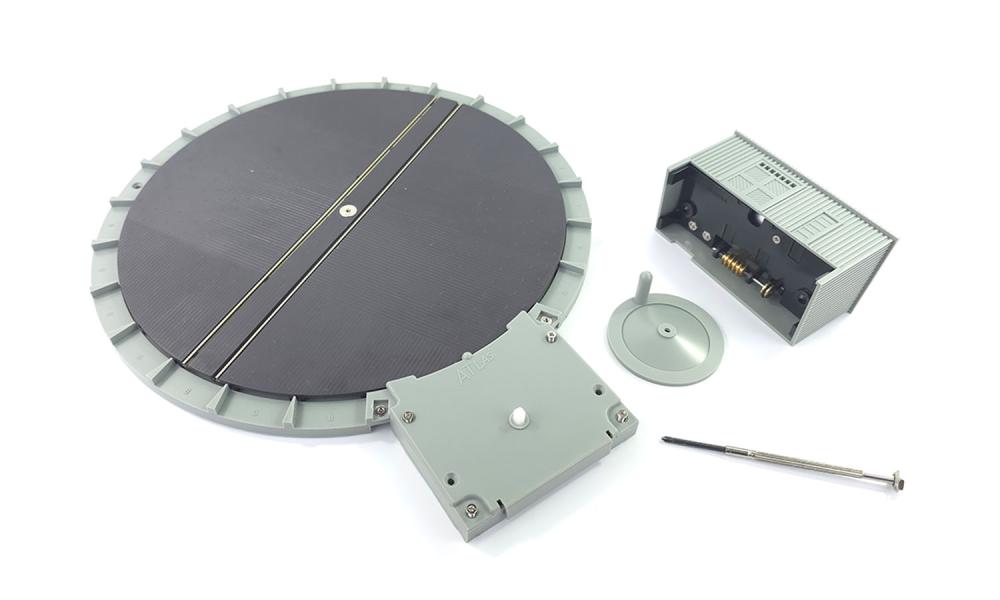
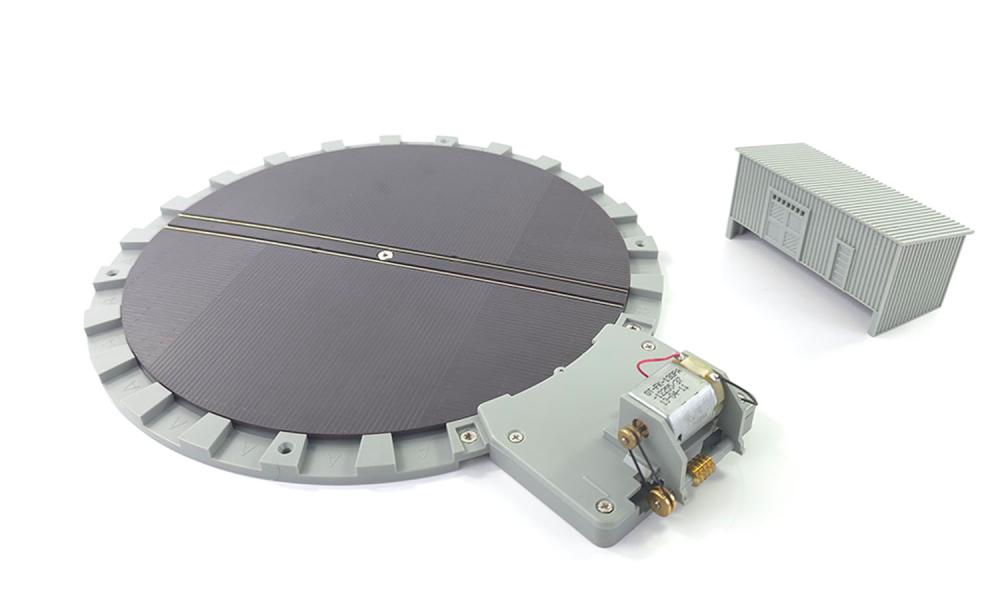
The Atlas Turntable as supplied. Note the handle is not attached to the shaft.
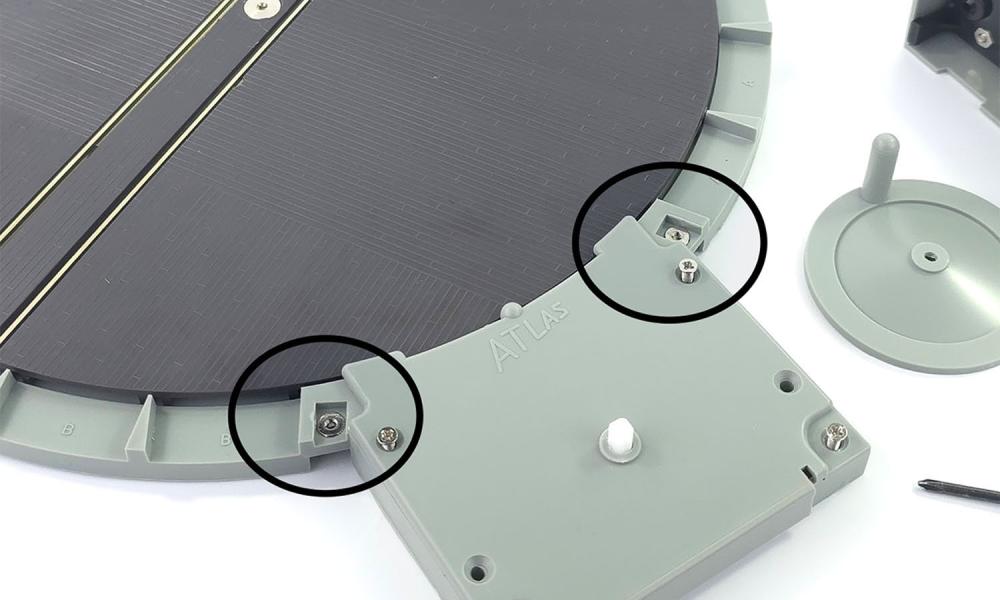
The first stage in fitting the motor is to start by carefully removing the four screws from the grey plate to expose the gears.
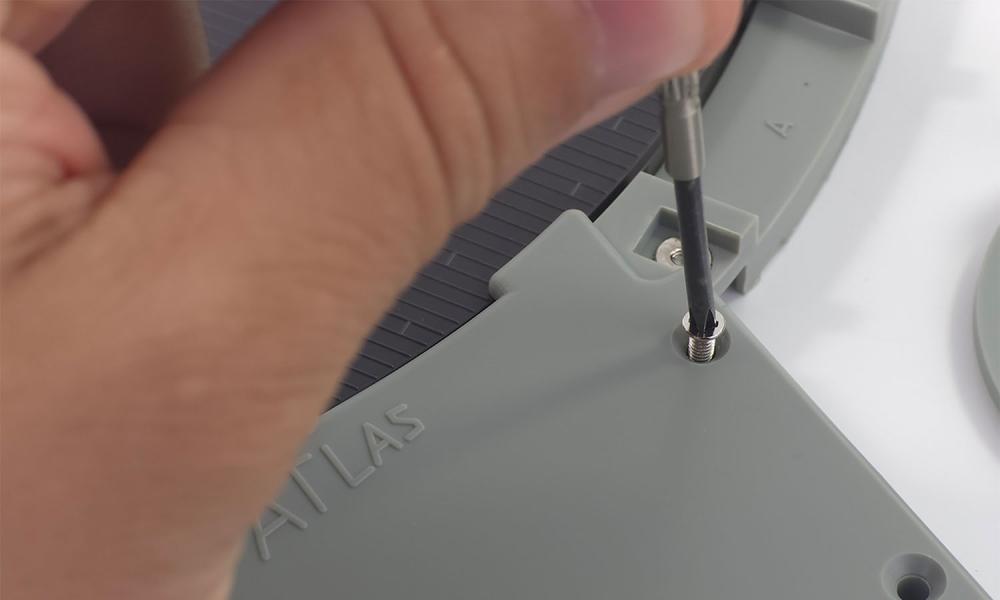
Make sure to keep the turntable on a flat surface when doing so to prevent the gears slipping.
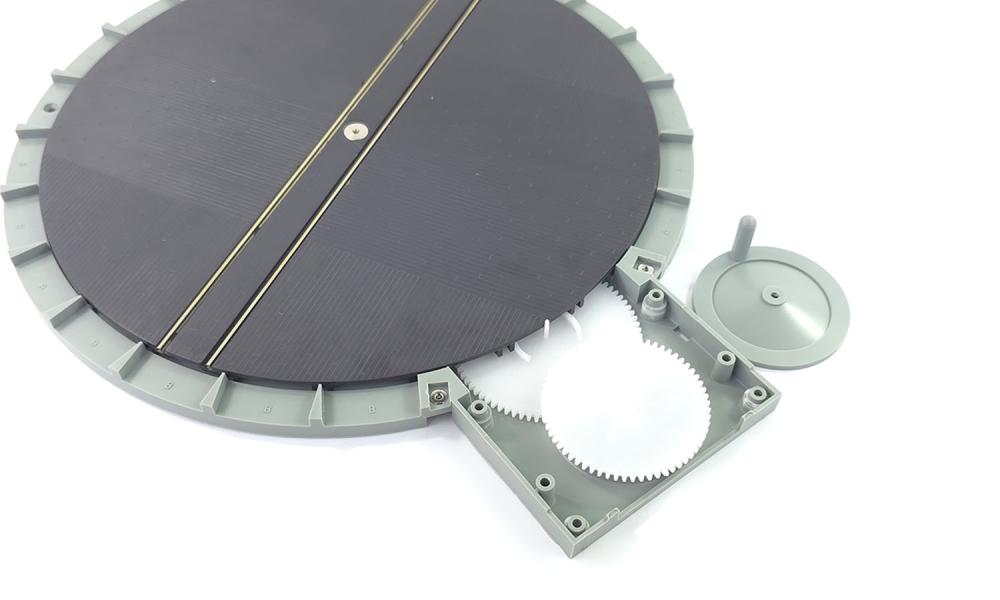
The grey plate has a section on the back that will need removing to expose the gear once the motor is installed.
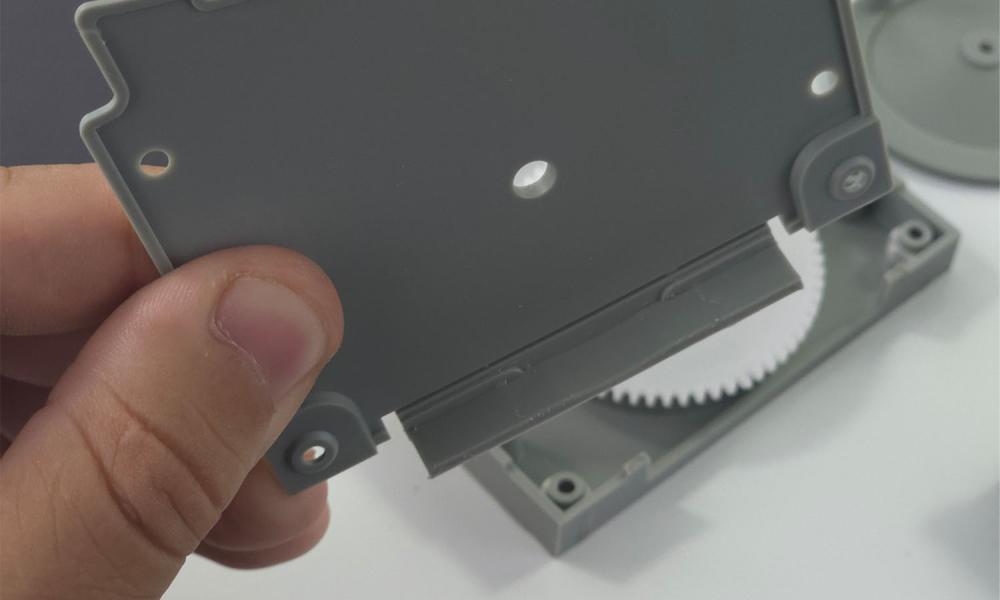
This simply snaps off, but be careful not to leave any sharp edges. A sprue shaver can come in handy here.
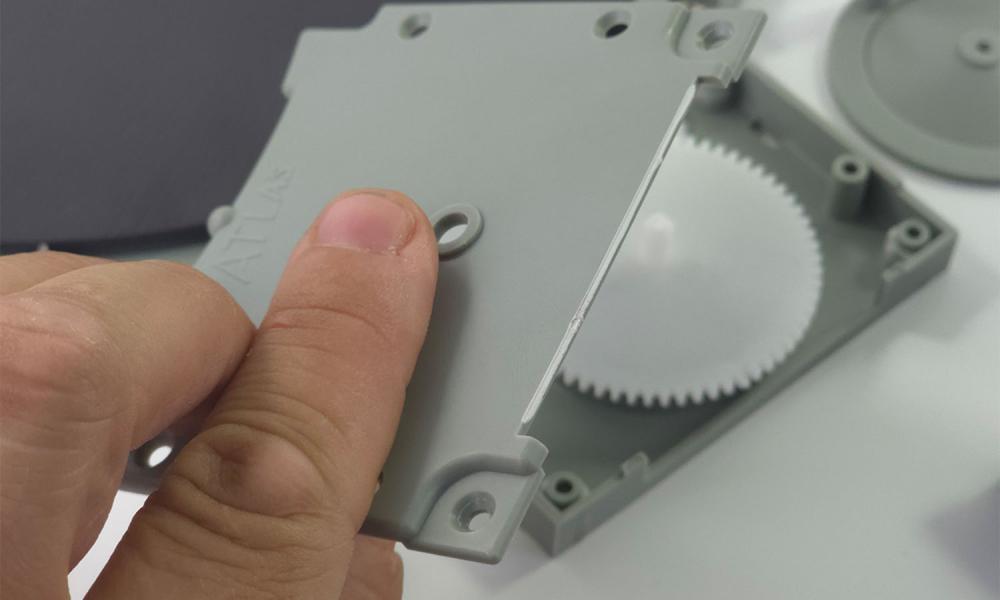
Place the grey plate back down in its original position; the screws nearest the turntable should be fastened first.
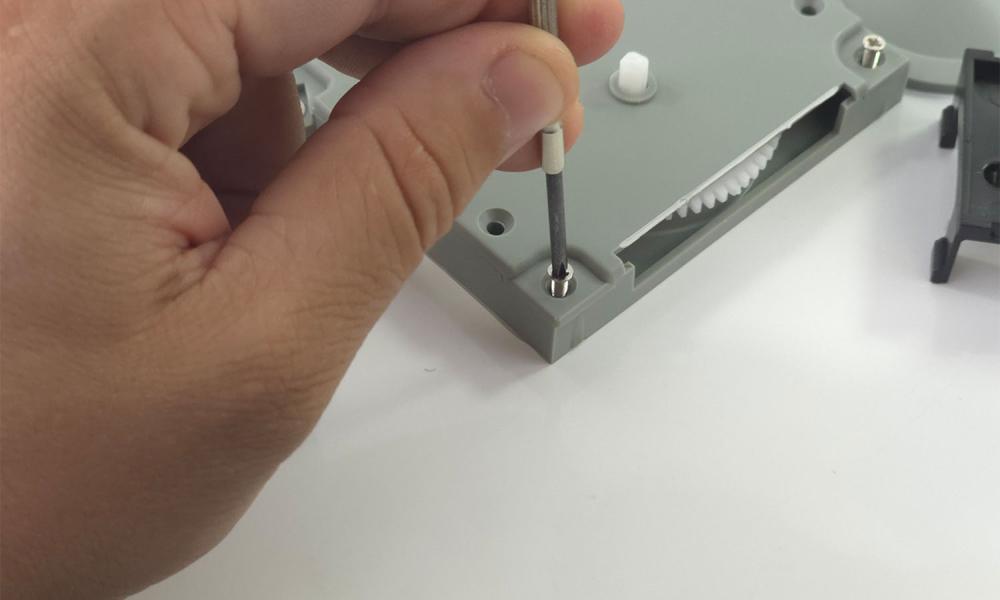
Attach the motor over the top of the rear section of the grey plate, making sure the worm gear connects to the large white gear under the plate. This can now be screwed in place using the rear screws
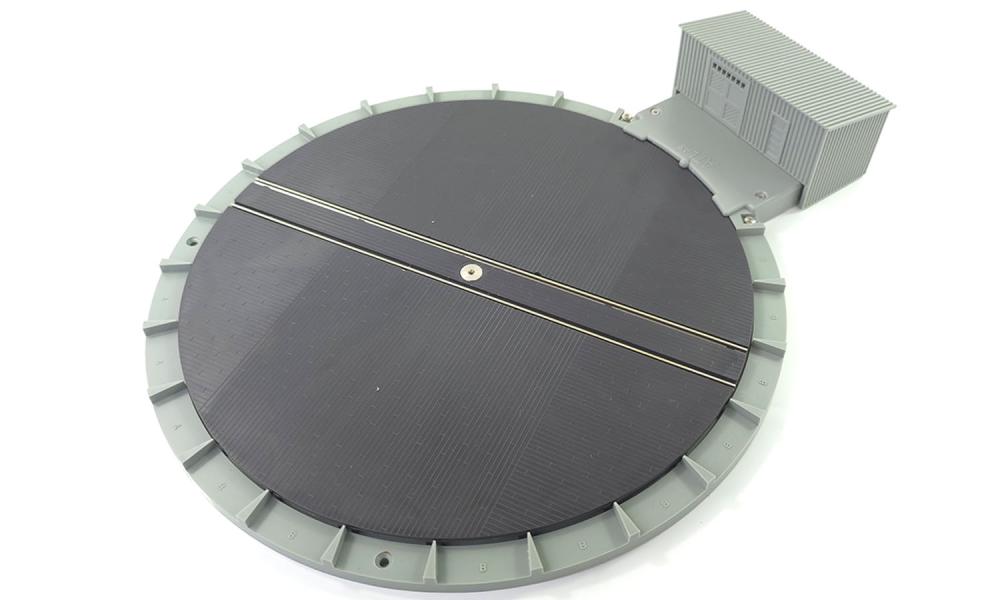
Place the grey hut over the top of the motor to hide the internals and complete the look of your new motorised turntable.
Installing the Atlas Motor Drive on N Scale Turntables
This same method can be used to install the N Gauge motor (AL2791) onto the N Gauge Turntable (AL2790) with a few little differences. You will need the same items and tools as before: the Atlas Turntable, the Atlas Motor Unit and a small Phillips screwdriver.
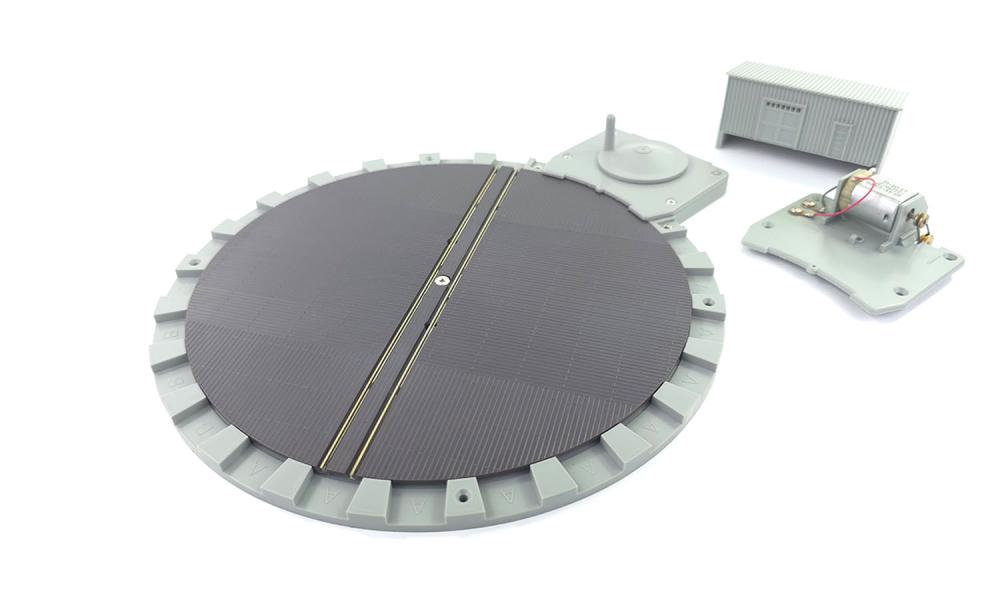
Start by removing the hand crank and screws on the grey base.
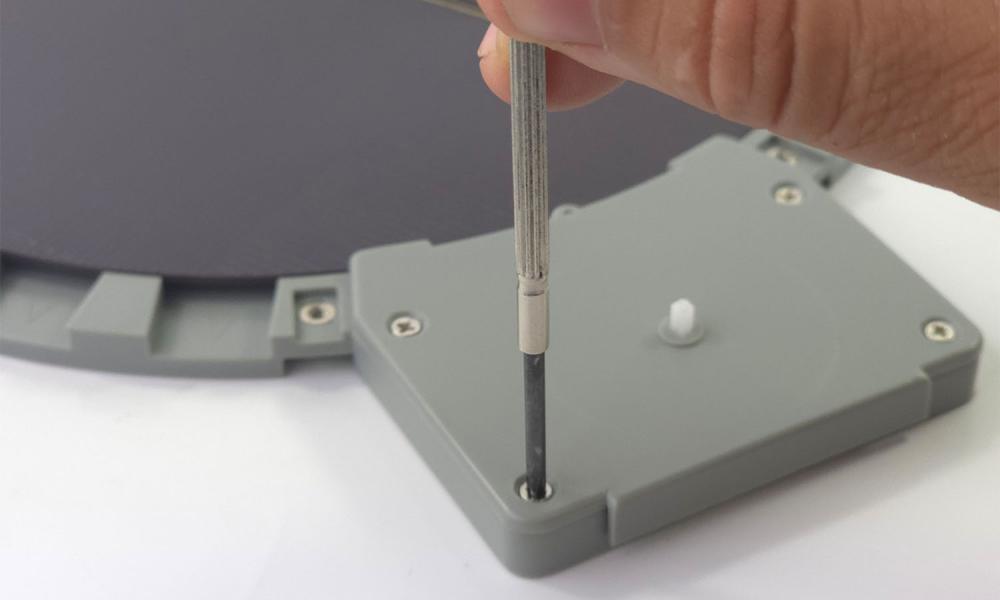
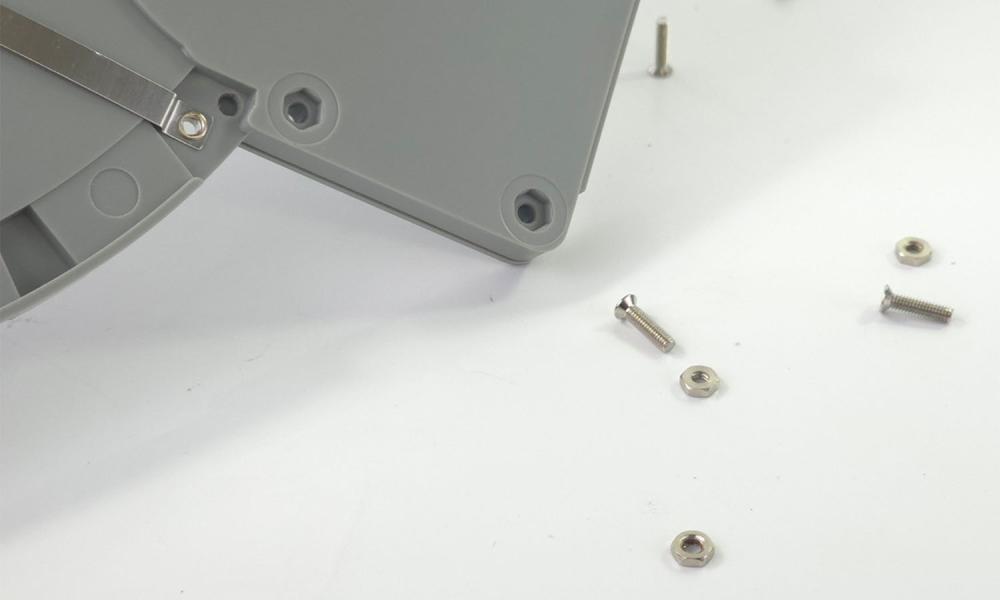
On the back of the gearbox, you will see some hexagon nuts; be careful not to misplace these, as they will be needed later.
Remove the grey plate and replace it with the motor plate.
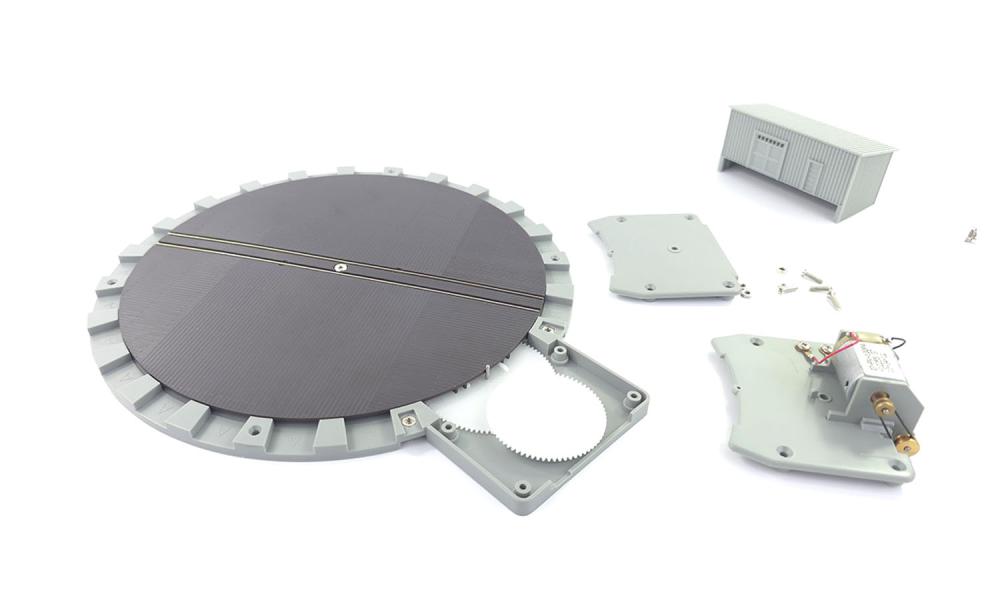
Screw the motor plate down using the existing screws and nut from earlier and place the grey hut over the top of the motor to complete the look of your new motorised turntable.
Connecting the Power
This turntable now has two sets of electrical connections: Track Power and power to drive the Motor.
Track Power
Track power is connected by the small screws either side of the gearbox.
Track power can be taken from the nearest section of “Main Running Line” running up to the turntable.
Motor Control and Power
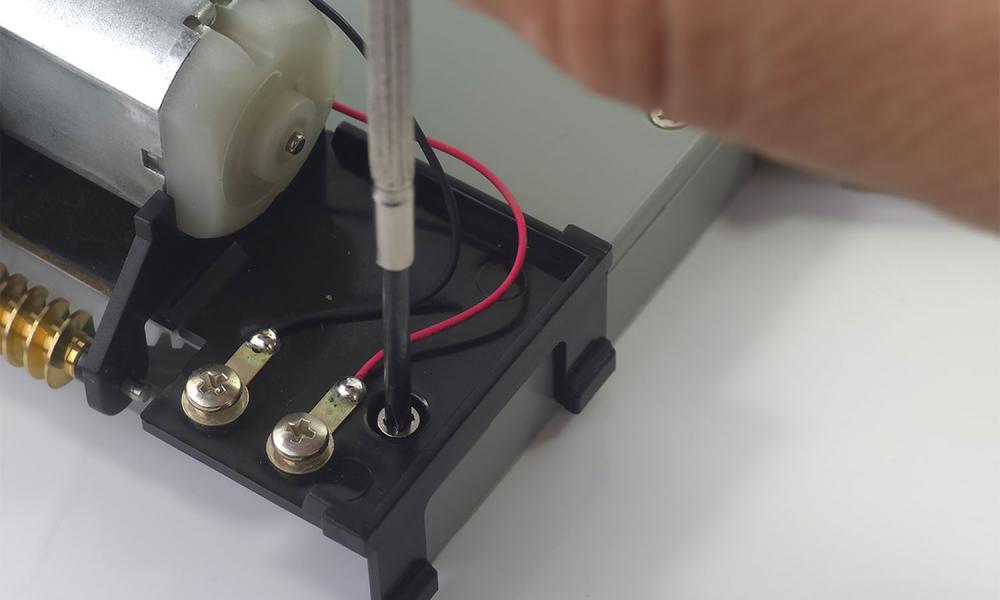
Connect the motor power using the screws on the motor plate.
For Analogue/DC Operation
The red and black terminals shown above can now be connected to a 12v DC supply via an On-Off switch.
For DCC Operation
If you are using a Locomotive Decoder, you will need to connect the 'Orange' and 'Grey' wires on the decoder to the motor terminals. Connect the 'Red' and 'Black' wires from the decoder to the nearest section of main running track or to the track bus wire.
If you want to use an accessory decoder, we recommend using the Train-Tech Relay Controller. Connect the black turntable motor wire to the 'NO' terminal (Normally Open) and connect the red turntable motor wire to a 12v DC power supply. The other wire from the power supply will need to be connected to the 'COM' terminal on the interface. If in doubt, refer to the instructions for the interface. Power the Interface via the Accessory Bus or from a track feed close to the unit.
For further wiring instructions and diagrams, please refer to the “Atlas Turntable Full Instructions” available as a download from the product page.